Video: Poinsettia Christmas Tree | Color Layering With Yana Series
Yana Smakula
Hello, Hero Arts fans! Welcome back for the last episode of the Color Layering video series!
I hope you’ve enjoyed all the previous episodes and will enjoy this one just as much. I had the best time taking you with me on the Color Layering journey, exploring various color combinations, tips, and techniques for stamping Hero Arts Color Layering stamps. There is a special playlist available on Youtube with all of the videos from this series and if you ever feel stuck when creating with the Hero Arts layering stamps I encourage you to check it out.

In this video and episode, we are taking a closer look at the new Color Layering Poinsettia Christmas Tree stamp set.
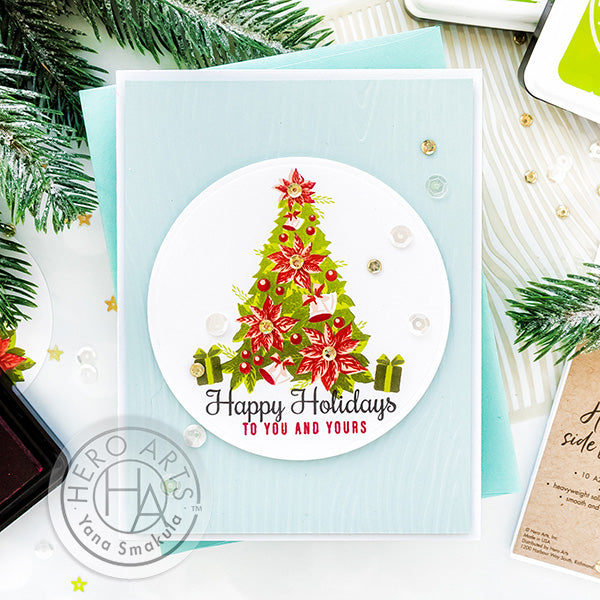
Watch the video tutorial below to learn how I made the card I'm sharing today.
If you’re having a problem viewing this video, please try watching it HERE in HD on YouTube.
The Summer isn’t over, yet we are already talking about Christmas cards! I myself have been in a Christmas mood for the past few weeks and it was a pure treat to create something with the new Christmas stamps. The Color Layering Poinsettia Christmas Tree stamp set is a 5 layer stamp. There are 2 layers to stamp the tree itself, and 3 layers to stamp decorations. As I was stamping these images and testing various ink colors I’ve discovered that these look their best when stamped in contrasting colors of ink. For example, a very dark green and very light green. Stamping layers in 2 ink colors that are similar, for example, dark green and medium green, doesn’t look good as it doesn’t provide enough of a contrast to the finished image, and stamped details get lost.
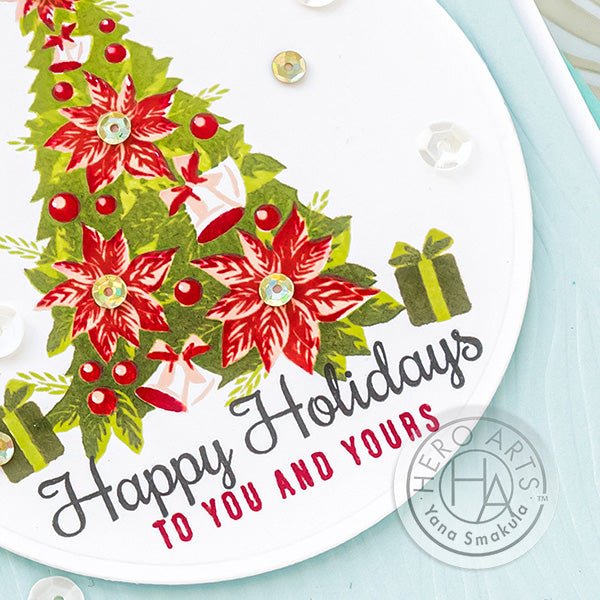
I used the following colors of ink: Lime Green, Ombre Green, Red Royal, and Soft Vanilla. To stamp the sentiment I used Black and Red Royal.
To make a card with my stamped tree I dry embossed a panel of Arctic cardstock using the Woodgrain stencil. I just used an embossing sandwich in my die cutting machine, this created a pretty textured panel for my card. I trimmed the panel to 4" x 5 1/4” and foam mounted onto a Hero Arts A2 white side folding card base. I also foam mounted the circle die-cut featuring the tree on top.
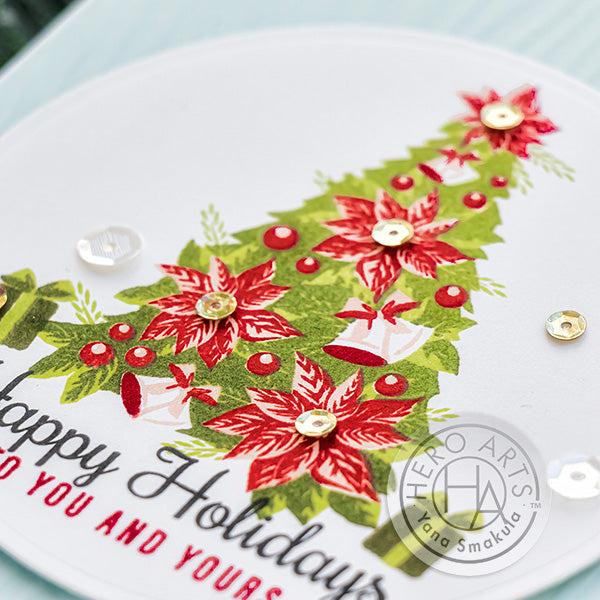
This stamp set also has a pretty image of a gift. And it is also a layering image. You’ll want to stamp the gift in 2 shades of one color of ink - light and dark green, for example. This will ensure the bow on the gift looks realistic.
I embellished my card using Champagne sequins, I added little gold sequins to the centers of my poinsettias and scattered additional sequins around the panel.
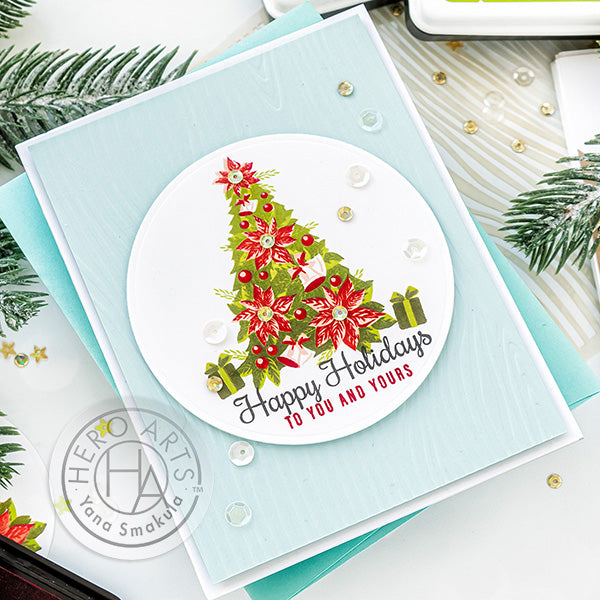
I hope this video has given you some stamping ideas to try with your Color Layering stamp set from Hero Arts. Have fun stamping!
|




Beautiful card! I just love this for a great holiday card.
Beautiful card, Yana, and thanks for the video showing how easy it was to create with all the layers!!
I’m sorry this is the last one! I’ve really enjoyed your color layering posts and videos!