-
Products
-
Categories
Menu
-
Products
-
Categories
Video: Popped Up Die Cut Inlay
Michelle Short
Hello there, Michelle here and today I have a card and video to share with you using the popped up die cut inlay technique. This is such a fun technique that steps traditional inlay a little. I am using the Birthday Message Cover Plate for my card today because not only does it work really well for the technique, it also fits in with our new Stay Crafty with Hero Challenge to create birthday cards!

I have created a video to show how I made the card, which you can see here:
If you are having trouble viewing the video, you can watch it HERE on YouTube.
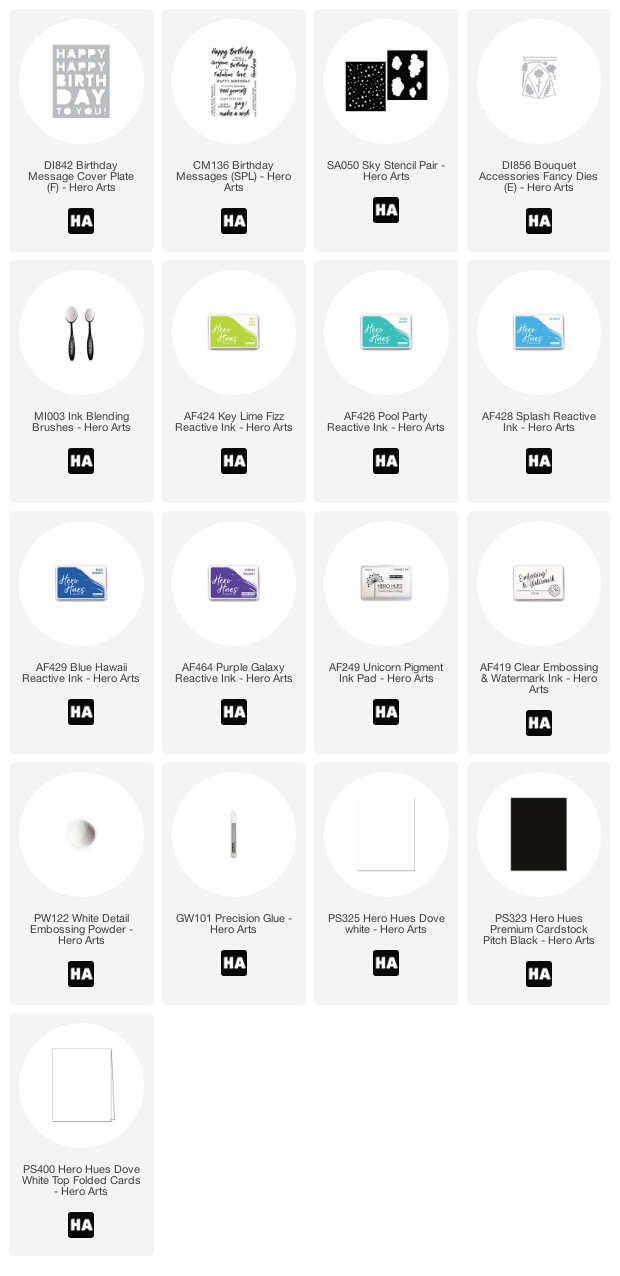
I started off by taking a panel of Hero Hues Dove White Cardstock and blended Reactive Inks on to it. From top to bottom, I used Key Lime Fizz, Pool Party, Splash, Blue Hawaii and Purple Galaxy. They were blended on to the panel using Ink Blending Brushes. These are so soft and the ink blends beautifully with them!

I then placed the star stencil from the Sky Stencil Pair and pounced Unicorn Pigment Ink through the star openings to add some interest to the panel. Once the panel was dry, I ran it through my die cutting machine with the Birthday Message Cover Plate. I then ran the die through again using plain Dove White Cardstock three times.

The outside (negative) piece of the die was adhered flat to a Dove White Top Folding Card with Precision Glue. I then inlaid all the letters from the white cardstock layers (the positive of the die cut). I layered the white cardstock three times for dimension and then added the inked ones on top to finish the pattern.

I took the sentiment from the Birthday Messages set and stamped it on to Hero Hues Pitch Black Cardstock with Clear Embossing & Watermark Ink. I applied Detail White Embossing Powder and heat set. It was then cut in to a strip using the sentiment die from the Bouquet Accessories Dies.
If you didn't want to take the time to pop up all the letters, you could definitely inlay the letters back in in simply white or any other cardstock. You could then also use the inked letters for another card and you would get two for one!
We would love to see your birthday cards - enter the challenge between now and May 6!
Thanks so much for stopping by today, happy crafting!


Lovely card! I make birthday cards one month I advance, so I just made a batch of these for those celebrating birthdays in April. Thanks for the inspiration.
I really like this card!
I love this card. Yes, there is a WOW factor. I know my first thought was, how did she do that? Once you walked me through it, it made total sense. This is definitely on my ‘have to try’ list. Thank you.
Today I rcvd my Apr Kit, Get It All and more order.
Melissa
“Sunshine HoneyBee”
I find it very hard to read lettering when cards are made like this and I have for a very long time. Not enough contrast between the letters and the background. I’ve always wondered if I’m on the only one having this problem. Lovely card and love the shading. Just takes me a bit to realize what the words are.