Video: Lavender Field HeroScape | Color Layering With Yana Series
Yana Smakula
Hello, Hero Arts fans! Welcome back for another episode of the Color Layering video series!

In this video and episode, we are taking a closer look at the new Lavender Field HeroScape stamp set.
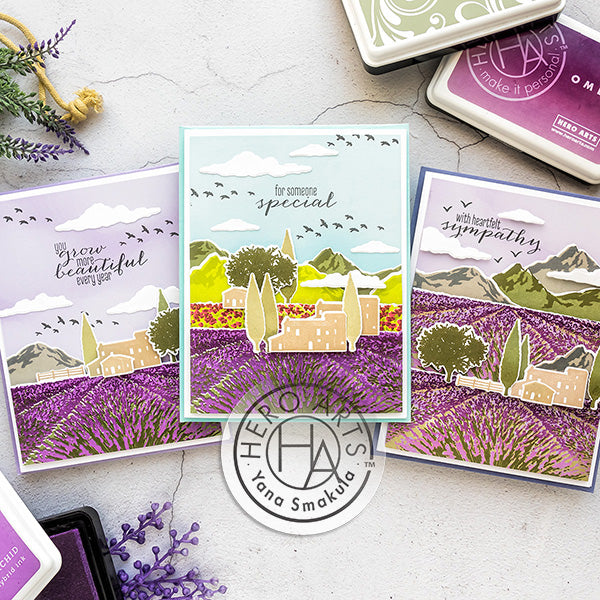
Watch the video tutorial below to learn how I made the cards I'm sharing today.
If you’re having a problem viewing this video, please try watching it HERE in HD on YouTube.
The Lavender Field HeroScape stamp set is a large 6x8” set featuring a gorgeous layering image of the lavender field. It also includes several sentiments and silhouette images to complete the scene. On the back of the packaging, as always, you have layering ideas and tips to help you build your scenes.
I stamped the Lavender Field image using the following ink colors: Orchid (base flower layer); Light Purple to Grape Purple, and/or Ombre Hydrangea (detail flower layer); Field Greens (base greenery layer); Forever Green (detail greenery layer).
The lavender field stamp set comes with several additional images to help you build the scene for your card. There’s an image of the tree (I stamped it in various shades of green), two houses (stamped in Soft Brown), and more.
To build my cards I decided to bring in an additional stamp set, Mountains at the Lake. I love using it with my other Hero Arts layering sets to create various scenes and add interest to the horizon line and in fact, I have used it for my previous Color Layering episode featuring the Beach HeroScape set and one before that featuring Mountains at the Lake Layering set.
I stamped the mountains using Field Greens for the base layer and Forever Green for the detail layer.
Once my stamping was complete I used coordinating dies and cut all of these images out in my die cutting machine. Next, I created backgrounds for my cards. I looked up a few lavender field images on Pinterest and many of them had a beautiful purple sky. This inspired me to use light purple cardstock, Lavender, to make a background for my card. To soften the cardstock a bit and create the illusion of clouds I used Unicorn White pigment ink and added the ink onto the background using my ink blending tool.
With all the parts and pieces ready I started to assemble my projects. For my first card, I foam mounted two Lavender Field die cuts onto the background. I used slightly different ink colors to stamp these fields, to have more muted, less vibrant results as I wanted to make a sympathy card. And I felt like using muted colors worked better here. I used Soft Purple and Grape Juice colors along with Soft Olive and Field Greens.
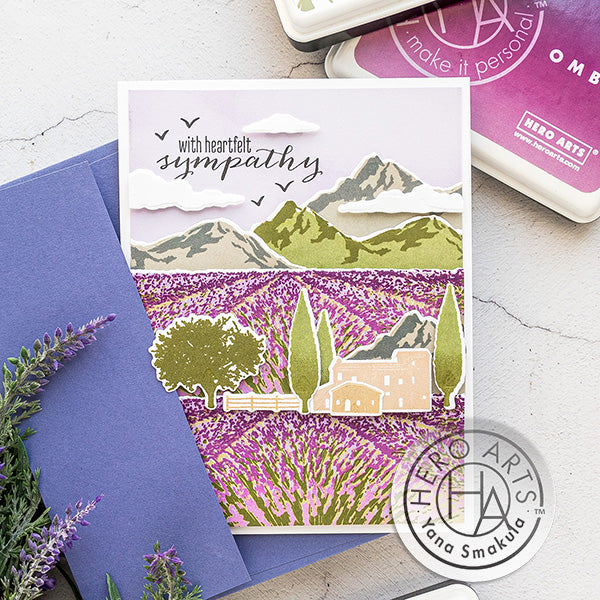
Next, I added one of the green mountains using glue. I also stamped additional mountain ridges using darker colors. I used Wet Cement and Charcoal colors. I adhered all of my die cuts in place using glue and trimmed excess using scissors.
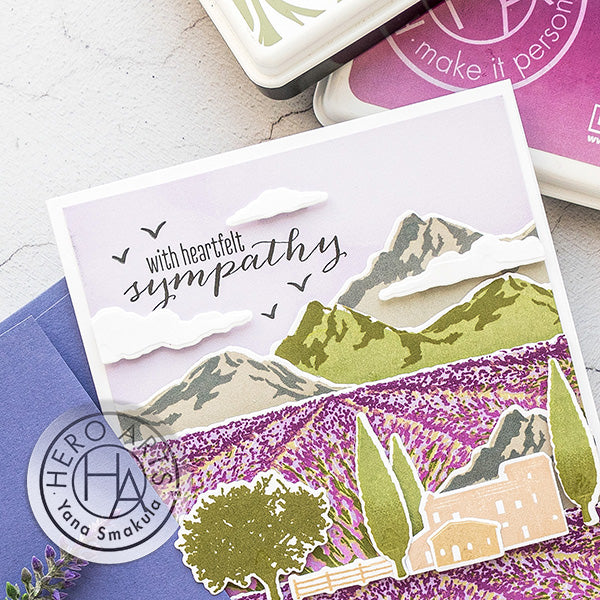
Next, I added all of my additional silhouette images. I did stamp additional images from the other HeroScape sets - I have a fence from the Sunflower Field HeroScape and a large tree from the Tulip Field HeroScape set.
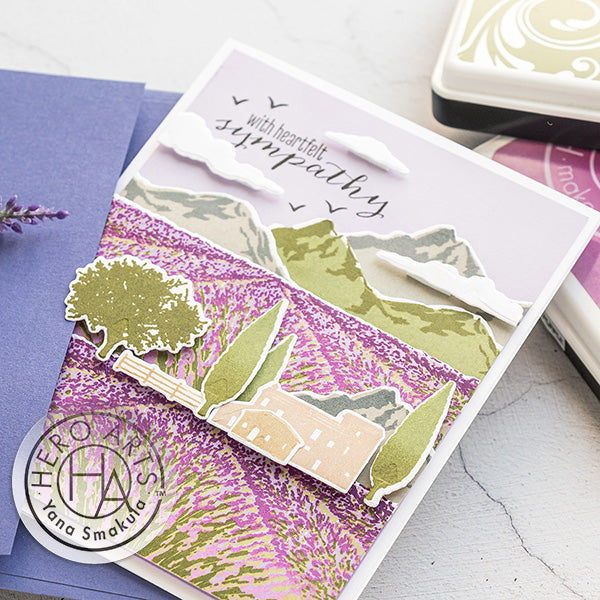
To complete this card I stamped a sympathy sentiment - this reads "With Heartfelt Sympathy". I used black ink and stamped it in the sky portion of the card.
For my next cards, I created similar scenes but used different sentiments. All of the sentiments come from the Lavender Field stamp set - this set has a nice array of sentiments, suitable for many occasions. For this card, for example, I used one that reads “You Grow More Beautiful Each Year”.
I foam mounted the lavender field die cuts, next, I added the leftover mountain die-cut and foam mounted my silhouette images to complete the scene.
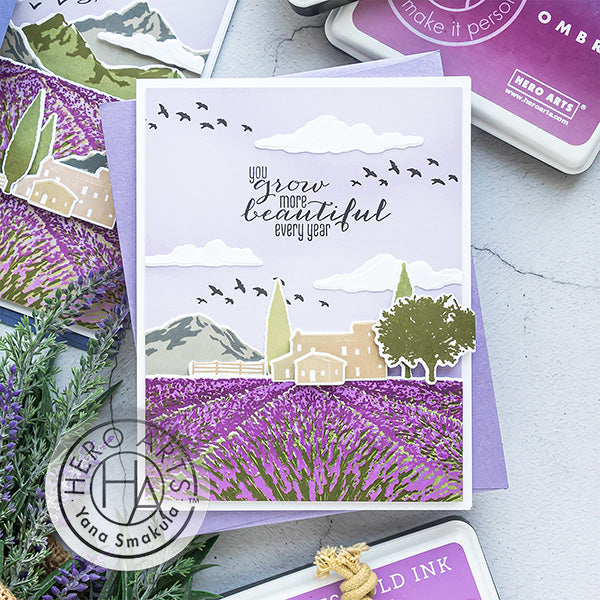
You’ll notice I decided not to stamp the clouds on any of my cards, there are cloud stamps in the HeroScape sets, instead, I opted to use cloud dies and die cut the clouds from white cardstock. I foam mounted the clouds on some cards and used glue to adhered the clouds directly to the background on other cards.
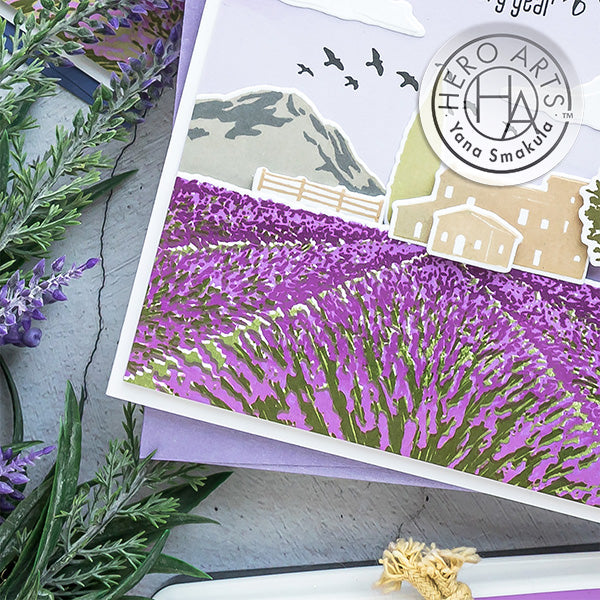
To complete this card I stamped additional birds flying in the sky - I love how they filled that empty space in beautifully.
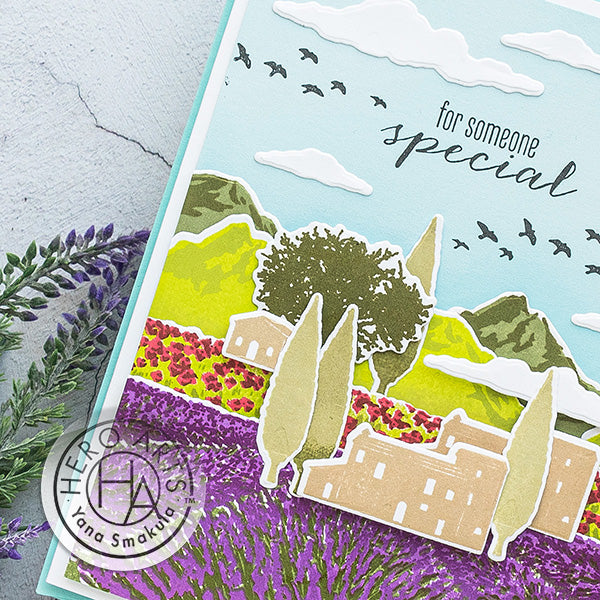
For my last card, I decided to add another blooming field die-cut and here I stamped and die cut one from the Tulip Field set. I used Pale Tomato and Light to Red Royal to stamp the flowers as well as Key Lime Fizz and Lime Green to stamp the greenery. I also stamped another mountain using light green inks to go along with that tulip field.
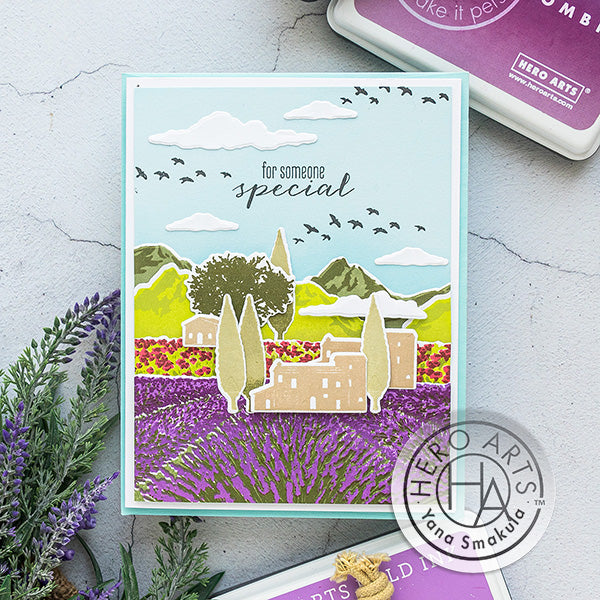
I layered the pieces to create a colorful scene for my card. Here, since I had more color I used light blue cardstock for the background. This is Mist, and I also added white pigment ink over it to mimic clouds.
Have fun stamping!
|





Love these cards and Yana’s videos! Thanks for sharing with us!!
We took a drive yesterday and passed a lavender field. I went “Oh, Oh, Oh, I HAVE THAT STAMP SET!” It’s pretty accurate!
Gorgeous cards Yana, thank you so much for the inspiration.
Stay safe and have a wonderful week.
This is beautiful, Yana. Thank you for the tutorial!
These are beautiful! I was thinking of making a scene with mountains in the background (saw some inspiring photos of lavender fields online), but wasn’t sure how to incorporate them.