-
Products
-
Categories
Menu
-
Products
-
Categories
Video: Color Layering Tulips Two Ways with Mindy
Mindy Eggen
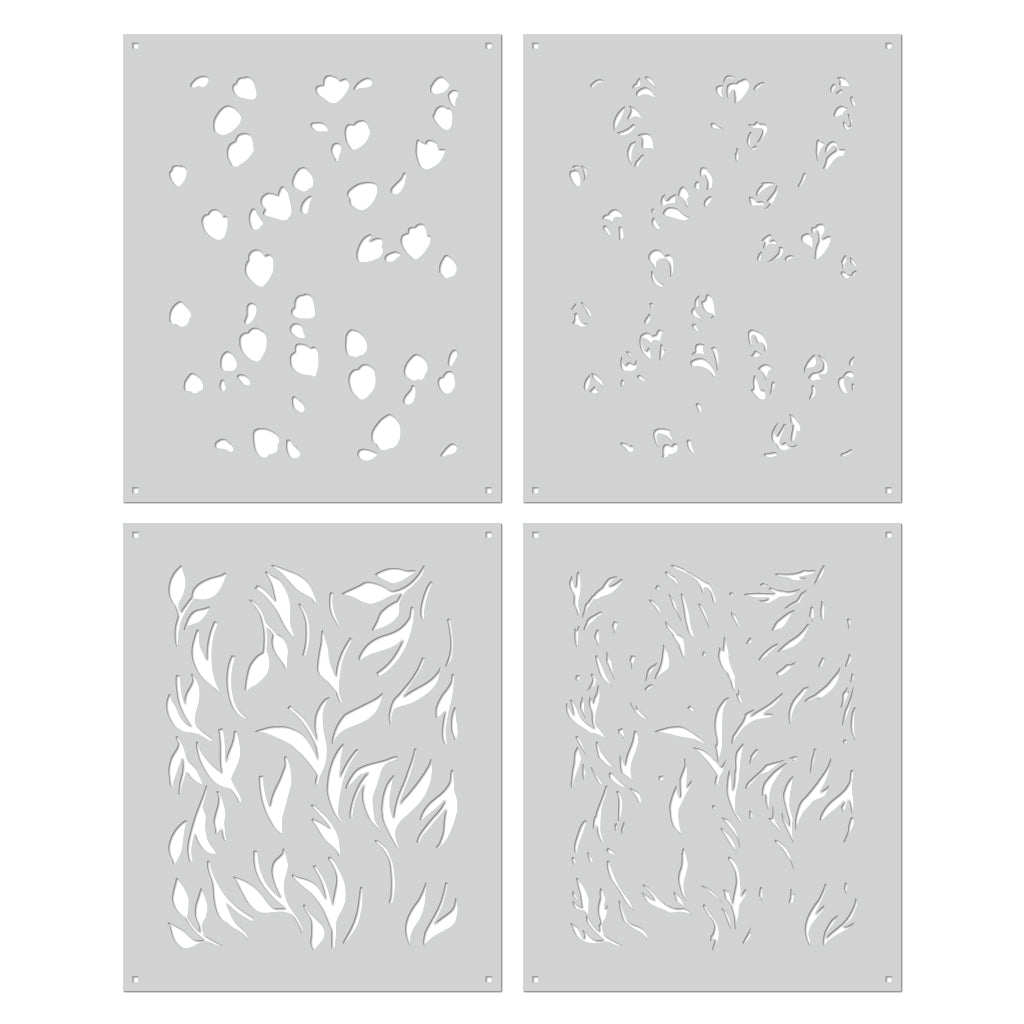
Welcome friends! This is Mindy and I'm so excited to share inspiration with you today featuring the new Color Layering Tulip Pattern Stencils from the Spring 2024 Catalog. I have created a how-to video for you showing exactly how these cards came together.
(If you are having trouble viewing this video, please watch HERE on YouTube.)
I thought it would be fun to use this stencil on two different color card front panels to show you how just by changing up your base color, can give you a whole new look and feel to your card. The cardstock colors I'm using are Deluxe Smooth White and Sand.

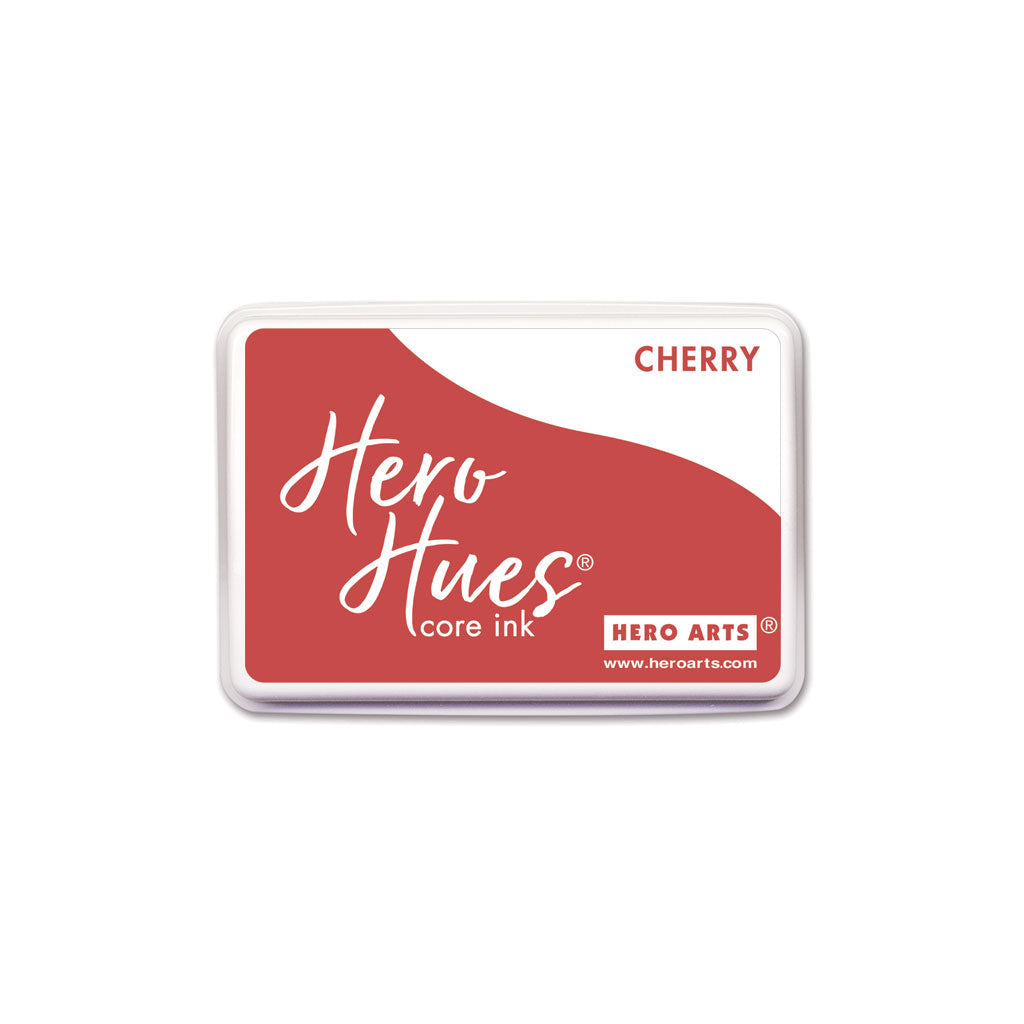
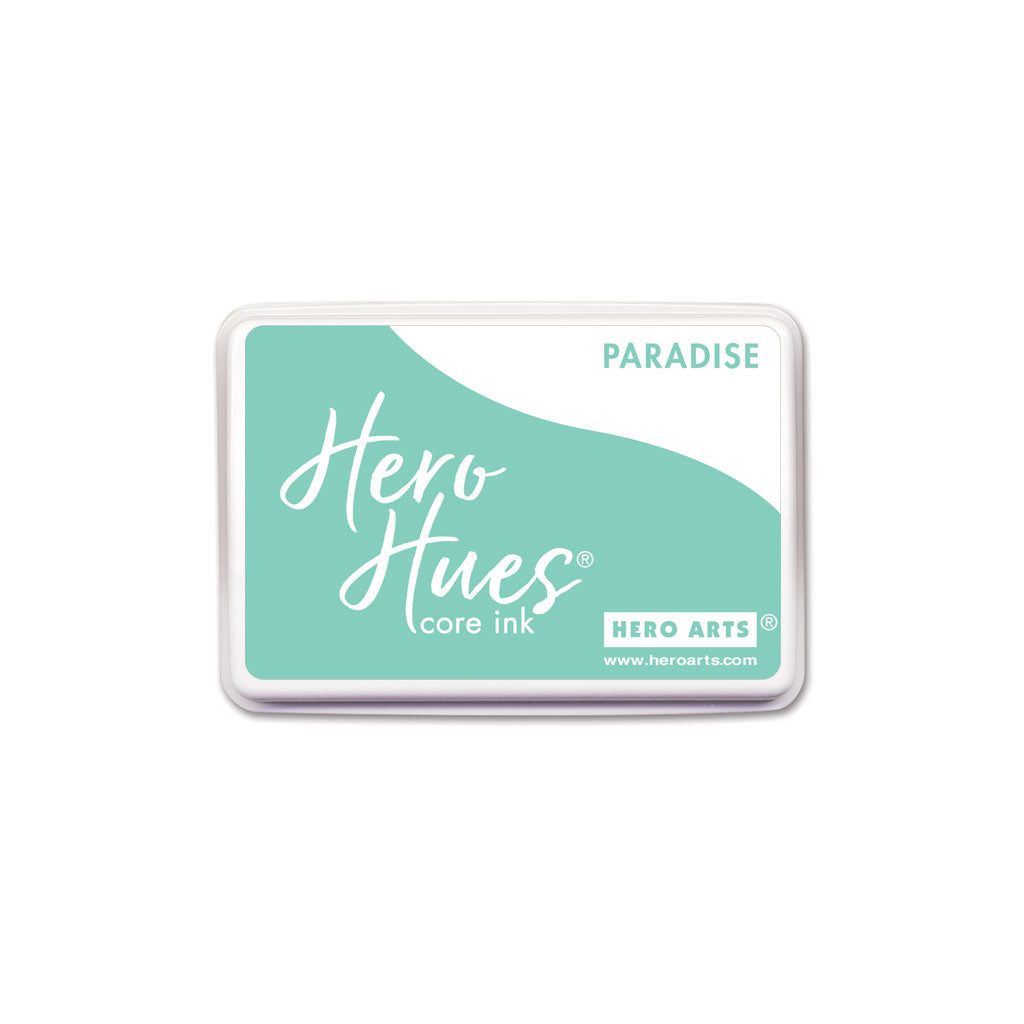
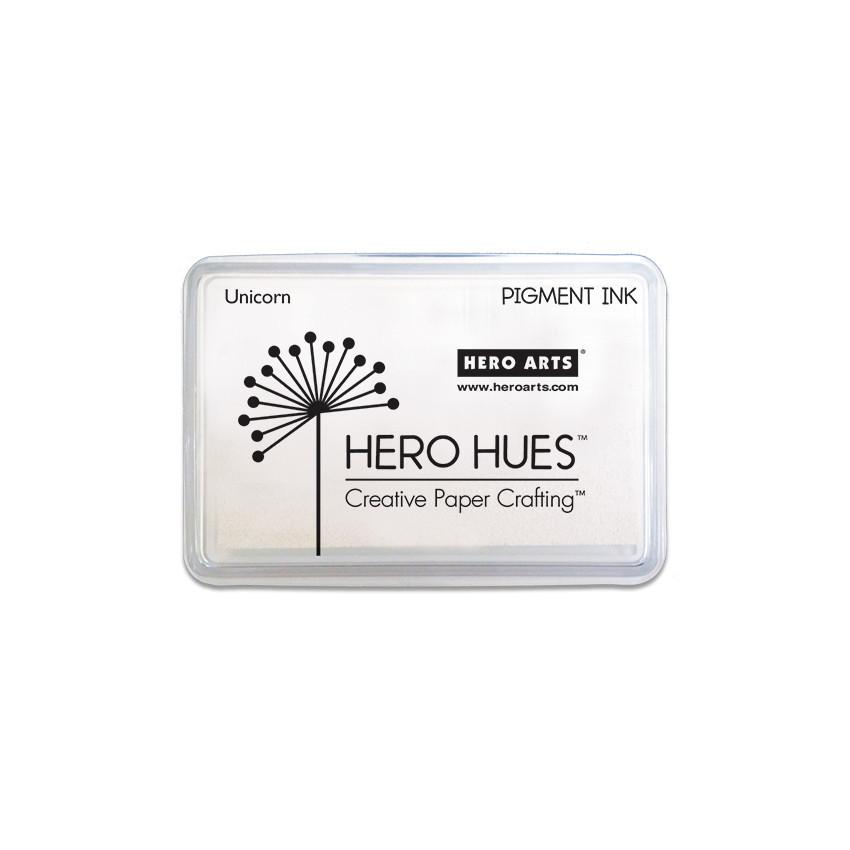
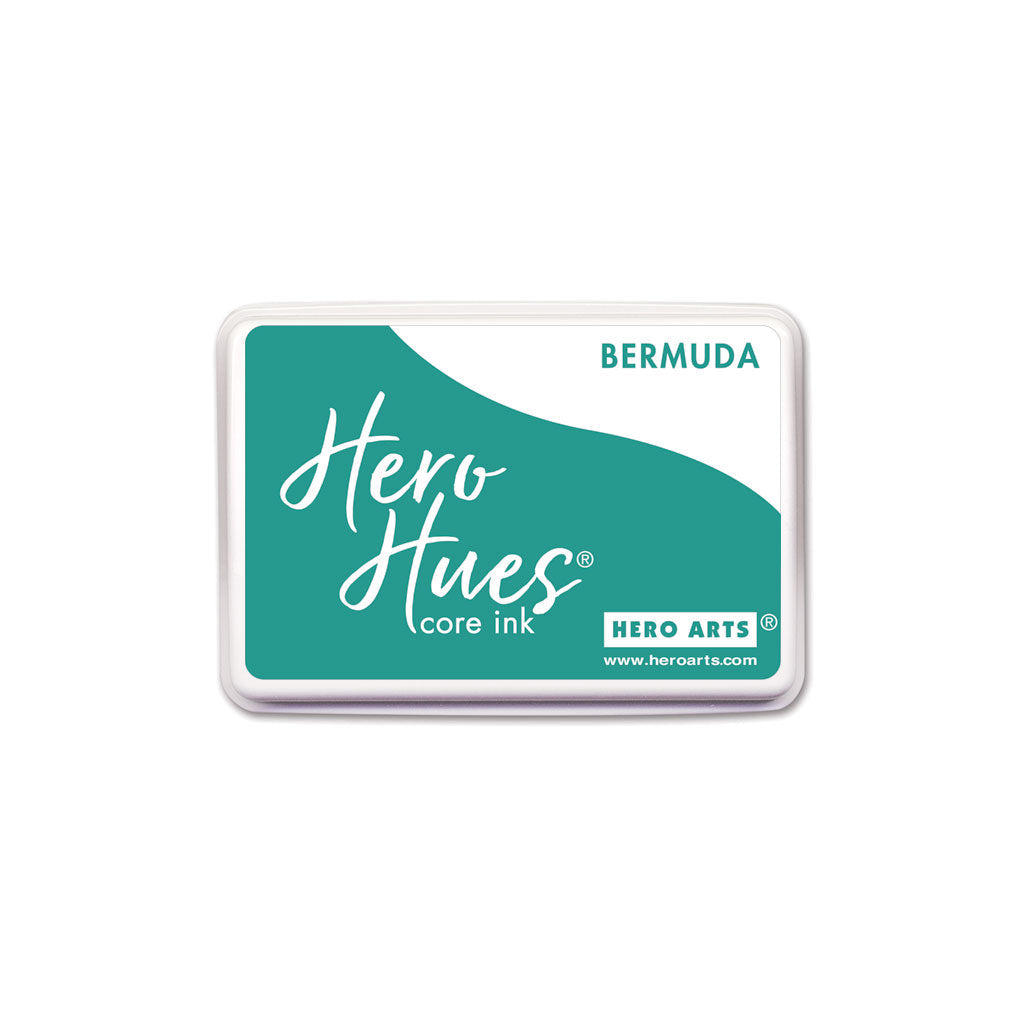
The colors I'm using to blend my tulips are the same for both cards. I'm using Cherry, Raspberry Jam, Paradise and Bermuda inks. I apply the ink with both large and small blending brushes.

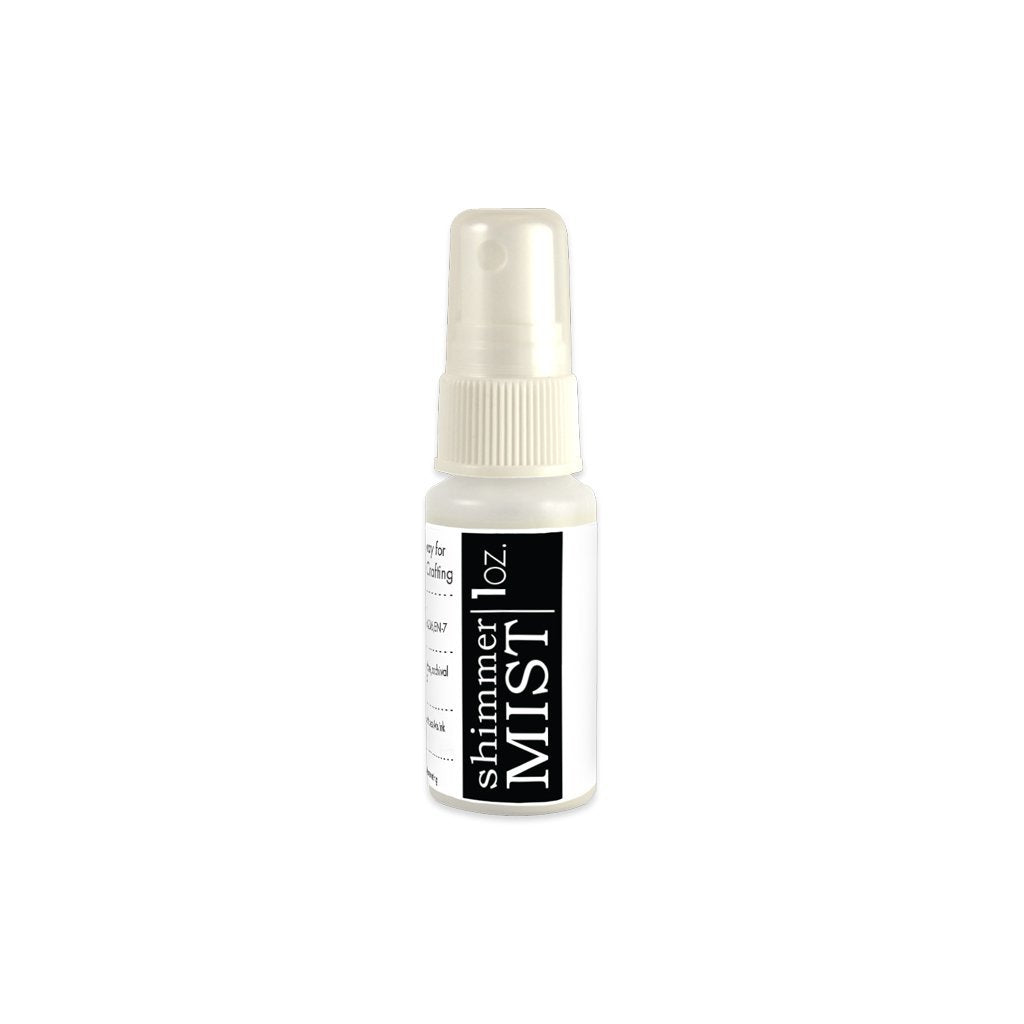
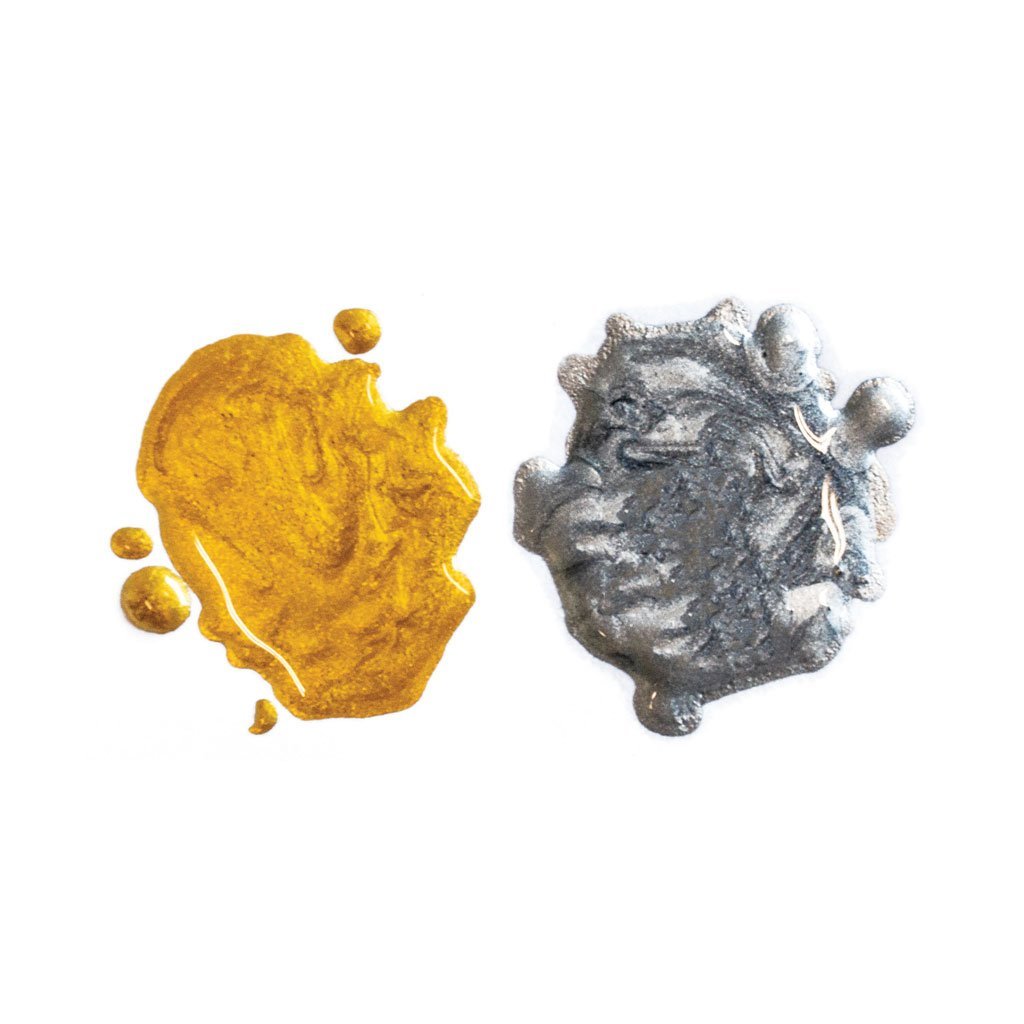
To give the background more interest, I'm adding splatters of Iridescent Shimmer Spray and Gold Glimmer Metallic Ink.

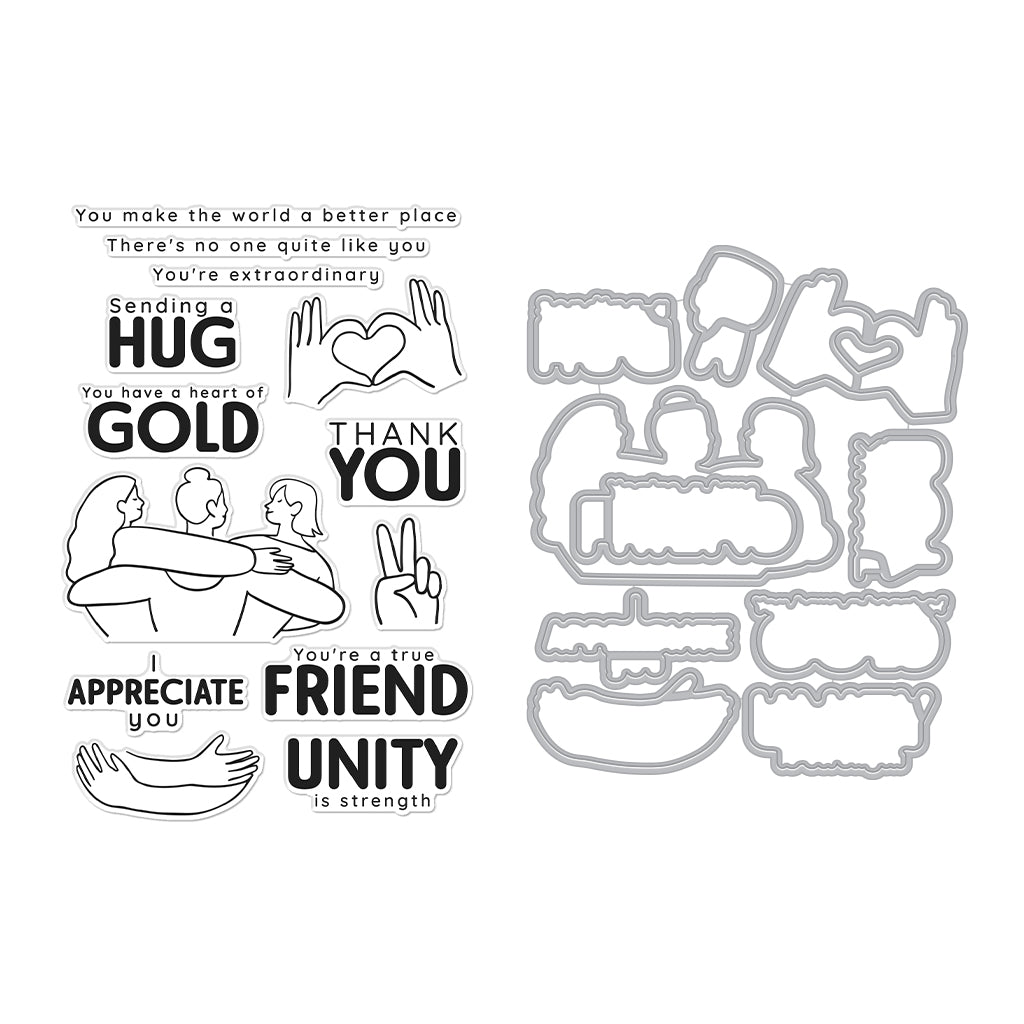
I completed the card with a large, bold sentiment from the new Smile Friend Stamp & Cut XL set. The smaller sentiments that I added underneath are from the I Appreciate You stamp set.
One of the sentiments is stamped in Unicorn Pigment ink onto Pitch Black cardstock and embossed with white embossing powder and the other is stamped in Pitch Black ink on Deluxe Smooth White cardstock. I trimmed out both of the sentiments with the die from the Message Strips.
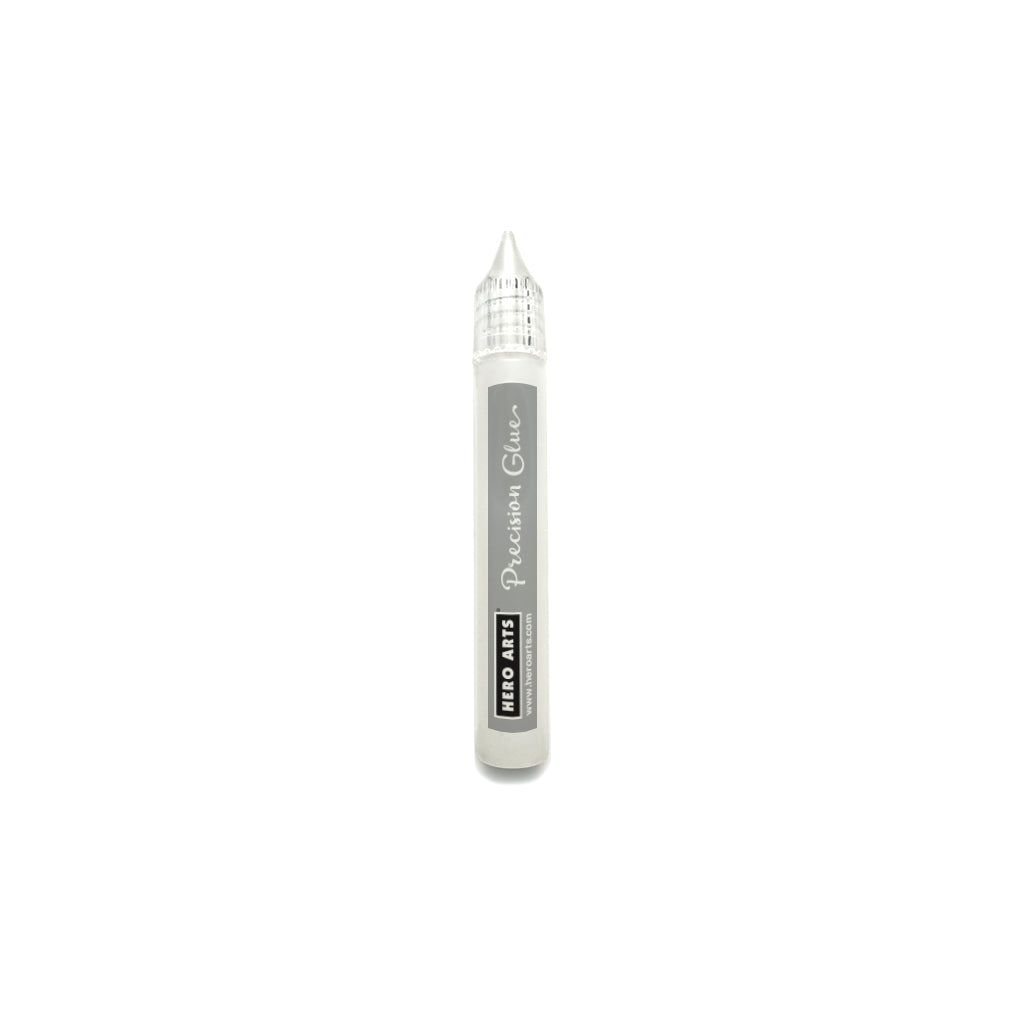
Some additional supplies I found helpful were the Storage Pockets, Precision Glue, and Reverse Tweezers.
I hope you enjoyed today's inspiration! Be sure to check out the video for a complete how-to on completing these cards.
Thanks for stopping by!

|











Pretty! I agree with you having the black shadow behind the smile really added to the card.