Video: Color Layering Robin Two Ways
Mindy Eggen
Welcome crafty friends! Mindy Eggen joining you today to share inspiration in two ways using the Coloring Layering Robin stamp set. I'll be creating a Christmas card and Fall themed card plus sharing my tips along the way.
(If you are having trouble viewing this video, please watch HERE on YouTube)
The Color Layering Robin is such a versatile stamp set. While I'm creating two cards for two different seasons, it can be used all year long.
One of the tricks I like to do when using Color Layering stamp sets (in most cases) is to die cut he image first. This helps me better align the layers.

I stamp the full image onto scratch paper in my stamping tool, I use the MISTI, and then align the negative piece over the image. I'll start by lining up the first layer of my image with the guide I stamped. Then I can pop in my positive piece and stamp the first layer down. I'll repeat this step for all the layers of the image.

For the Robin I'm using on the Christmas card, I'm stamping the image in dark colors using Just Rust, Soft Granite and Charcoal ink.
My first thought for the robin was it needed a perch to sit on so I stamped out the branch from the Holly Berries stamp set in Intens-ified Black ink. Then I used my Copic markers to quickly color in the image and die cut it out with the coordinating die.

On a piece of Dove White cardstock trimmed to 3 3/4" x 5", I stamped a sentiment from the Merry Snowmen stamp set. Then added my branch with a tape runner.
To tie in the red from the berries, I created a card base using Cranberry cardstock.
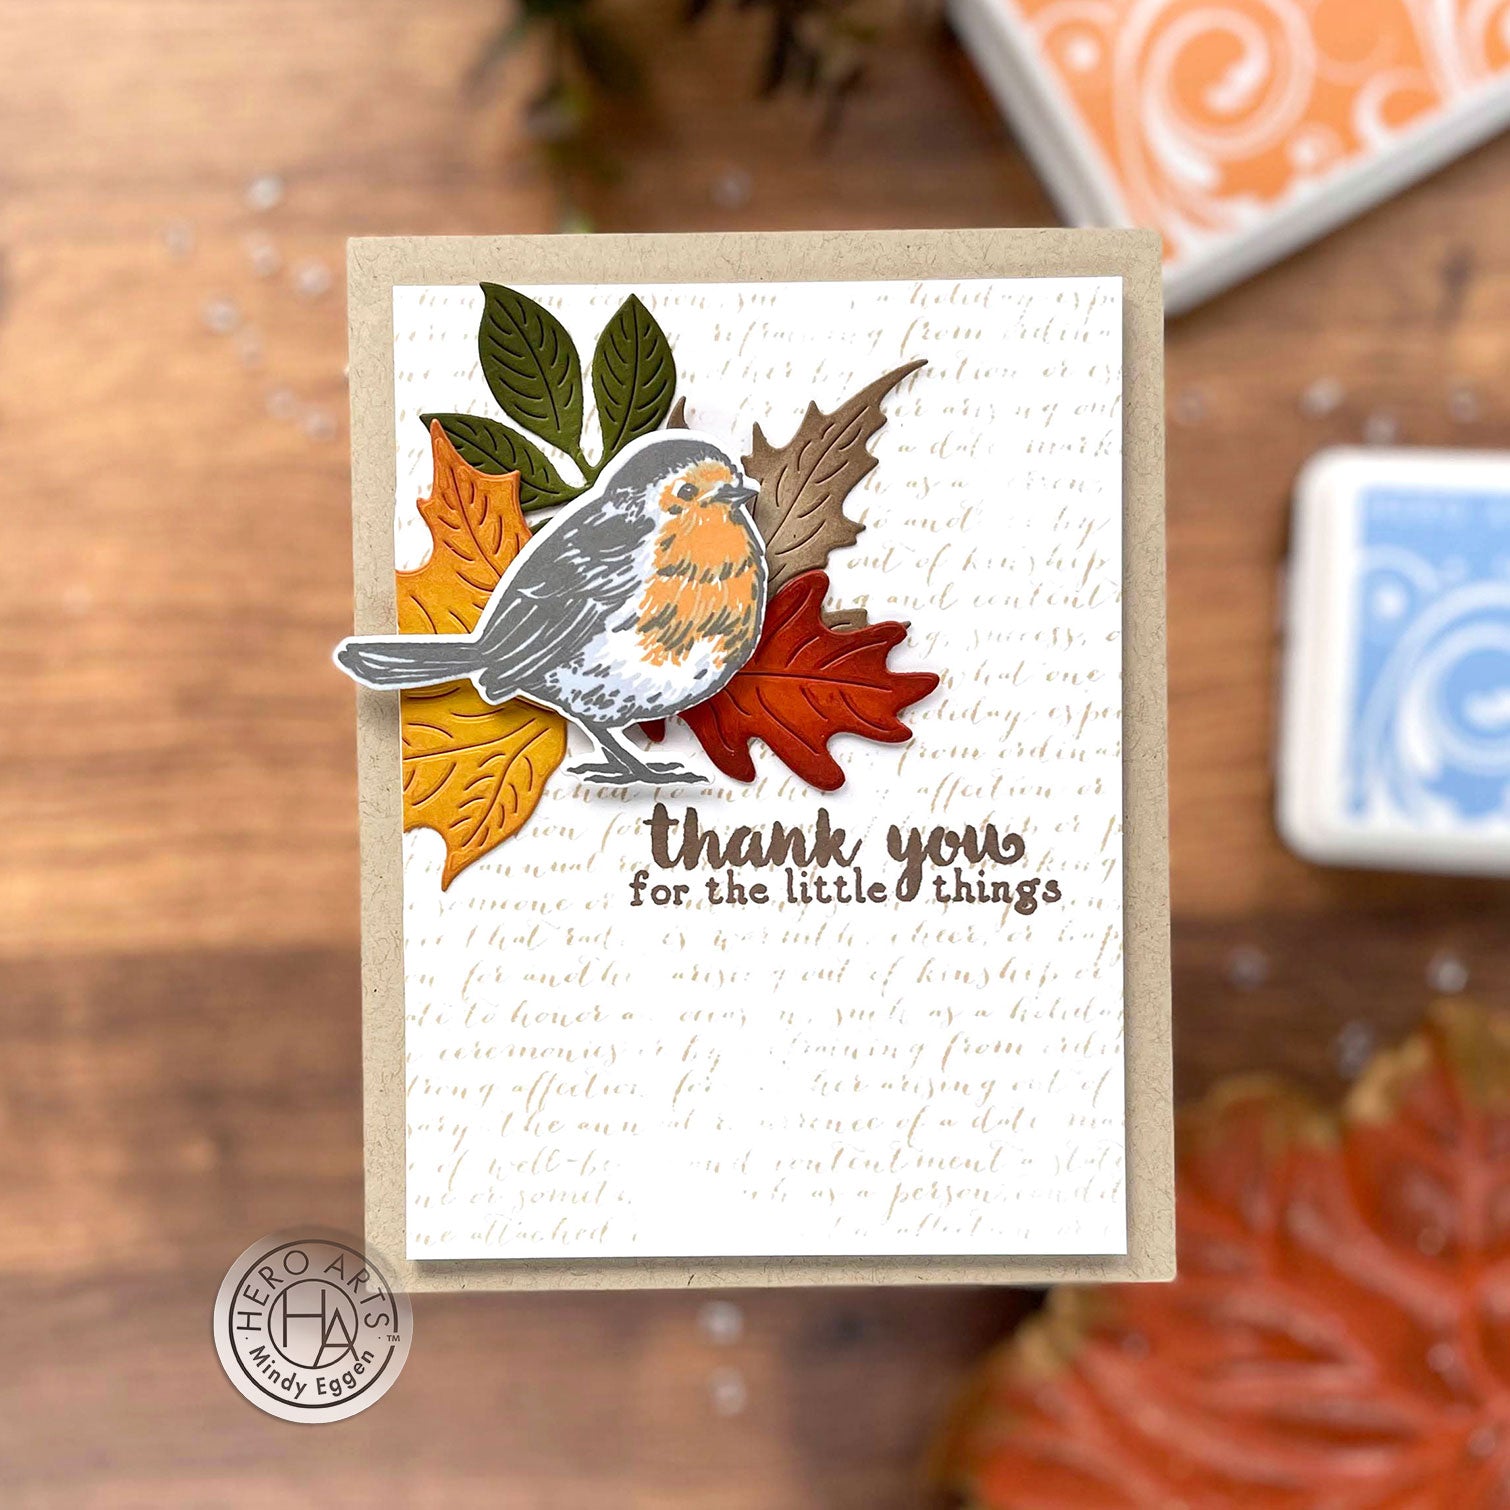
For the Fall themed card, I went for lighter tones on the Robin by using Soft Apricot, Soft Sky and Charcoal.

I die cut out leaves using the Autumn Leaves Fancy Dies and various colors of cardstock including Mustard, Pumpkin Pie, Palm and Sand. I love the added detail to the leaves that the die provides.
To enhance those details and add a little dimension to the die cuts, I'm going to lightly ink blend on some color using blending brushes. I'll be using Forever Green on the Palm leaf, Mulled Wine on the Pumpkin Pie and Mustard leaves and Cup O' Joe on the Sand leaf.

I decided to add a little bit of interest to the background by stamping the Script Bold Prints background onto Dove White cardstock using Soft Brown ink. I purposely didn't press too hard so it had a scattered look on the background.
Since I had my stamping tool out, I also stamped a sentiment in Cup O' Joe ink using the Hello Autumn stamp set.

After trimming my panel down to 3 3/4" x 5" I layered my leaves onto the front of the card and attached to a card base using Sand cardstock. Then added the Robin with foam squares.
I think my favorite part about this card is adding that little bit of ink to enhance the details of the leaves. What is your favorite part? Or which card do you like best?
Be sure to catch the video HERE where you can see step-by-step instruction on layering the image and the tips I share along the way.
I hope this has inspired you in your cardmaking and we would love to see what you create!

Click on products to shop:
|


Leave a comment
Please login with your Hero Arts account in order to comment.
Click HERE to sign up if you don't have an account.