-
Products
-
Categories
Menu
-
Products
-
Categories
Looking Glass Night Sky - Two Ways
Ilina Crouse
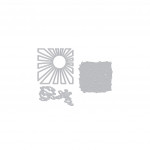
Hi everyone! Ilina here! I hope you are excited about the Summer Catalog as much as I am. I am so excited about the new selection of Looking Glass Dies and today I decided to use the Looking Glass Day or Night set and show you how changing the colors you use will change the look of your card.
For my first card I used Nautical cardstock combined with gold, while for the second one I used Amethyst combined with Dove White and white sparkle cardstock.

To make the first card die cut the night sky die from Nautical cardstock. You can pick a larger piece of cardstock and you can trim it when assembling the card. Using the Square Infinity Dies, die cut a square frame using gold glitter cardstock. Also die cut a square that you will adhere on the back of the night sky.
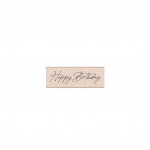
Next die cut one of the Rounded Rectangle Infinity Dies from Nautical cardstock and create a frame using one of the Square Infinity Dies (the larger one you used to create the gold glitter frame). Stamp Cursive Happy Birthday using Clear Embossing and Watermark Ink and emboss in gold. Assemble the elements.
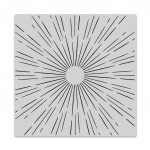
Cut a piece of Nautical cardstock measuring 4" x 5 1/4" and stamp Sun Ray Bold Prints. Emboss in gold. Assemble the panel and adhere to a note card made from Nautical cardstock.

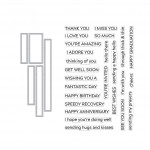
For the second card I used almost the same supplies, but instead of using the Cursive Happy Birthday I used the new Message Strips Stamp & Cut XL set.
To make the card, this time die cut the Looking Glass Day or Night starry sky from Amethyst cardstock. Die cut a frame and backing using white sparkle cardstock and the Square Infinity Dies. Apply Licorice and Purple Galaxy Reactive Ink on the night sky die cut and add extra stars using a white gel pen. Assemble the frame.

Next, cut piece of Amethyst cardstock and stamp the Sun Ray Bold Prints. Emboss using White Satin Pearl embossing powder. Ink blend Purple Galaxy and Licorice Reactive Inks on the top part. Wipe the excess ink using a soft cloth.
Stamp sentiments on Amethyst cardstock and emboss using White Detail embossing powder. Die cut them using the dies that come in the set. Assemble your card and add enamel dots for more interest.

Thank you so much for stopping by and hope you have an amazing day!

|







Color really makes a difference here. I really prefer the amethyst with the silver contrast although both are lovely.
These palettes are so perfect for these sky scenes, my fave are the rich purple and blue.