-
Products
-
Categories
Menu
-
Products
-
Categories
Lacy Windows and No-Line Coloring
Emily Midgett
Hi there! Emily Midgett here with you today, and I used some old and some newer goodies to create this vibrant card, complete with no-line colored flowers and a lacy inlaid window! I love incorporating multiple layers of colorful cardstock into my cards to accent the main focal point; using tone-on-tone cardstock creates lovely texture while not drawing the eye too far from the main focal point. And when you spend the time to do no-line coloring, you want the recipient's eye to stay on that meticulously-colored image! Let's get started with the details.

I began by stamping the large floral image from The Sweetest Bundle using Contour Ink. Contour Ink is my favorite ink for doing no-line coloring with both alcohol markers (as I've done here) as well as watercoloring. It fades beautifully beneath your favorite coloring medium, making it look like you drew your project yourself, rather than used a stamp! Sneaky sneaky. ;) I used OLO alcohol markers to add vibrant color to the image, then die cut the finished piece using the coordinating die from the bundle.

To accent the colorful flower, I wanted to create some monochromatic texture for the background. I began by die cutting a large arch frame using two different sizes of the new Arches Infinity Dies and some Shamrock cardstock. Using the same large die, I die cut another solid arch die cut from some more of the Shamrock cardstock, then ran that solid piece through my die cut machine with the Flower Garden Fancy Die, creating a lacy arch die cut piece. I adhered the frame directly over the top of the lacy background piece, giving it a bit of extra stability and a place to more neatly hide my foam adhesive tape. I also used the smaller arch die to die cut the edge of the colored The Sweetest flower, so that I could tuck it right up next to the frame.

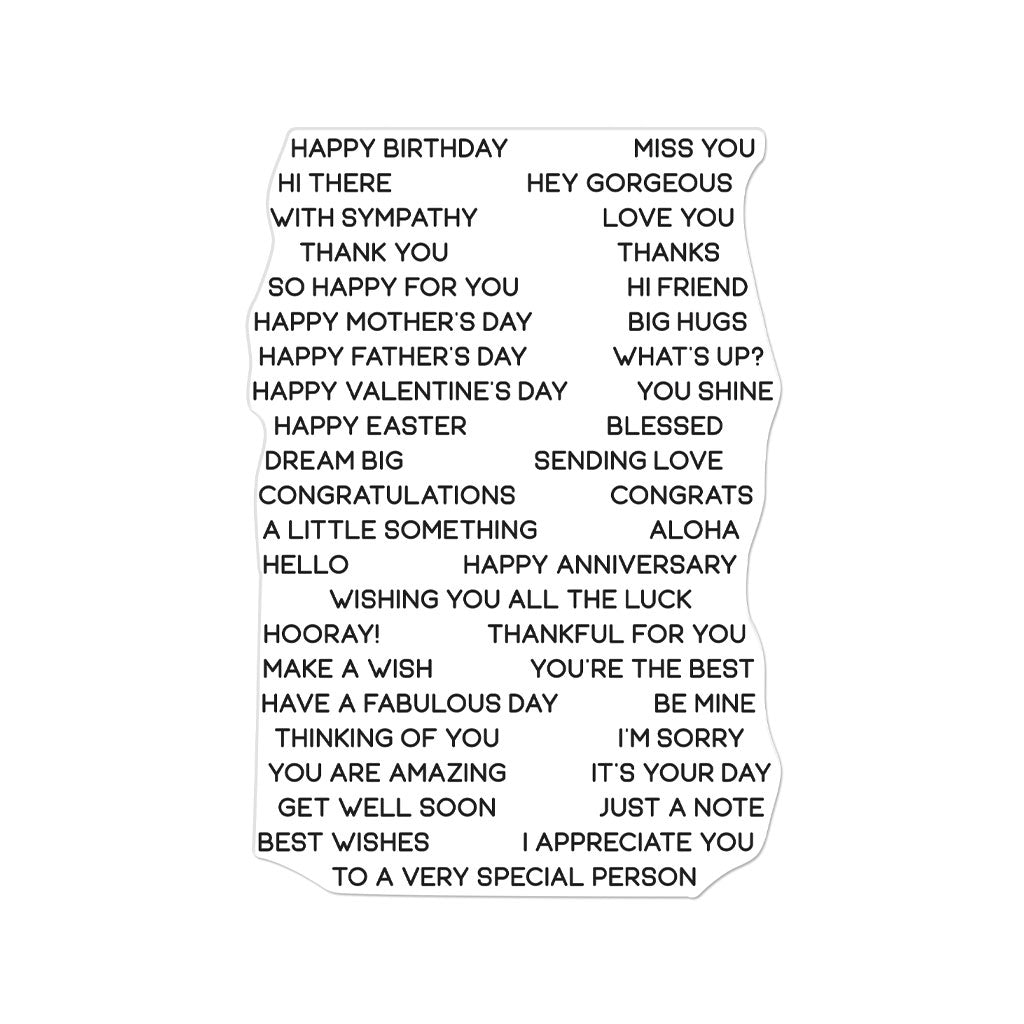
I popped the lacy frame up on a full size A2 Shamrock cardstock panel using foam adhesive, then turned my attention to the greeting. I silver embossed a set of sentiments from the Everyday Sentiment Strips using Silver embossing powder, then die cut them with the coordinating Sentiment Strips Fancy Die, which leaves me with a ton of sentiments to use on other projects, as well! I augmented the simple heat embossed sentiment with a dimensional "Congrats" die cut from the Congrats Happy Stamp & Cut. Finally, I added a few little white drops to help add a bit of shine to the card front.
Well, that's all for my project today! Thanks so much for stopping by today, and have a marvelous day!

|


Emily, this card couldn’t be any lovelier! Those rich greens are so elegant, and your coloring is amazing! You’ve made so many gorgeous cards that I couldn’t possibly choose a favorite, but this one for sure is high up on the list. Love your photo styling, too. That pen! <3 <3 <3 <3 <3