

-
Products
-
Categories
Menu
-
Products
-
Categories
Fancy Filigree Christmas
Tami Hartley
I love detailed dies, so when I saw the new Filigree Border Fancy Die (part of the December My Monthly Hero add-on collection), it was love at first sight. First, here's a look at the die itself and the cut-outs it produces. Delicate, ornamental, and so pretty!

While it complements the December kit and other add-ons beautifully, I thought it would make a lovely background for a Christmas card as well. Here's what I came up with...

Although the card looks detailed, the creation of it was quite simple:
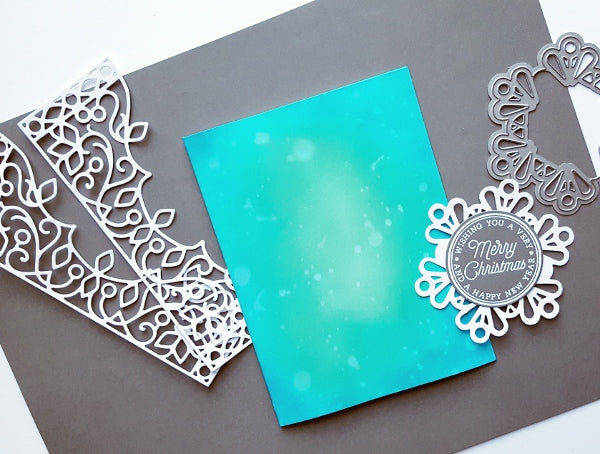
That's all there is to it! The next time you're looking for an easy way to make a card look elegant, give this intricate die a try. It would make beautiful anniversary, wedding and birthday cards too.
Thanks for stopping by, hope you have a great day!


This Filigree Border Fancy Die makes a gorgeous card. Love it!
That’s a beautiful card with a superb die! Goes on to my wishlist :)
Very creative..Love it!
Beautiful card!