Posted by Hero Arts
on January 17, 2023

Today we're happy to have a special guest return to the blog – Essie! She is sharing some great cards using new digital products from our January release. Take it away, Essie!
Hello Friends! Essie here to share a couple more creations using the January 2023 Love Letter Digital Kit. I’ve made a pair of foiled cards today, and you’ll see that the design concept is quite versatile.

Here’s the basic idea: Print a background from the kit – I’ve used the Heart Grid on today’s cards, and there are three other designs in the kit that I think of as backgrounds. The backgrounds are sized to fit an A2 card, so no adjustment was needed.
Foil the background, as I said in my post last month, you need a Laser Jet printer and a Minc or laminator, and toner foil. If you don’t like foil, the Heart Grid is already colored and will print in a medium pink. You can change that color quite easily. I did some light ink blending over the foil, just to give the background a little interest, and then I adhered the heart grid to an A2 card base.
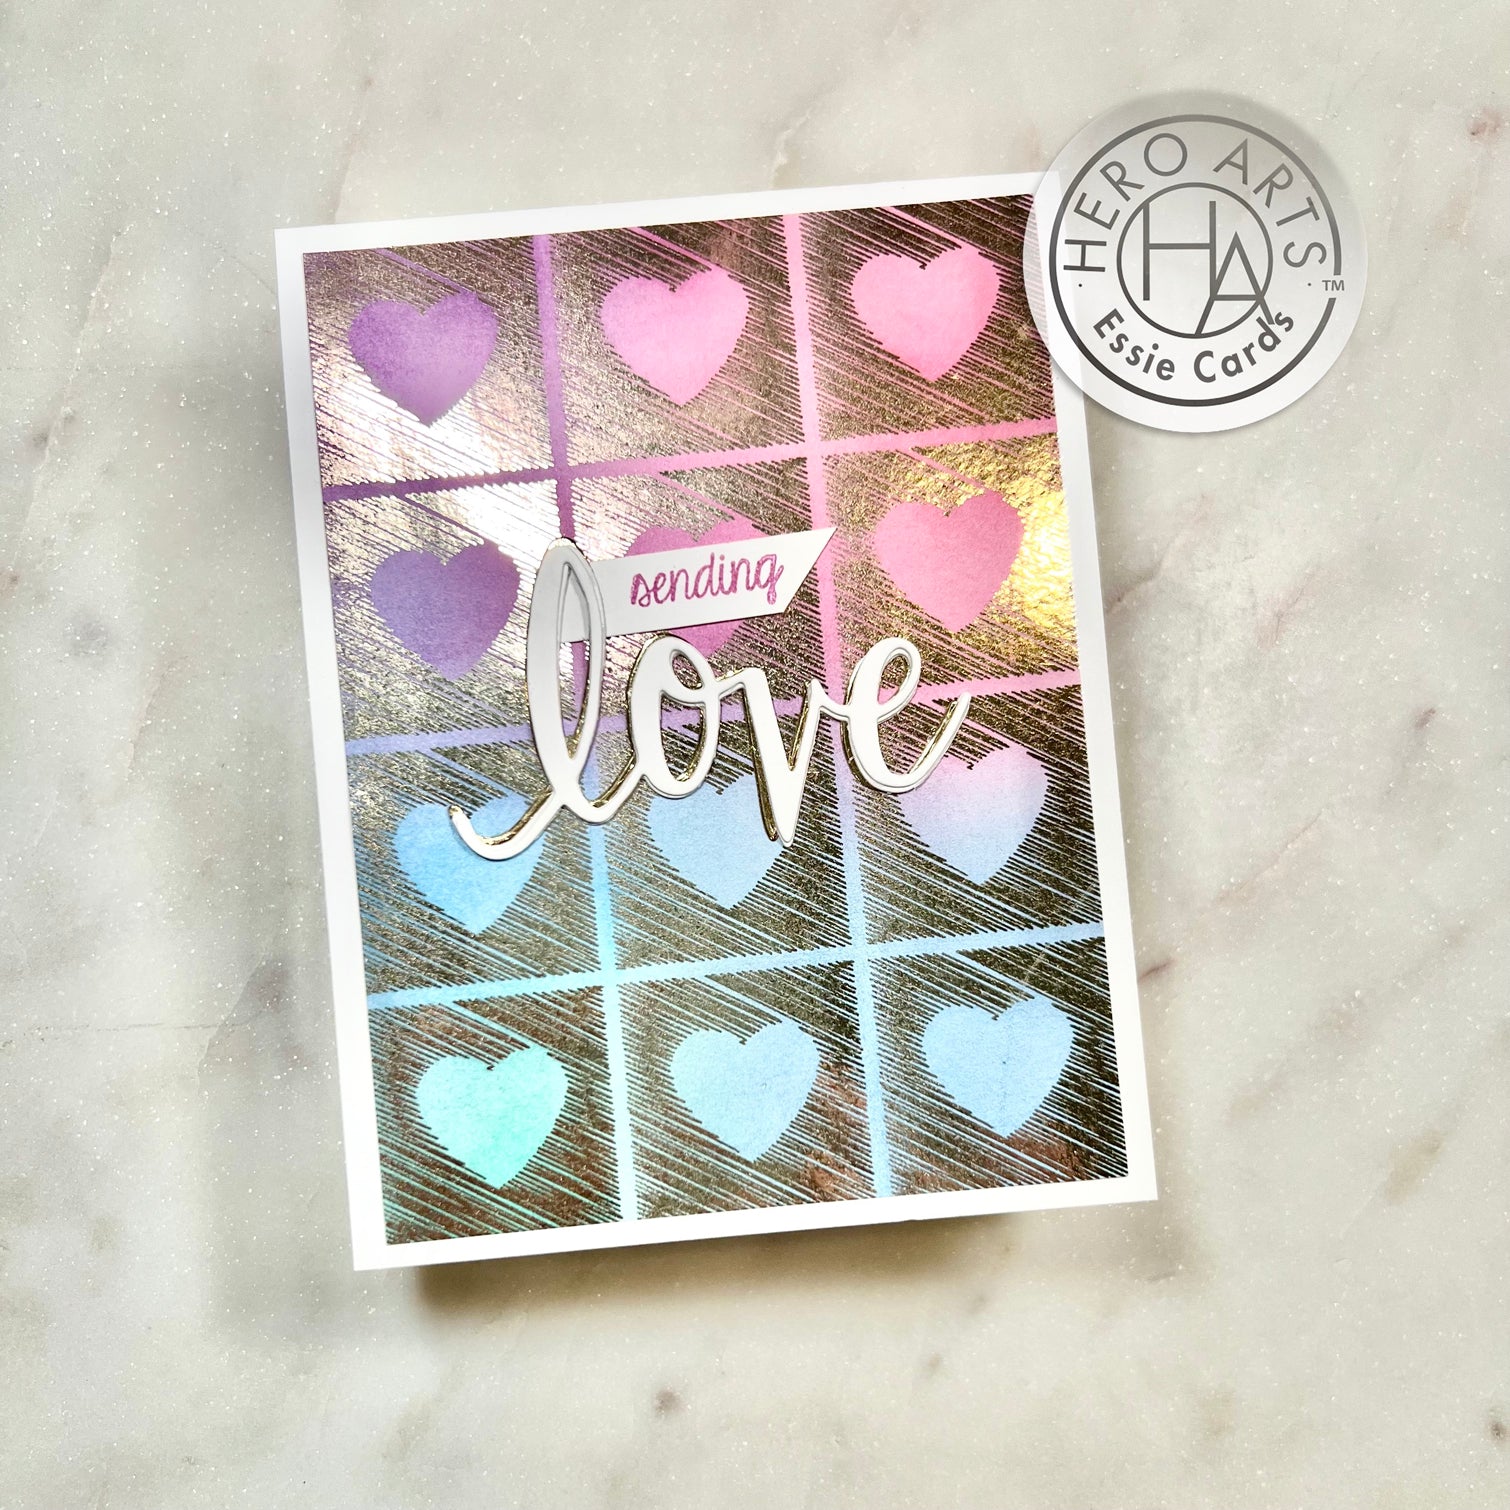
My first card is foiled in gold on white cardstock and my inking uses Hero Arts inks in purples, blues, and pinks. I die cut the word "love" from the Love Stamp & Cut set in white and again in gold foil cardstock. I glued the gold slightly offset and behind the white love. It just gives a bit of a shadow effect, and ties it to the gold foiled heart grid. Simple, but effective.

The second card is on Peony cardstock foiled in a hot pink-silver-blue tricolor toner foil from my stash – it is a very bold look! Because the foil is so bright, my ink blending on this one is really subtle, a tiny bit of pink and purple around the edges.
I die cut the US Mailbox Fancy Die from light blue foil cardstock with a couple of silver foil accents. I also die cut the envelopes that are part of this die set from white cardstock and added tiny sentiments from the Hero Greetings Mini Messages set – they fit perfectly!! I scattered the mail so that it looks like it’s flowing into the mail box, adhered it to the foiled heart grid, and that’s that. This card, by the way, is for my niece, a sophomore at Vanderbilt University – I think it’s sweet, but a little cool, too. (Just like Ellie!)
This design could work well in other color combinations and with plenty of other die cuts. In fact, as soon as my January My Monthly Hero Kit and add-ons arrive, I’m going to use this basic background design and substitute some of the new goodies – can’t wait!
I hope you’ve enjoyed this how-to on using digital images, and that you’ll try out the January digital kit – so much here to enjoy! Thanks for joining me!
Thanks for all the great inspiration, Essie!

|


1 comment
Love these cards. You’ve given me new ideas for the background for that mailbox die cut, one of my favorites in my collection!