

Posted by Spellbinders Team
on May 11, 2018

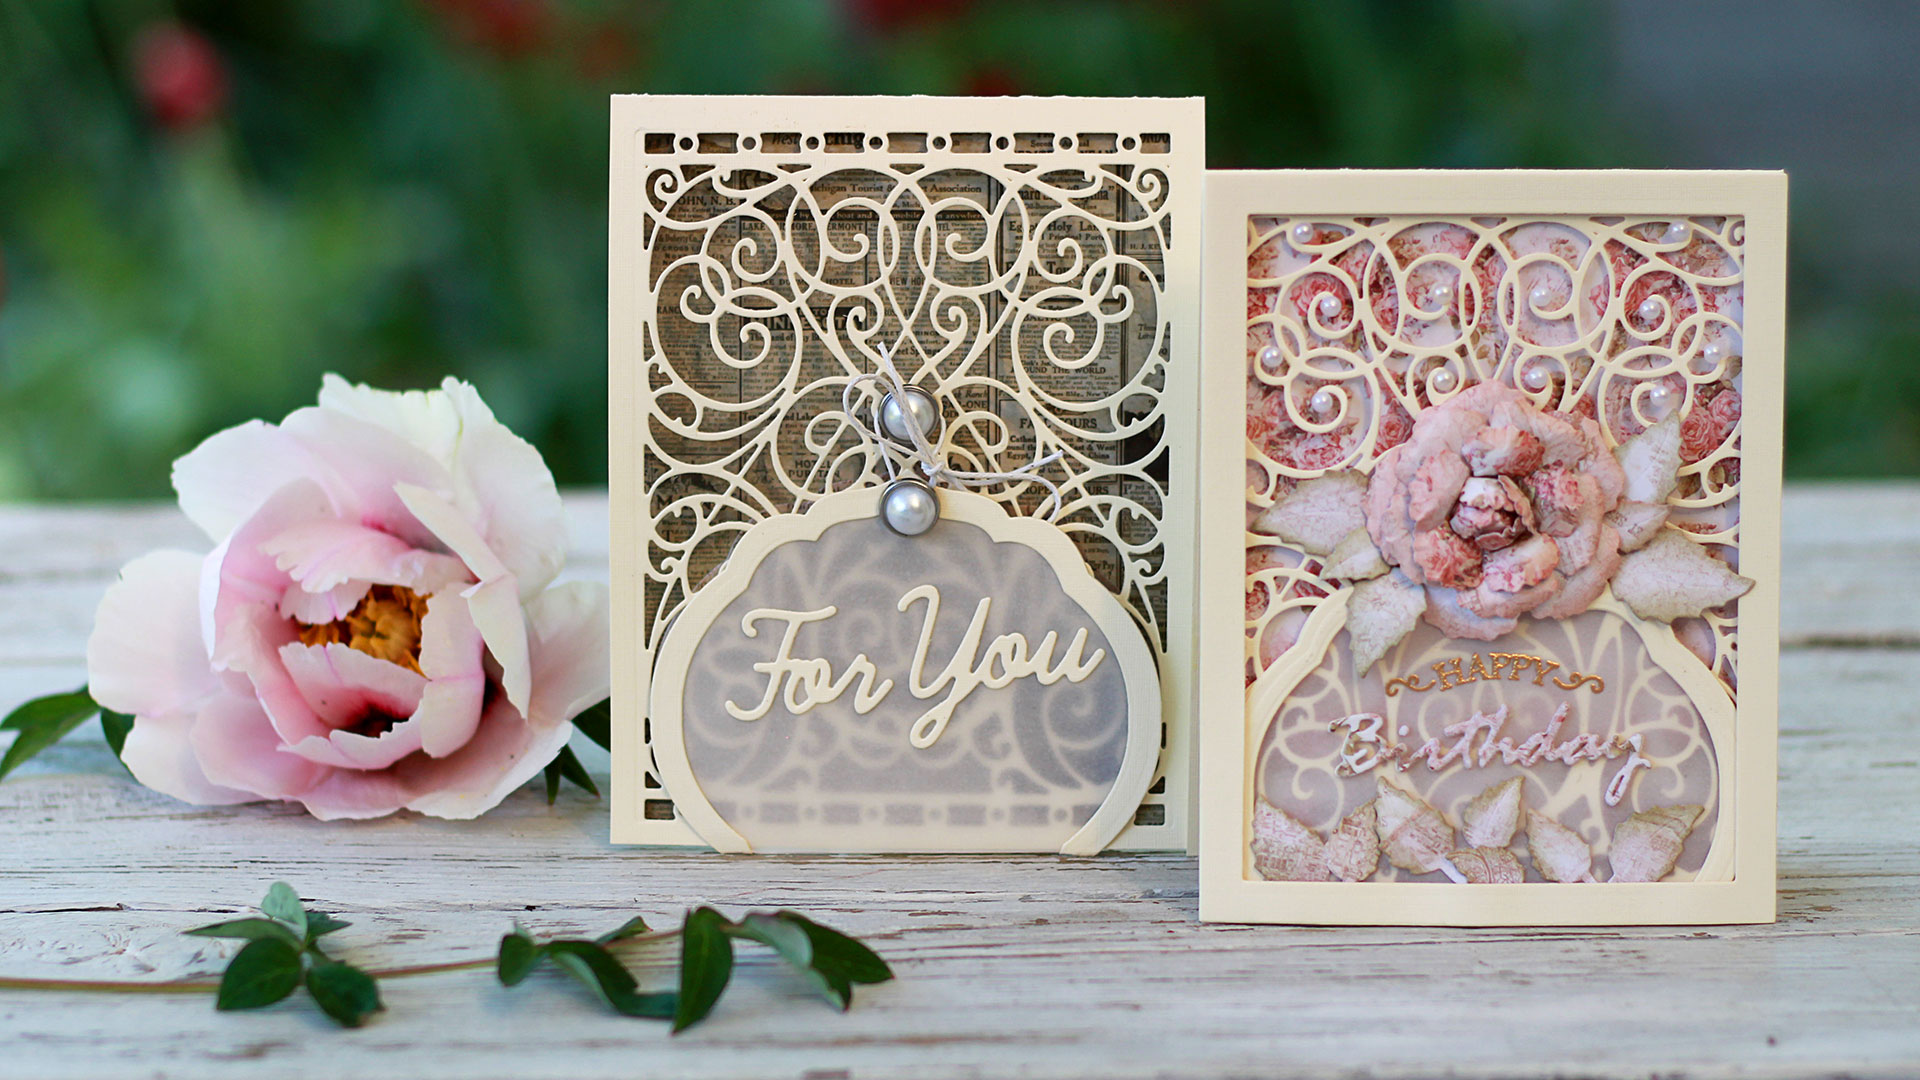
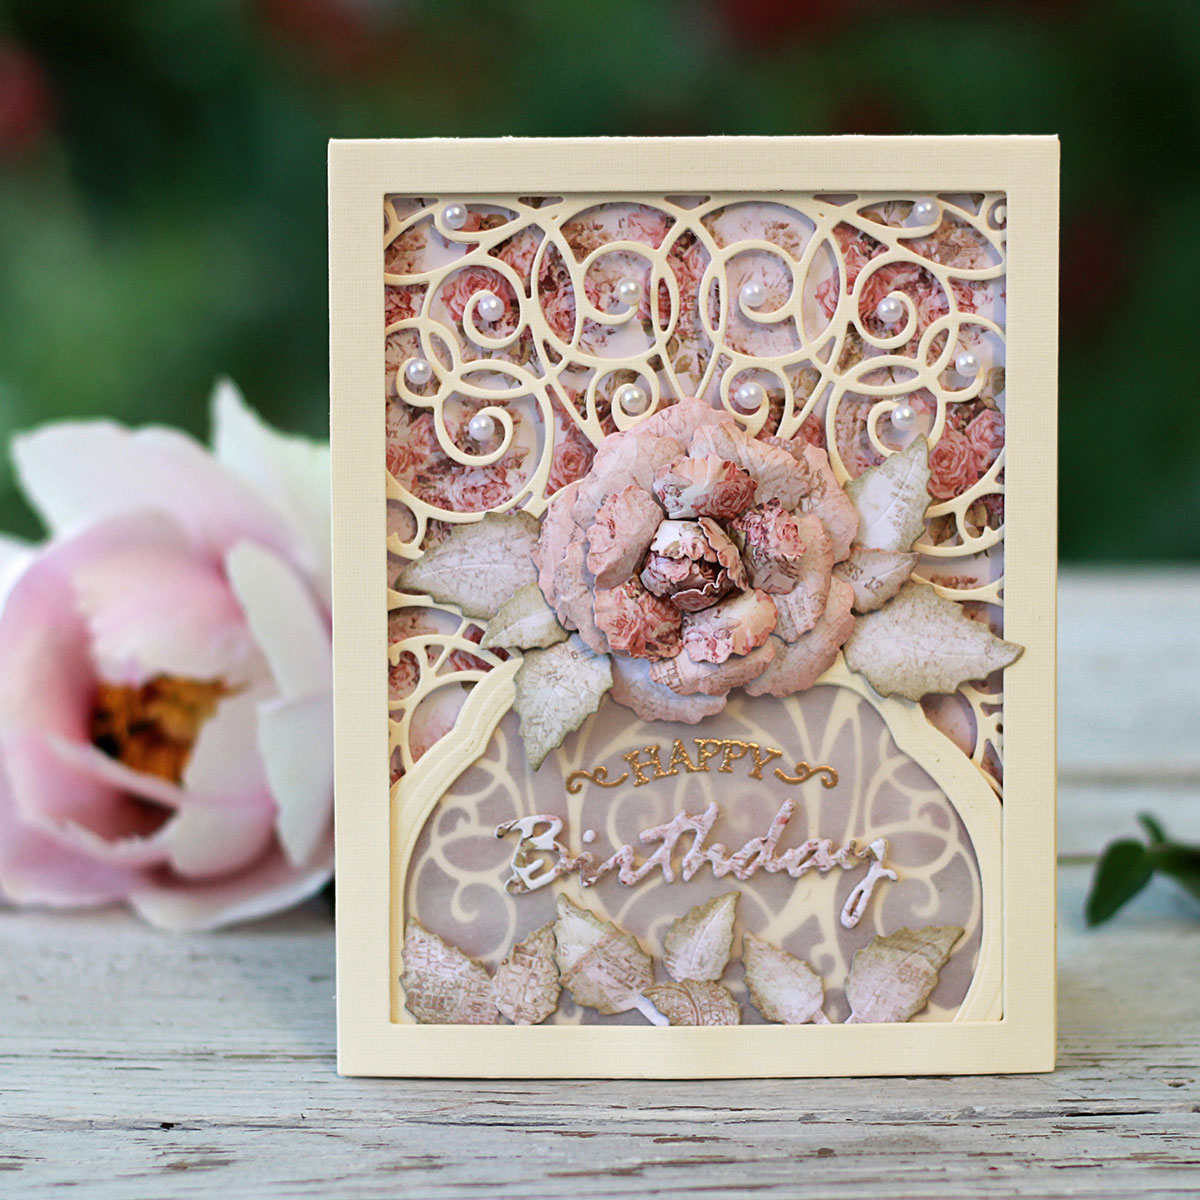
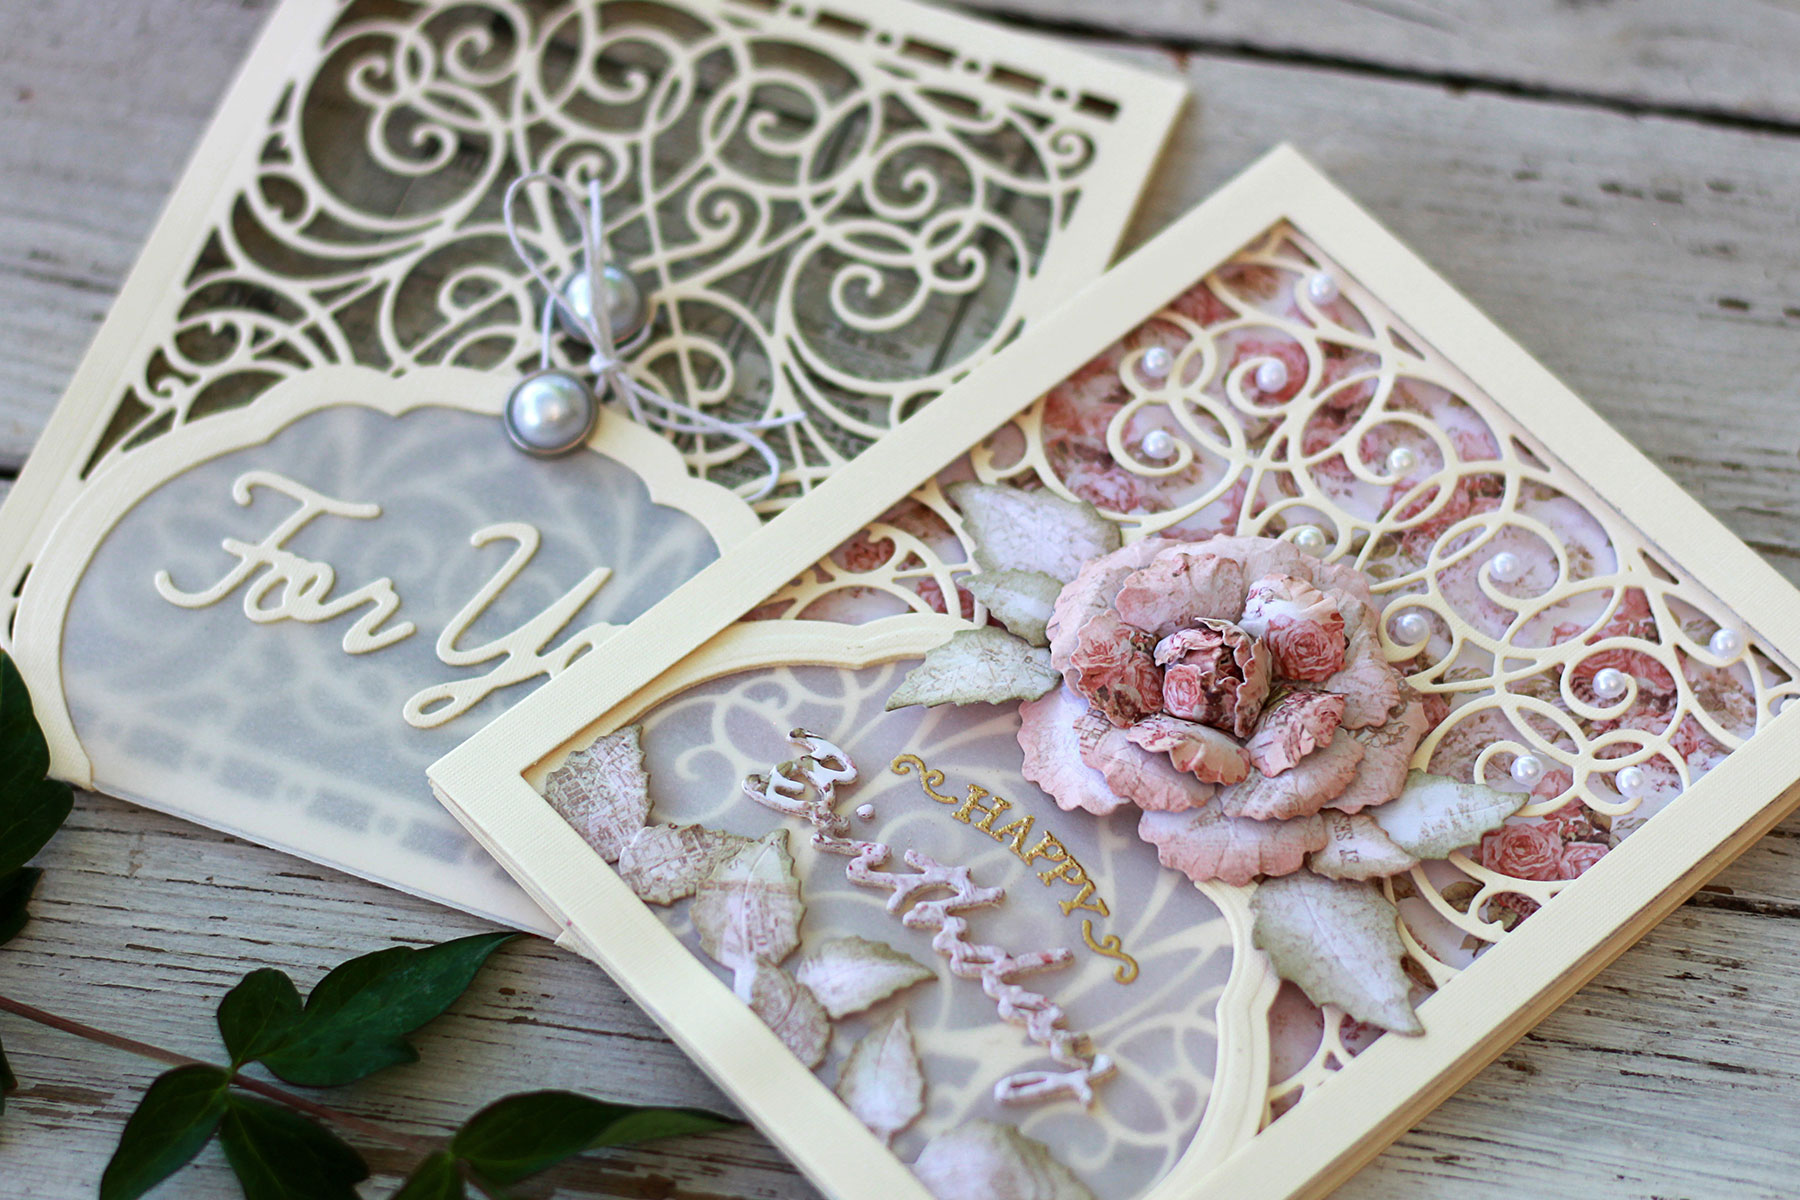
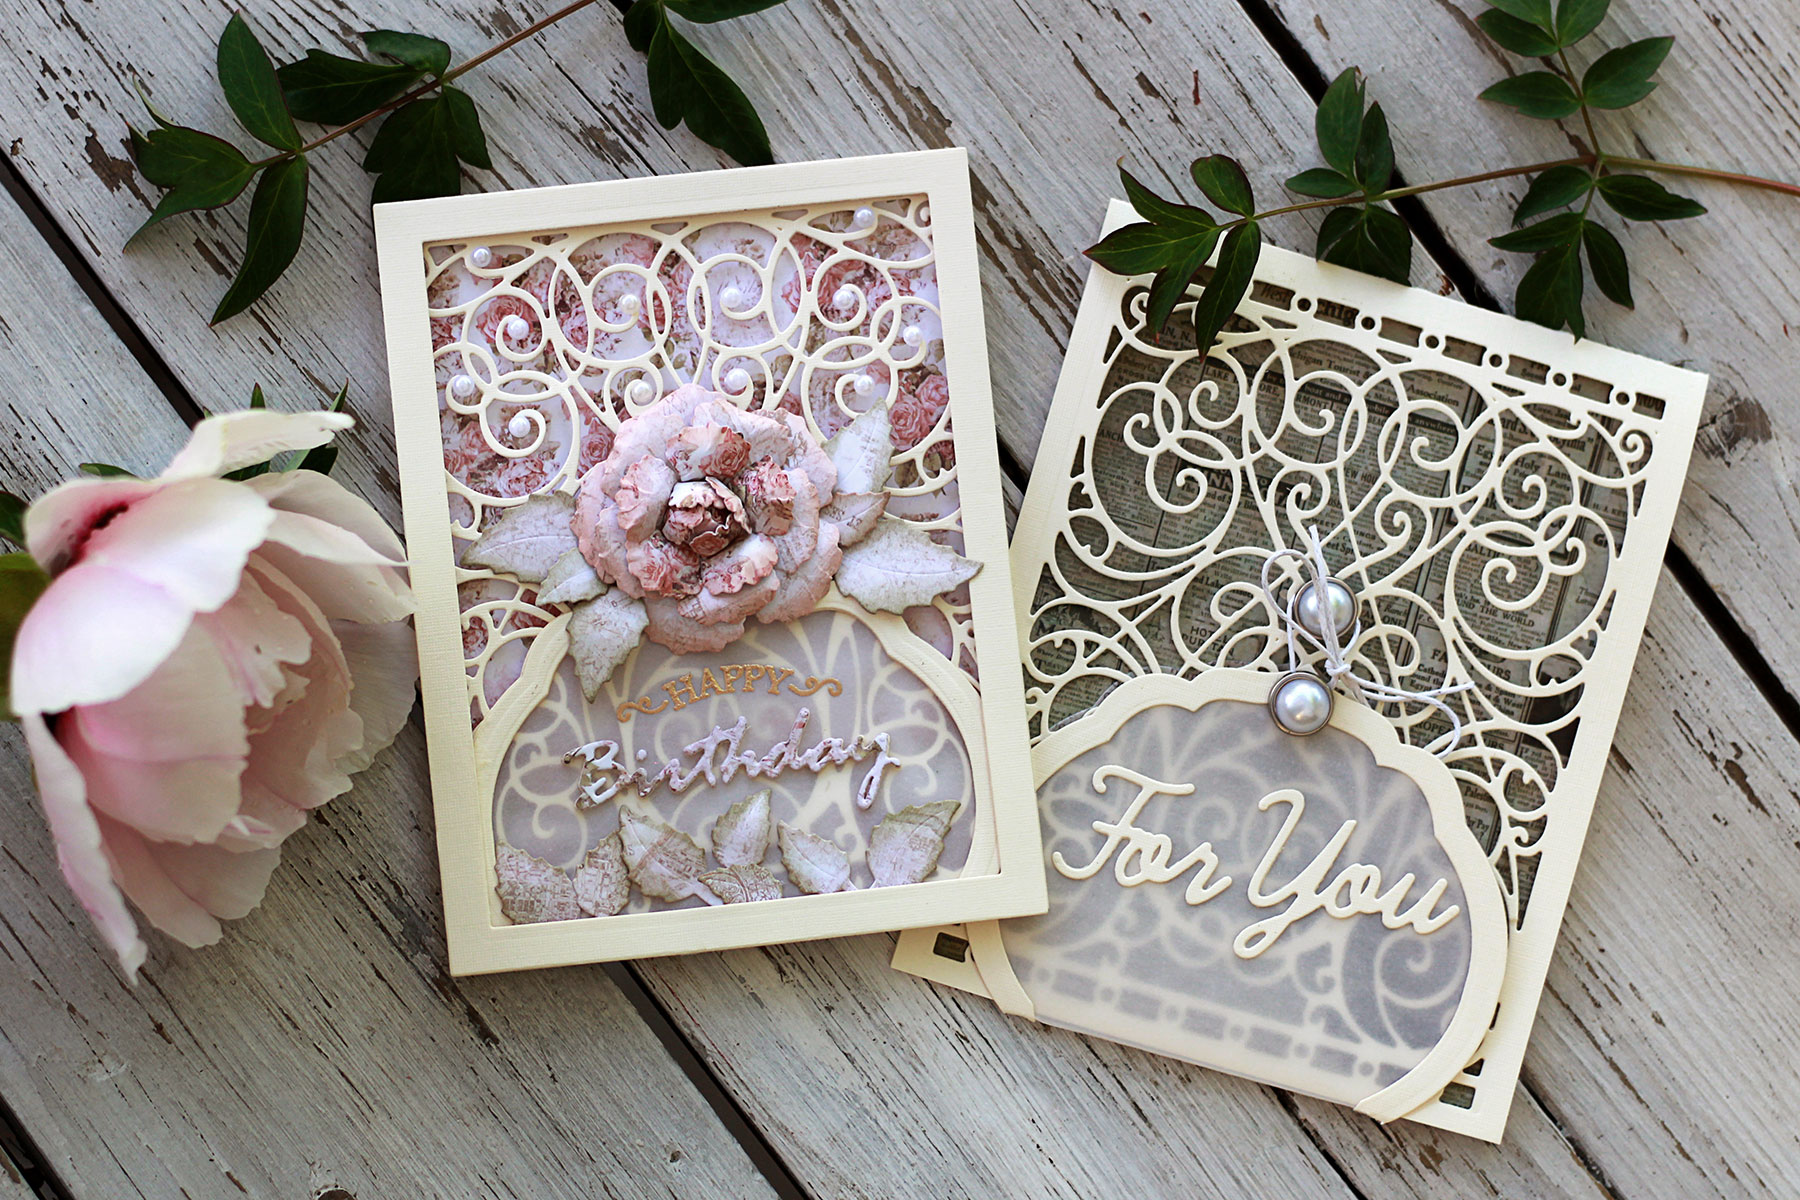
Hello die cutting fans, thank you for joining me on Spellbinders blog! Today I am going to showcase 2 projects featuring
Swirl Background
and
Curvy Labels
die sets from
Romancing the Swirl collection
designed by
Becca Feeken
. Both cards are the same design but are a bit different in structure.

VIDEO TUTORIAL
Want to know exactly how both cards were created? You can find a full the step by step guide in a video tutorial. Watch below or on YouTube :Spellbinders Supplies:
- S4-563 Phrase Set One
- S4-564 Phrase Set Two
- S4-916 Blooming Rose
- S4-930 Curvy Labels
- S5-1 31 A-2 Matting Basics A
- S5-366 Swirl Background
- SDS-134 Wine Glass Bottle Tag
- PL-001 Platinum Die Cutting and Embossing Machine
- T-001 Tool ‘N One
- T-004 Magnetic Handy Mat























































































4 comments
Brilliant tutorial, clear and concise, I can’t wait to try it.
I love the cards! They’re keepsakes!
Thanks Pooja!
Gorgeous cards !