Video: Sunflower Field HeroScape | Color Layering With Yana Series
Yana Smakula
Hello, Hero Arts fans! Welcome back for another episode of the Color Layering video series!

In this video and episode, we are taking a closer look at the Sunflower Field HeroScape stamp set.

Watch the video tutorial below to learn how I made the cards I'm sharing today.
If you’re having a problem viewing this video, please try watching it HERE in HD on YouTube.
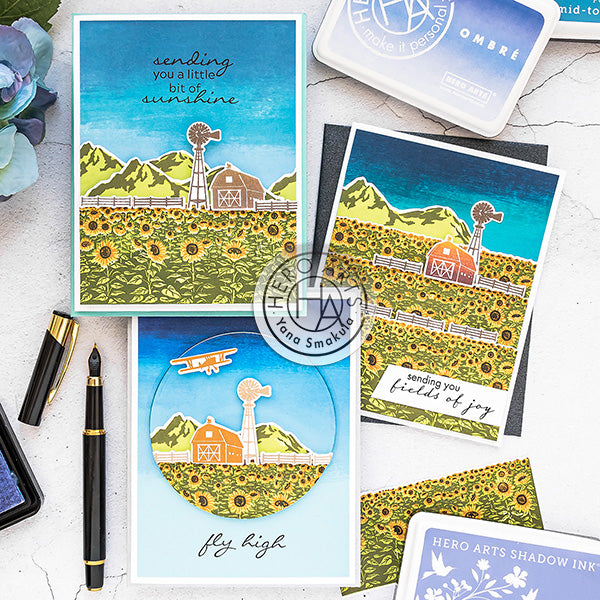
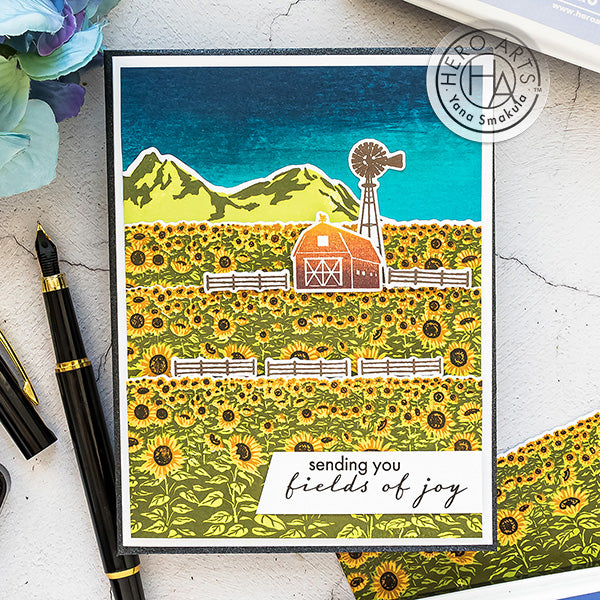
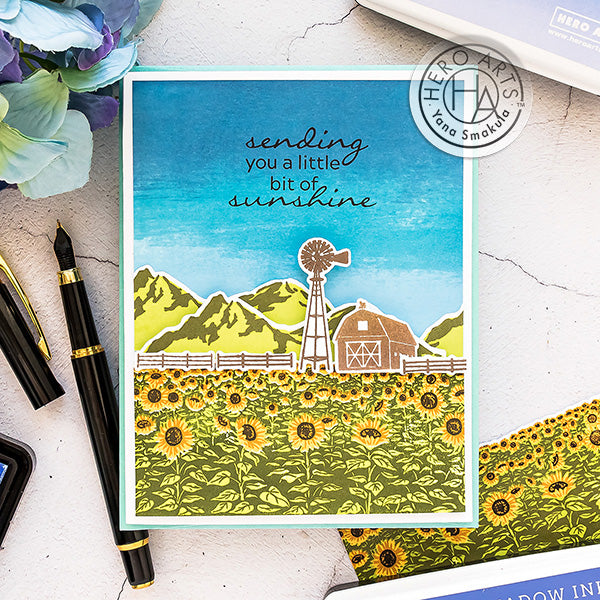
The Color Layering Sunflower Field HeroScape stamp set is a large 6"x8" set featuring a gorgeous layering image of the sunflower field. It also includes several sentiments and silhouette images to complete the scene. On the back of the packaging, as always, you have layering ideas and tips to help you build your scenes.
I used a stamping tool to stamp the image layers, mini MISTI in Black. I encourage you to use a stamping tool when stamping the color layering images. It makes a world of a difference as it is much easier to align layers when using a stamp positioner. This tool is also handy because it allows you to mass-produce images with ease.

I used the following ink colors to stamp my layers: Lime Green, Forever Green, Butter Bar, Caramel, and Black.
If you'd like to use other ink colors, you will need a light and a dark green, a light and a dark yellow, and a brown or black pad.
I also stamped additional images from the Sunflower stamp set to help me build my scenes: barn in various colors of ink - Caramel, Ombre Autumn, Cup of Joe; fence and windmill in Cup of Joe and Soft Brown.

I also went ahead and stamped several mountain hills and forests using the Mountains at the Lake stamp set. I used the same colors of green ink as I did before.
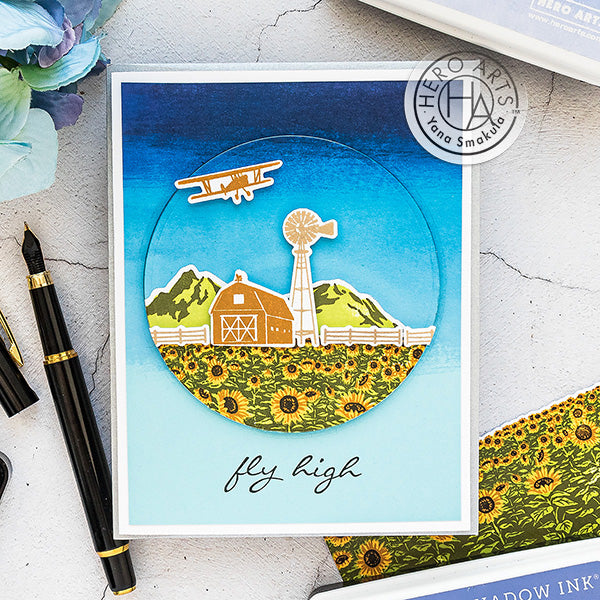
To create backgrounds for these cards I used Mist cardstock and direct to paper ink application method (I call it the "shoe shine technique") to create various color skies for my cards. Watch my video for the how-to.
With the backgrounds and stamped images ready I created scenes. I used a combination of glue to adhere elements directly to the panel with foam adhesive squares, to pop some of the elements slightly up on the card and foam tape, which is a bit thicker than foam adhesive squares to pop the most forward layer the most.

I trimmed each panel to 4 x 5 1/4” so that when I adhered it to an A2 white card base I had a bit of a white border on my cards.
The sentiments for all of these cards were stamped in black ink either directly on the sky panel or on a piece of white cardstock.
For my last card, I die-cut a circle from my sky background and adhered the scene so that it was enclosed in that circle. I did use the leftover sky background panel and adhered it to the A2 card base to add interest to my card. The main circle panel was foam mounted to add dimension to the project.
Have fun stamping!
|


Lovely inspiration with this set, Yana! I’m loving this Sunflower Fields landscape set.
Lovely scenes, Yana. tfs-stay well.
Three wonderful cards with the sunflower field, Yana – thanks for the fun video too!!
Beautiful cards! Thanks for sharing your awesome video and ideas!!
Fabulous creations, Yana, especially that last card with the circle!! Love it!!