-
Products
-
Categories
Menu
-
Products
-
Categories
Video: Ink Blending and Layering with the Secret Garden Fancy Die
Jessica Frost-Ballas
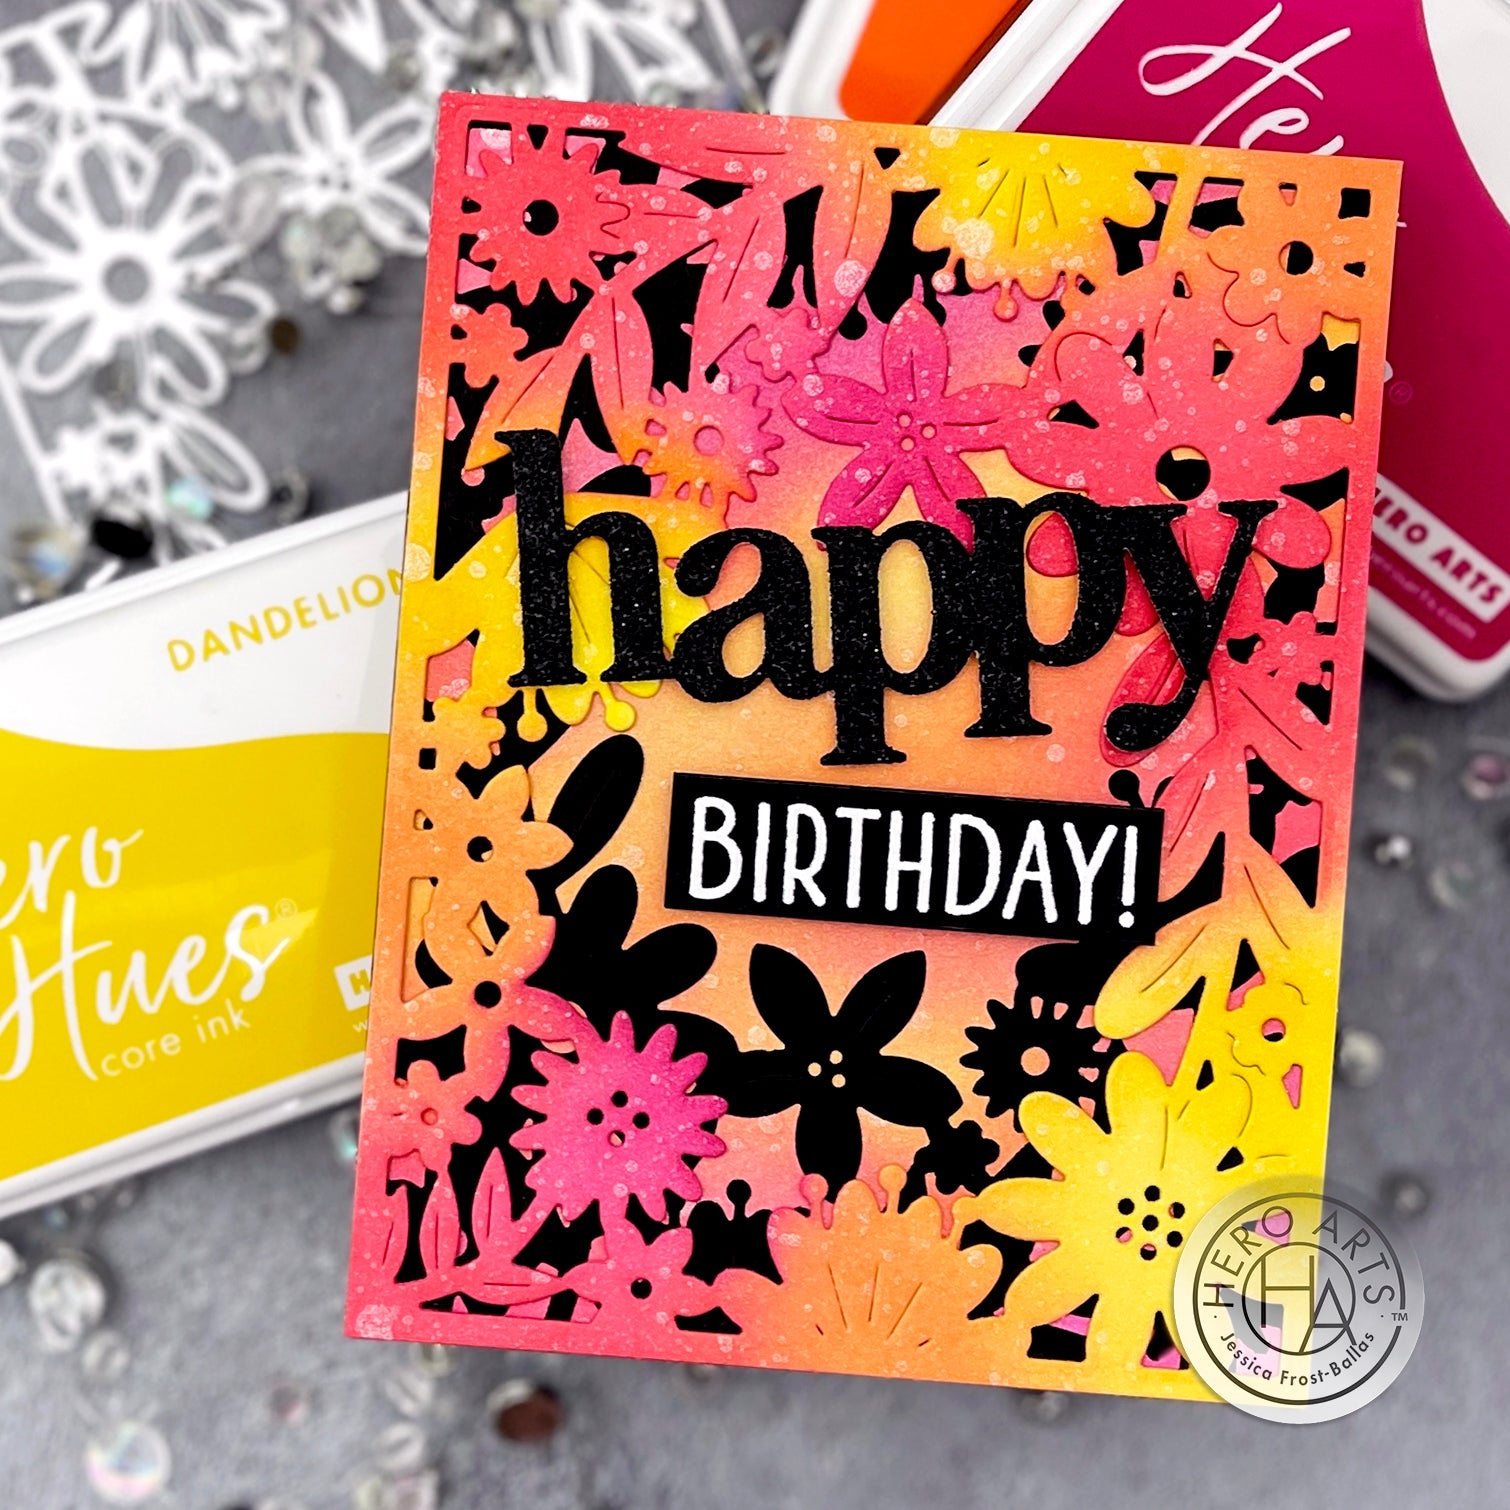
Good morning! Jess here with a video tutorial sharing how to combine ink blending and layering for a vibrant cheery birthday card using the Secret Garden Fancy Die and some of my favorite Hero Hues inks!
(If you are having trouble viewing this video, please watch HERE on YouTube.)
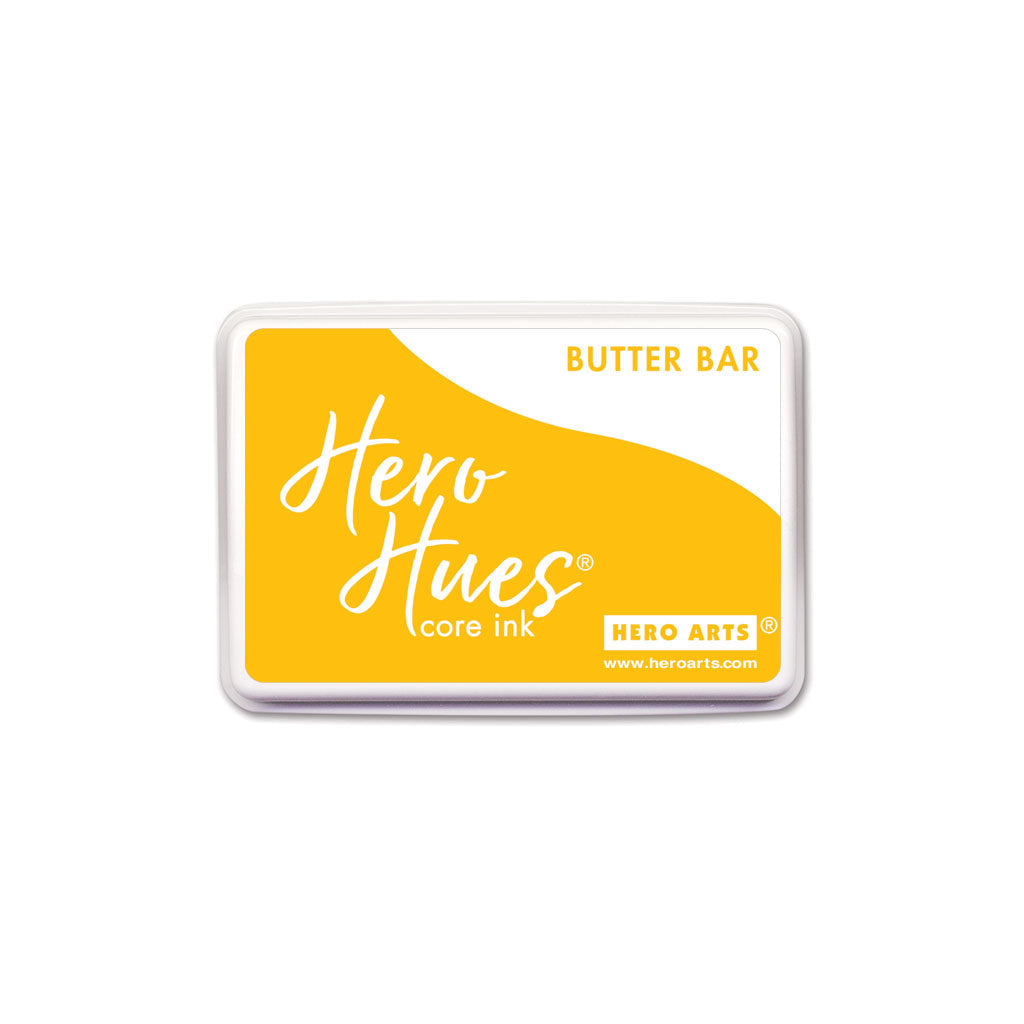
I love how easily the Hero Hues inks blend together to create a really cheerful spring or summer birthday card! I start by die-cutting the Secret Garden Fancy Die from Dove White and Pitch Black cardstock. Then I use blending brushes to apply Dandelion, Butter Bar, Papaya, Pale Tomato, Azalea, and Raspberry Jam Core inks onto the white die-cut panel. I use a heavy hand but a lot of repetition to get well-saturated coverage! I also blend an A2 panel of Dove White cardstock using the same inks but a much lighter hand.

I spritz both blended pieces with White Iridescent Shimmer Mist and then let them dry completely. While they're drying I stamp a sentiment from Happy Thanks Stamp & Cut XL onto Pitch Black cardstock with Embossing & Watermark Ink and heat emboss it with White Embossing Powder. I also die-cut the word "happy" from black glitter cardstock using the Glitter Paper Basics pack.

Once the panels are dry I use Liquid Precision Glue to adhere the black die-cut panel to my fully blended A2 panel. Then I adhere my blended die-cut panel on top. I finish the card by adding my sentiments with foam mounting tape. And that's it!
Thanks so much for stopping by today and have a wonderful week!

Click on products to shop:
|


Leave a comment
Please login with your Hero Arts account in order to comment.
Click HERE to sign up if you don't have an account.