Posted by Mindy Eggen
on July 24, 2023

Hey everyone! It's Mindy with you today to share a fun technique that you can do with you hot foil plates. Have you ever tried foiling on acetate? Well, we are about to!
(If you are having trouble viewing this video, please click HERE to watch on YouTube.)
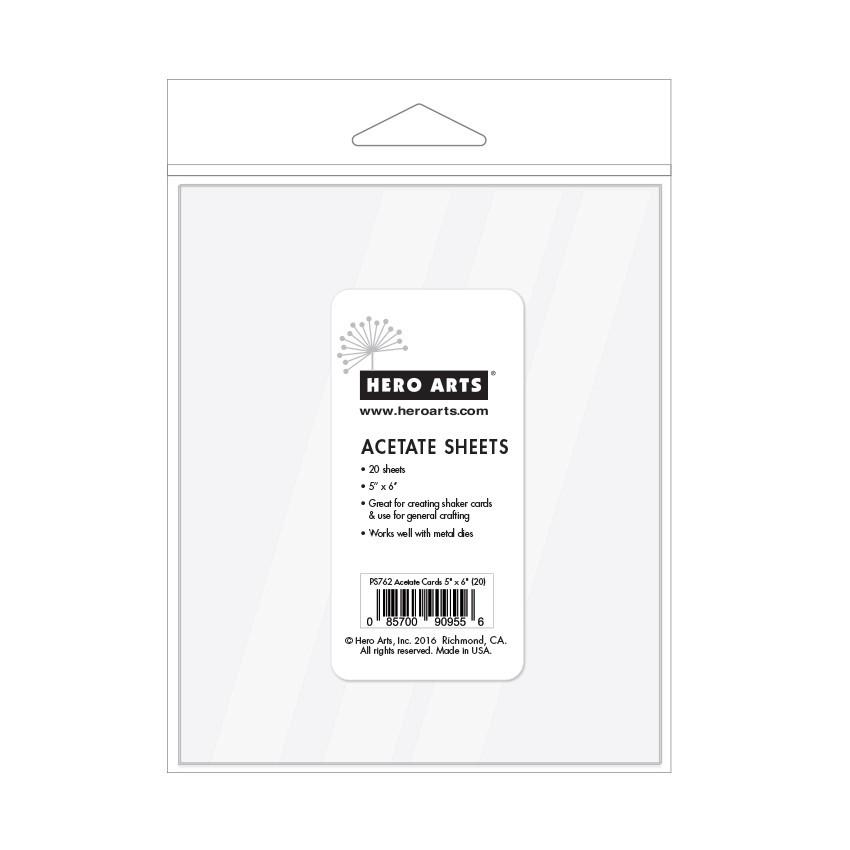
I have a key point I want to make before we begin and that is make sure your acetate is heat resistant. The Hero Arts Acetate Sheets are perfect for the job but if you have some in your stash and it doesn't say on the packaging, I suggest contacting the company's customer service department.

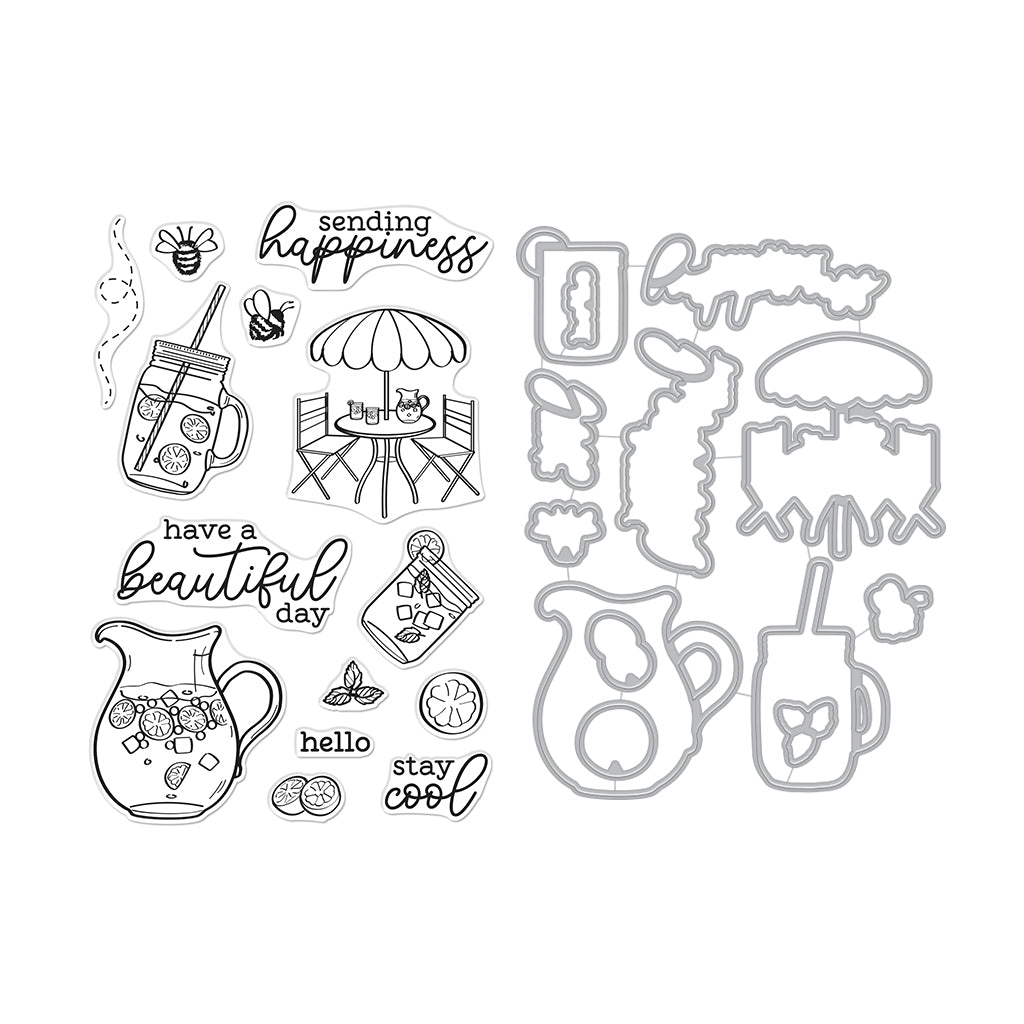
Using acetate for your hot foil plates is just another fun way we can use our supplies. I'll be using the Peony Hot Foil Plate for today's project which will make a great focal point.
I'm foiling this design using my Matte Gold Glimmer Hot Foil , Glimmer Hot Foil System and Spellbinders Platinum 6 die cut machine. You can watch how I create my sandwich in the video listed above.

I'm going to create a window for my design using Deluxe Smooth White Cardstock and the Arches Infinity Die . This will help draw in my focal point and frame the image. I'll attach the window over the acetate using double sided tape and trim off any excess acetate.
For our background, we have lots of options. You could use color cardstock, ink blend a background, stencil a background or create a shaker card. I'm going to add some color to my background.
The colors I'm using to ink blend are in the Reactive Ink line and that is Lemon Drop , Taffy and Berry Smoothie . I'll apply these colors to Deluxe Smooth White Cardstock and a blending brush .

Then I'm going to add foam tape to the back of my window panel and attach over the ink blended background.
Check out in this close up picture how absolutely perfect it foiled! Swoon!

For a sentiment, I'm using the Lemonade Day stamp set. I love these happy messages and the fact that they have a coordinating die. I'll stamp the sentiment in Intense Black ink, trim out with the coordinating die and add to the front using my reverse tweezers and Precision Glue .
This project came together pretty quick and has so much shine to it. The recipient is sure to wonder how you did it!
Hope you enjoyed today's inspiration and if you have tried foiling on acetate yet, I highly recommend giving it a try!
 Click on products to shop:
|


3 comments
Beautiful, Mindy! I didn’t know you could hot foil on acetate.
Beautiful, Mindy! I didn’t know you could hot foil on acetate.
Hi, HA and Mindy -
This is beautiful and you make it look very easy to do. I like the heat-resistant acetate that you showed from HA, Mindy. I will look into that…..
Lori S in PA