Video: Friendship & Valentine's Day Swan Cards | Color Layering With Yana Series
Yana Smakula
Hello Hero Arts fans! Welcome back for another episode of the Color Layering video series!

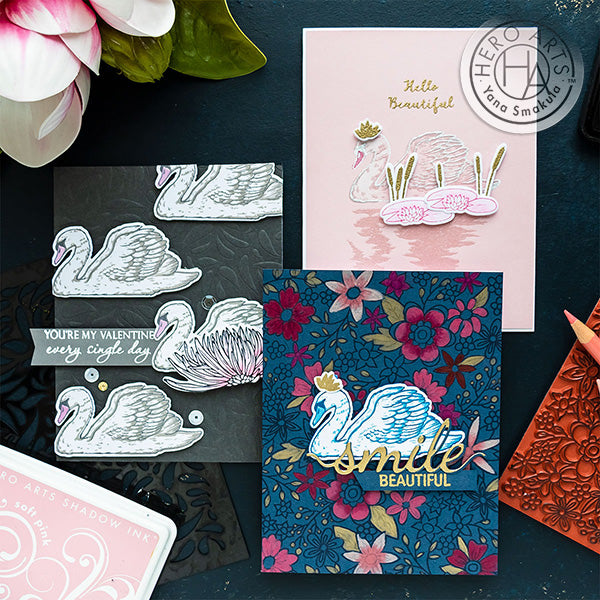
In this video & episode, since Valentine's Day is right around the corner, I am making Love & Friendship cards using the Color Layering Swan set.
Watch the video tutorial below to learn how I made the cards I'm sharing today.
If you’re having a problem viewing this video, please try watching it HERE in HD on YouTube.
For my first project I wanted to create a bold and beautiful background. I stamped Flowers for Coloring Bold Prints background stamp in VersaMark embossing Ink on dark blue cardstock.
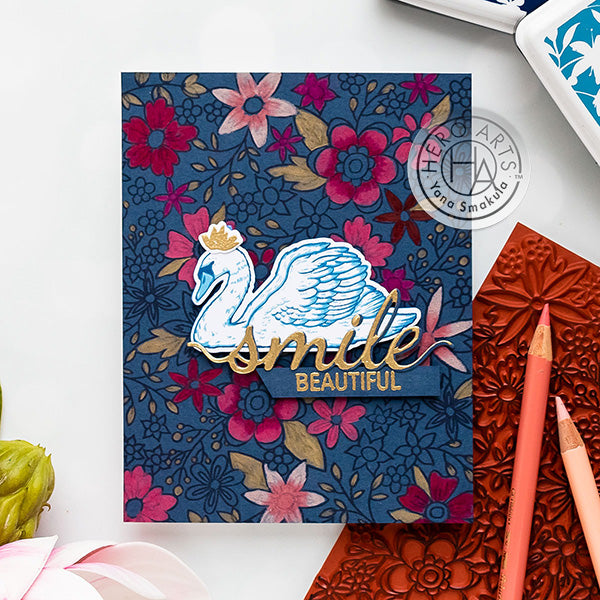
I love this background stamp, it is perfect for just that - coloring! Of course you can use it for other kinds of backgrounds, with some ink blending, perhaps, but today I really wanted to color it.
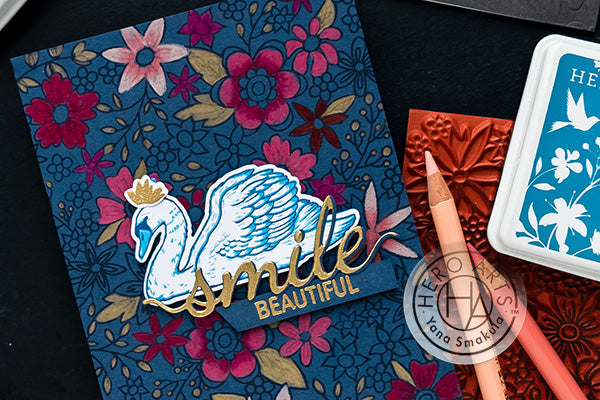
I love the look of colored pencils on dark cardstock so I reached for my Polychromes colored pencils by Faber Castell and did some quick coloring. I wanted to add touches of gold, so I colored many leaves and dots gold, it shines a bit as you tilt in the light; and I also wanted to add a lot of various shades of pink. For many of the flowers on this background I used several pink pencils. I was aiming for simpler coloring with less blending and minimum color use as I didn’t want to spend hours on this background.
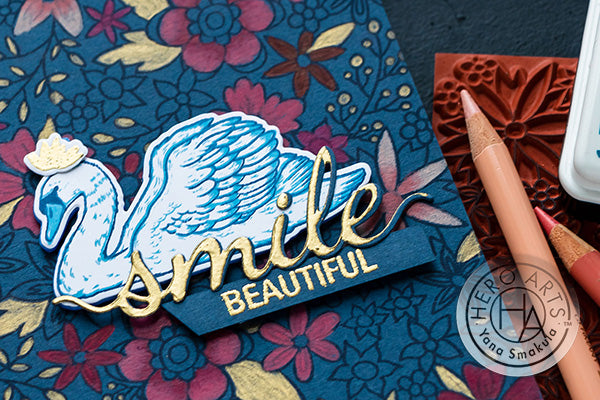
Having colored this background I moved onto stamping the focal image for this card - a gorgeous swan! I pulled out my mini MISTI tool, I feel it’s a must have stamping tool when you are creating with color layering stamps, it helps not only get great ink coverage but also perfect alignment. I used Navy ink for the outline layer, I adore this dark, deep blue color and I often use it in my card making. For the detail layer, and this stamp set has just 2 layers to it - an outline and a detail, I used a lighter blue, Pool color. I also used the same Pool color to stamp the beak of the bird and next die-cut the image out with the help of a coordinating die. I had envisioned this card with my gorgeous swan in the center of my beautiful colored panel with a simple sentiment next to it.
I gold heat embossed one that reads Smile Beautiful, I feel it’s a fitting message for a card like this. I used stamps and a die from the Smile Stamp & Cut set and because swans are often pictured wearing a crown I made a little crown for my swan to wear on this card using a flower images from the Color Layering Armadillo set! The size and shape of this image had worked perfectly for this swan! After foam mounting my images onto the background I adhered the background panel onto an A2 white side folding card base to finish my card.
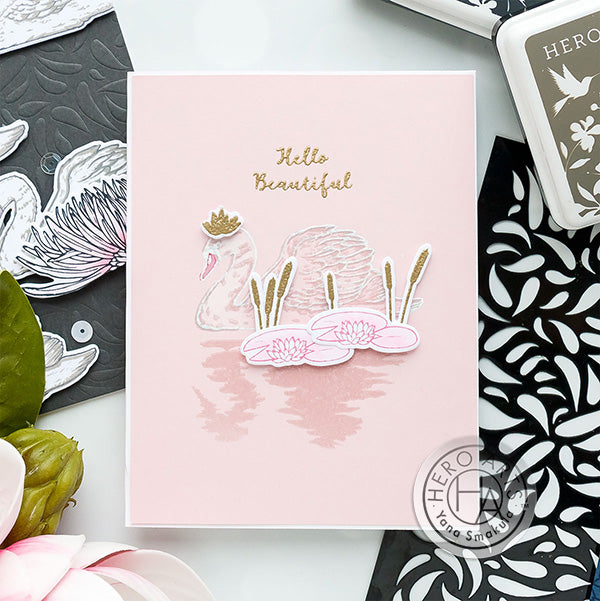
For my card idea #2 I was itching to try heat embossing. Swans are usually white, of course there’s a black swan from time to time, but I was keen on trying to create a white swan for my card. I decided a white swan would look best on colored background so I picked a light pink one and after inking the outline image with clear embossing ink, VersaMark, I stamped the image in the center of the panel and heat set it in white embossing powder. I was envisioning this card as a gorgeous lake at dawn or sunset with unusual colors all around and hence the pink water. I’m not sure how real that would be, but that’s what I had in mind and what’s what I went with. After all, cards don’t always have to picture our reality accurately. They can be whimsical and fairytale like.
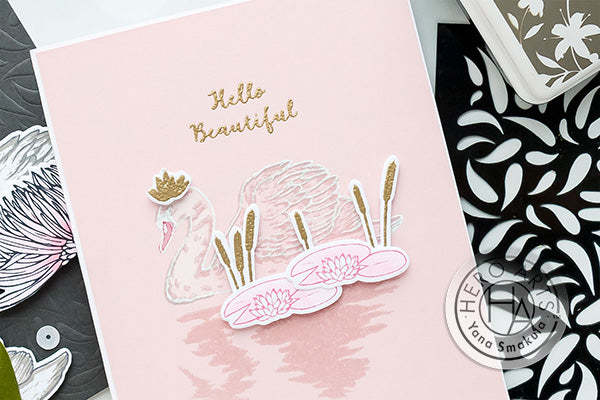
For my detail layer I used Satin White Pearl embossing powder. If you’ve not used this product before - you are missing out as this embossing powder will give you the coolest effects on paper.
What is really cool about the swan layering set is that there’s a stamp that is the swan’s reflection in the water! I decided I’d heat emboss this image with same White Satin Pearl embossing powder to match with the detail layer of my swan. The result? Once again super gorgeous! I love that the reflection is not perfect, it has the water lines in it, and looks very life-like.
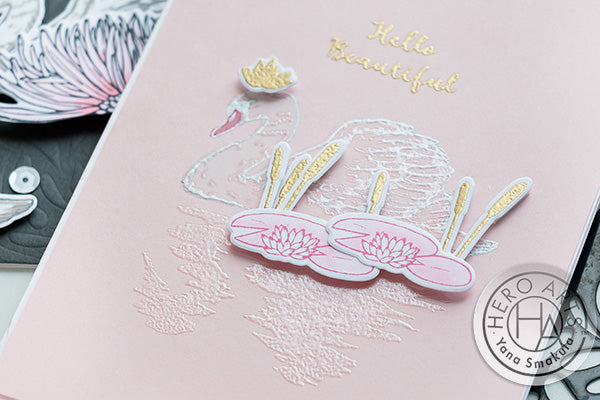
To finish this card I stamped and heat embossed a few additional images from the Color Layering Swan set.
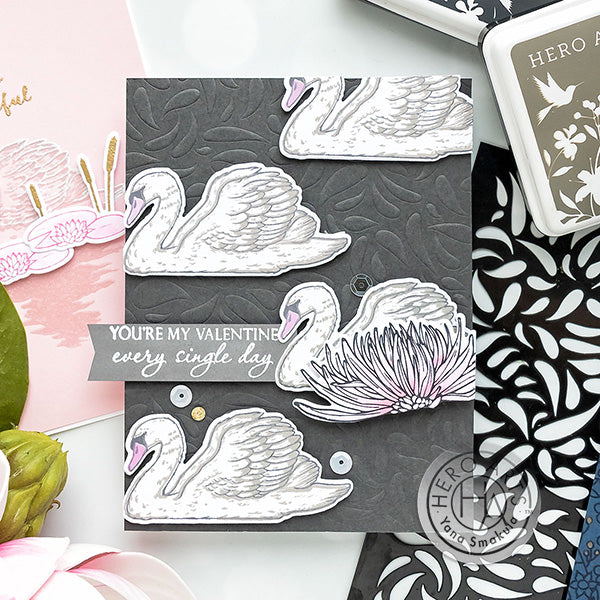
For my final card idea I wanted to create a lake full of swans! I stamped and die cut several using Charcoal ink for the outline layer and Wet Cement for the detail layer. This gave me beautiful white swans with gray shading. For the beaks I used Soft Pink color - gray always goes beautifully with pink, so it looked really nice in the end.
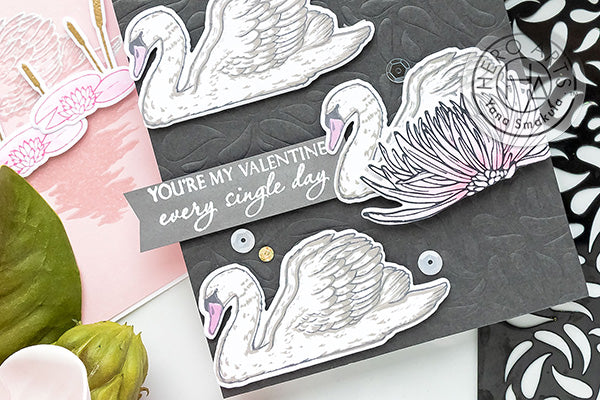
I used my coordinating die and die-cut swans for my card. I wanted to have a big flower on this card to make it look like as if my swan was behind it. I stamped a gorgeous mum from the Hero Florals Mum Stem stamp set in Intense Black ink and colored it very light pink using my Copic markers. I used RV00, RV10 and RV23. I cut the image out using a coordinating die, next cut the stem off using my scissors and arranged everything as I had planned.
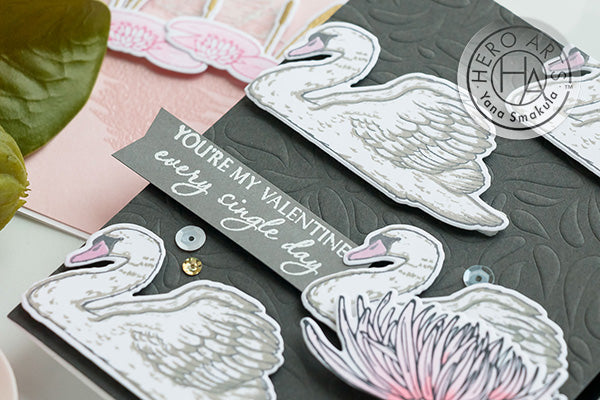
Next, to spice up my background I dry embossed a dark gray cardstock panel using a stencil from the Petals Stencil Pair set. The design of this stencil looks like drops of water and it went perfectly with my card design here. I foam mounted the die cut images in place and added a Valentine’s Day sentiment that reads - You’re my Valentine every single day. This sentiment comes from the new All My Love Decorative Hearts set. I also used a few sequins from the Champagne sequin mix to embellish this card. I hope this video & blog post has given you some stamping ideas to try with your color layering stamp set from Hero Arts.
Have fun stamping!


Great cards as always Yana. I’m crazy the the pink card, oh it’s beautiful. The shadow of the swan looks pink is that just the undertone of the card? Thanks have a blessed day.
All beautiful! Love stamping and coloring on colored cardstock!
Absolutely beautiful. Loved the three swans the most
These are so beautiful! :)
Beautiful cards!!