-
Products
-
Categories
Menu
-
Products
-
Categories
Video: Combining Stencils with Digital Stamps
Kelly Taylor
Hello Crafters! It's Kelly Taylor here and I'm super excited to be sharing this fun scene card with you today. Combining digital stamps with products we already own is a great way to stretch our supplies!
(If you are having trouble viewing this video, please watch HERE on YouTube.)
For this super cute card I combined our new Christmas Elves Printable with our Birch Trees Stencil for this fun festive scene.

I printed out my elves first and then trimmed them down to an A2 sized card. I also printed out the elves on some masking paper. I trimmed them out and applied them before starting my ink blending.

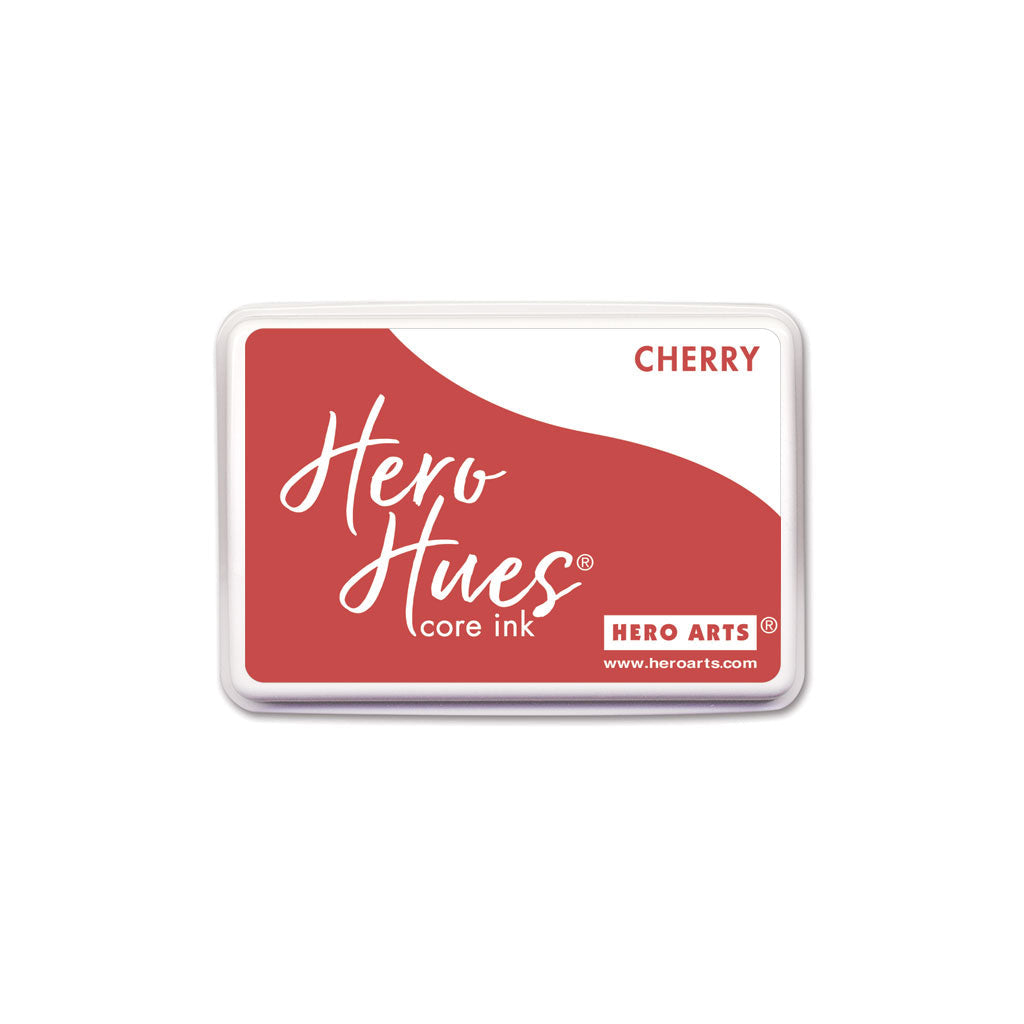
I blended Passion Flower ink using a blending brush to just the bottom portion of the card to shade my snow. I then applied the stencil and added more Passion Flower and Granite to darken up the shadows of the trees. To create my sunset I used a combination of Cherry, Tangerine, Spicy Mustard and Summer Sky Core Inks.

Once I was done adding the ink blending I removed the stencil and got busy coloring. I love using markers to add dimension to the images. I colored in the "Hello" from my printed sentiment and and then popped it up over top of the scene.
I think these elves are adorable. What other scenes can you see these cuties in? Thank you so much for joining me!

|


Super cute scene!!! I love that you shared so many great tips and ideas on how to use this digital image with the stencil! I’m excited to give this a try!
Do you have to use a laser printer if you want to color with Copics? I have an ink jet printer. Love that you are on the HA Design Team, Kelly!
Love those elves! A great stencil, too!