Video: Color Layering Rose Cards | Color Layering With Yana Series
Yana Smakula
Welcome back to the 4th episode of the Color Layering with Yana video series! In each one of my monthly videos I explore different ink pad and embossing powder color options for Hero Arts Color Layering sets and will hopefully inspire you to stamp!

In this post and video I'm taking a closer look at the Color Layering Rose stamp set and I have several color combos to share.
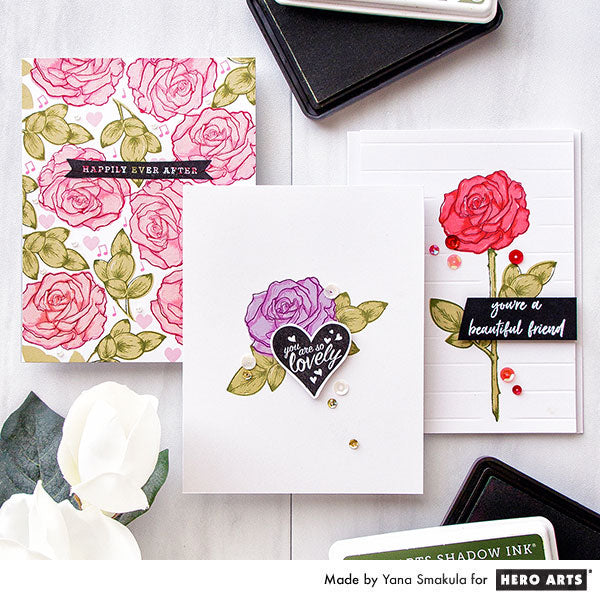
Watch the video tutorial below to learn how I made the cards I'm sharing today.
If you’re having a problem viewing this video, please try watching it HERE in HD on YouTube.
Since this Color Layering Rose stamp set is designed to create stunning roses there really is no limit to color combos that can be used. Think about the roses you see in everyday life - white, yellow, pink, red, peach, purple, violet, even blue and black roses!
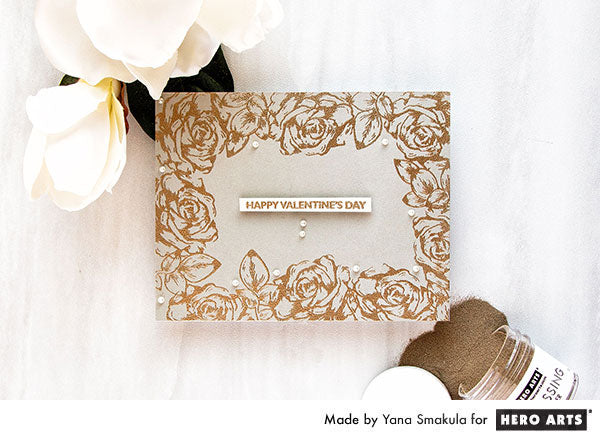
The rose image consists of 3 layers, a solid and 2 detail layers. You can choose to skip a solid layer if you like, and you can also chose to replace the top outline layer with heat embossing. Since there is an outline layer - the rose can be colored using your favorite coloring medium. The middle layer can also be used all on its own to stamp beautiful vintage-like roses like I’ve done on this bonus card here:
As I was playing with my stamp set trying to discover the best color combos for this particular flower I stamped several combos using my Hero Arts inks:
- Soft yellow rose: Soft Yellow, Dandelion and Butter Bar.
- Vivid yellow rose: Dandelion, Butter Bar and Pumpkin Pie.
- Soft pink rose: Soft Pink, Bubble Gum, Rose Madder.
- Vibrant pink rose: Cotton Candy, Ultra Pink and Crimson.
- Purple rose: Passion Flower, Orchid and Grape Juice.
- Red rose: Pale Tomato, Strawberry and Mulled Wine.
- Peach rose: Soft Apricot, Caramel and Cup of Joe.
- Field Greens and Forever Green.
- Green Apple and Moss.
- Soft Olive and Forever Green.
Of course, these can also be stamped in other colors, for example the stem can be light brown and the leaves can be teal or light blue.
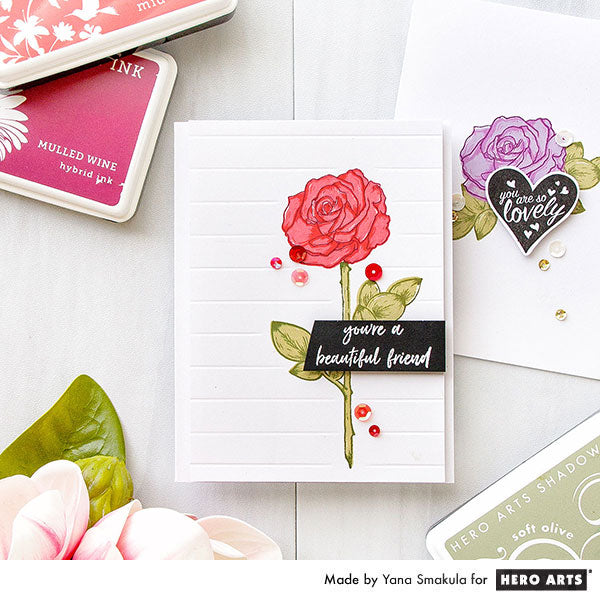
Since there are so many different color options for this stamp set I decided to focus on ways images set can be used on cards. Let's start with the way this image was intended - by stamping a stunning rose on a stem. Nothing beats a tall gorgeous red rose so this is what I stamped for the card pictured below. I used Pale Tomato, Strawberry and Mulled Wine.
The base layer has openings in it, if you stamp this flower correctly the final image will have white highlights to it. Because of how small these highlights are I have found it's best not to double stamp the image as the ink might bleed and obliterate this detail.
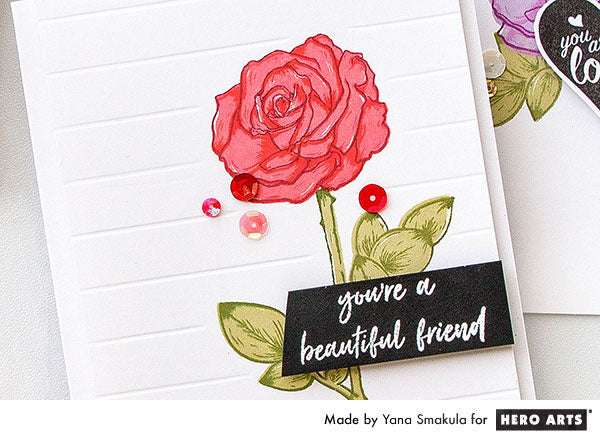
I used Soft Olive and Forever Green inks to stamp the stem and leaves. I wanted to keep this card very simple so I didn't add any other stamping to this card. I did however added scored detail to the background panel where the rose was stamped - I've been loving this technique lately.
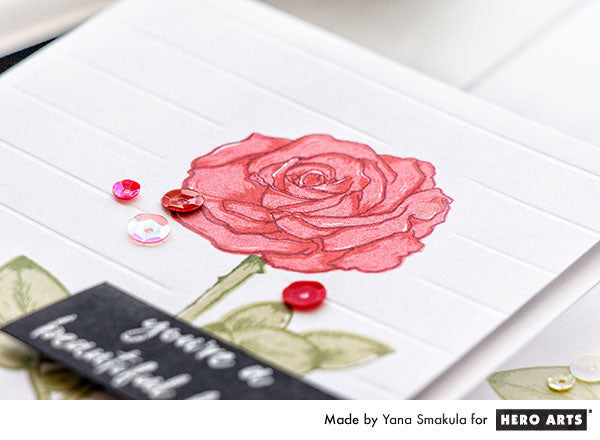
I foam mounted my stamped and scored panel onto an A2 side folding card base, added a sentiment that reads "You're A Beautiful Friend" - it comes from the same Color Layering Rose stamp set and embellished this card using Ombre Blush Sequins.
You can also use this rose without the stem, just the flower itself along with the leaves. On the card you see below I used this stamp set to stamp a floral rose pattern for a one layer Happily Ever After card.
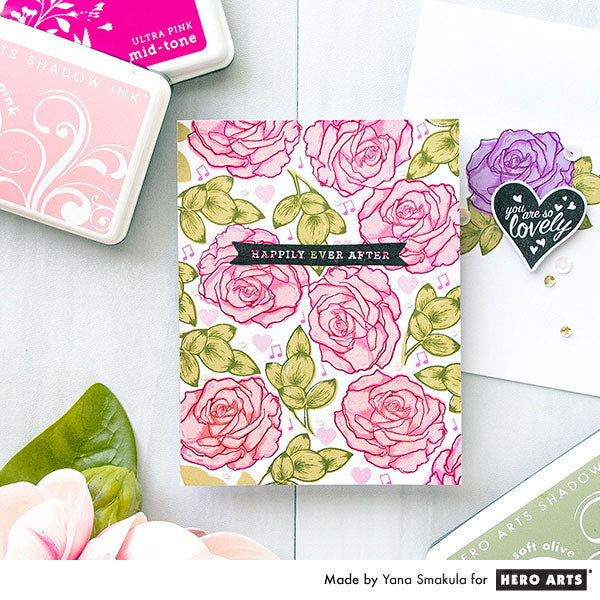
Stamping custom backgrounds using smaller stamps is something I enjoy the most in stamping so I always look for a way to use any image to build a background with its help.
The way I like to go about building backgrounds with color layering images is I first stamp the base layers of all of my images; I sketch out the design or the layout in a way and only after that is done I come in and stamp detail layers.
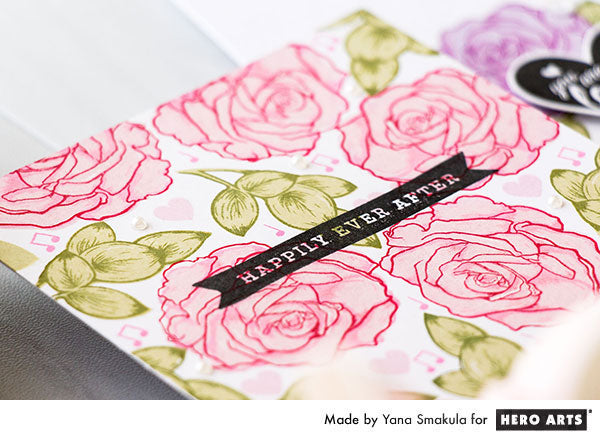
I used Soft Pink along with Ultra Pink and Crimson to stamp these pink roses and used same Soft Olive and Forever Green inks for the leaves.
As I finished stamping my large images I also used the heart and music notes from the Love Birds Stamp & Cut set and used those to fill in the gaps.
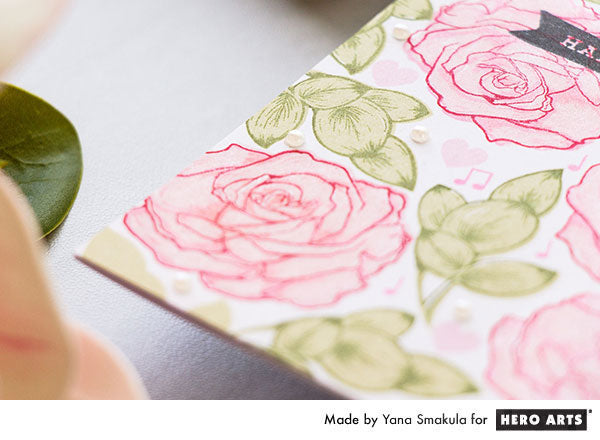
I stamped a Happily Ever After sentiment in black ink - this is also a new stamp from Hero Arts, I love the wavy design on this banner. I stamped it directly onto my panel as I was aiming for a one layer card, but this can be easy stamped onto another piece of paper, cut out and foam mounted for a pop of dimension. Finally, since this was an anniversary card it was only fitting to decorate it with tiny white pearls.
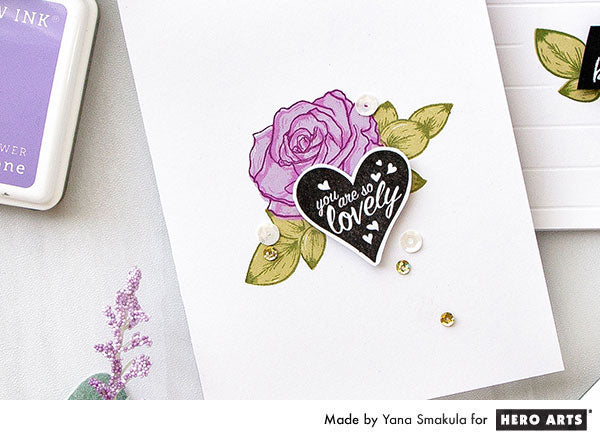
My third project showcases a stunning rose stamped in purple. I used masking technique and masked my rose stamped in Passion Flower, Orchid and Grape Juice to stamp the leaves in same colors as before. By the way, I really love the design of the leaves in this stamp set - they aren't serrated as usual rose leaves are, but have a soft, rounded look to them, very beautiful I think; and also, because of that round design - they aren't hard to align.
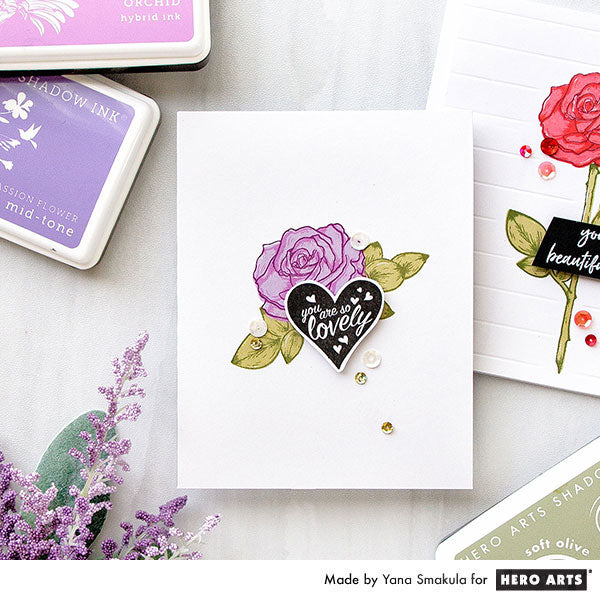
I also stamped You Are So Lovely Heart sentiment in black ink onto a piece of white paper, cut it out with my scissors and foam mounted onto the card. I embellished this project using Champagne Sequin Mix.
Have fun stamping!


I really enjoyed this video. All the cards are beautiful. I want to stamp these beautiful roses on lots of cards. I am especially grateful that you listed so many different color combinations. I am new to stamping and have trouble figuring out how to choose colors for layering. Thank you for sharing.
Such beautiful cards. Thank you so much for sharing.
Yana’s cards are simply gorgeous !
Wow Yana, thank you for this stunning cards with this gorgeous stampset. I love roses and I love stamping, so this is for me a great combination!
These are beautiful! Thanks for sharing your wonderful ideas!!