-
Products
-
Categories
Menu
-
Products
-
Categories
Transparent Texture with Stencils & Glitter Paste
Lydia Fiedler
Hi stampy friends! Lydia here. Before I start I wanted to say thanks to everyone who attended our recent Holiday Stamp-Along! Your cards were so beautiful and it was really fun hanging out with you! I'll see you at the next one in January.
Today I have a mixed media layering project for you that is ALL about the up-close experience that the person receiving your card will get. I don't know about you but I love to get cards that have fun textures on them - lots to look at and feel. So that's what I set out to do with today's project.

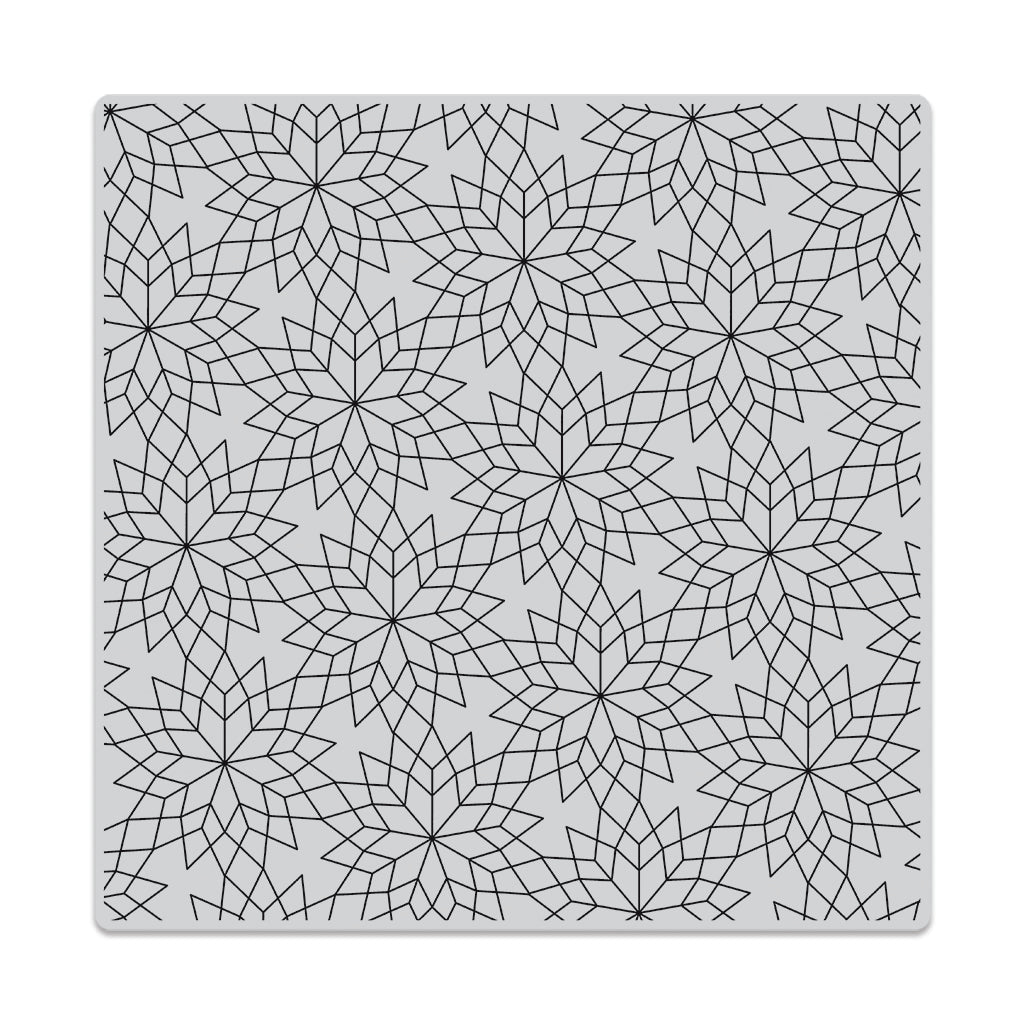
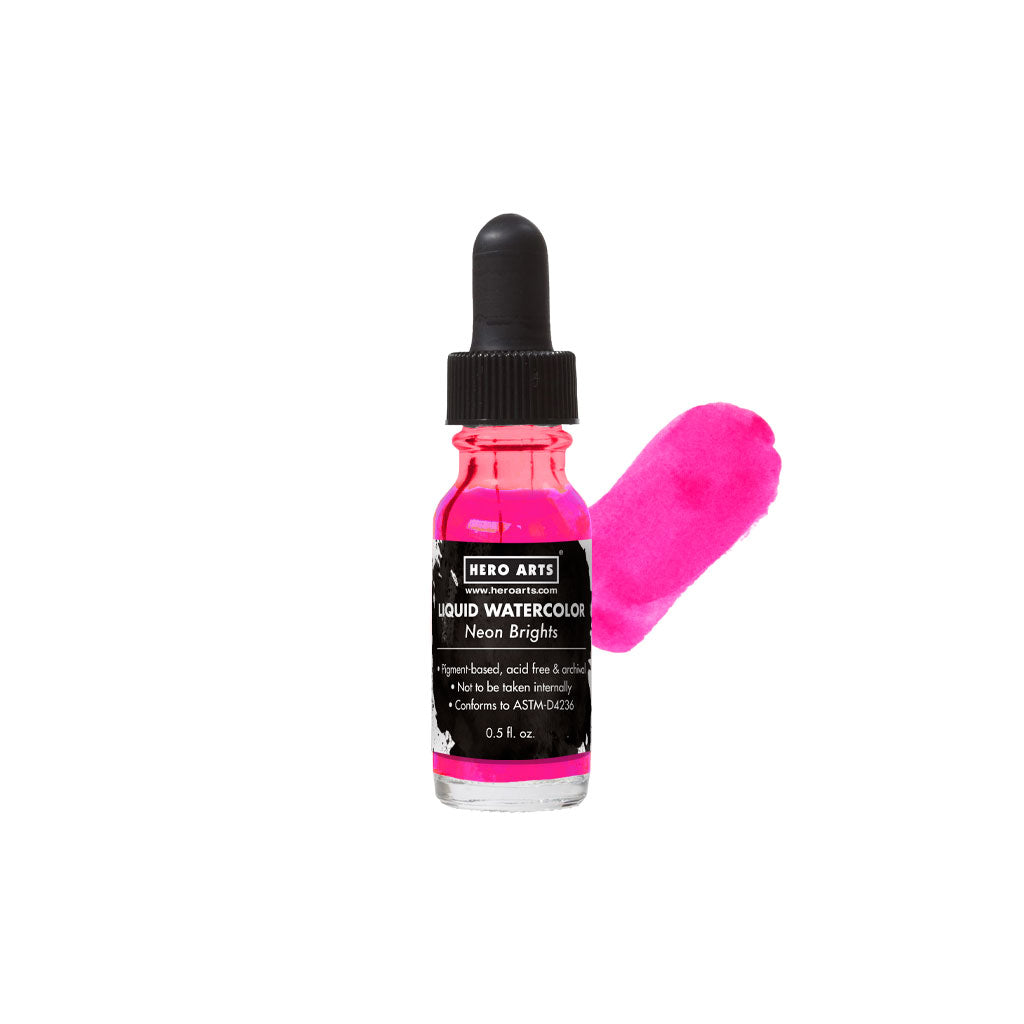
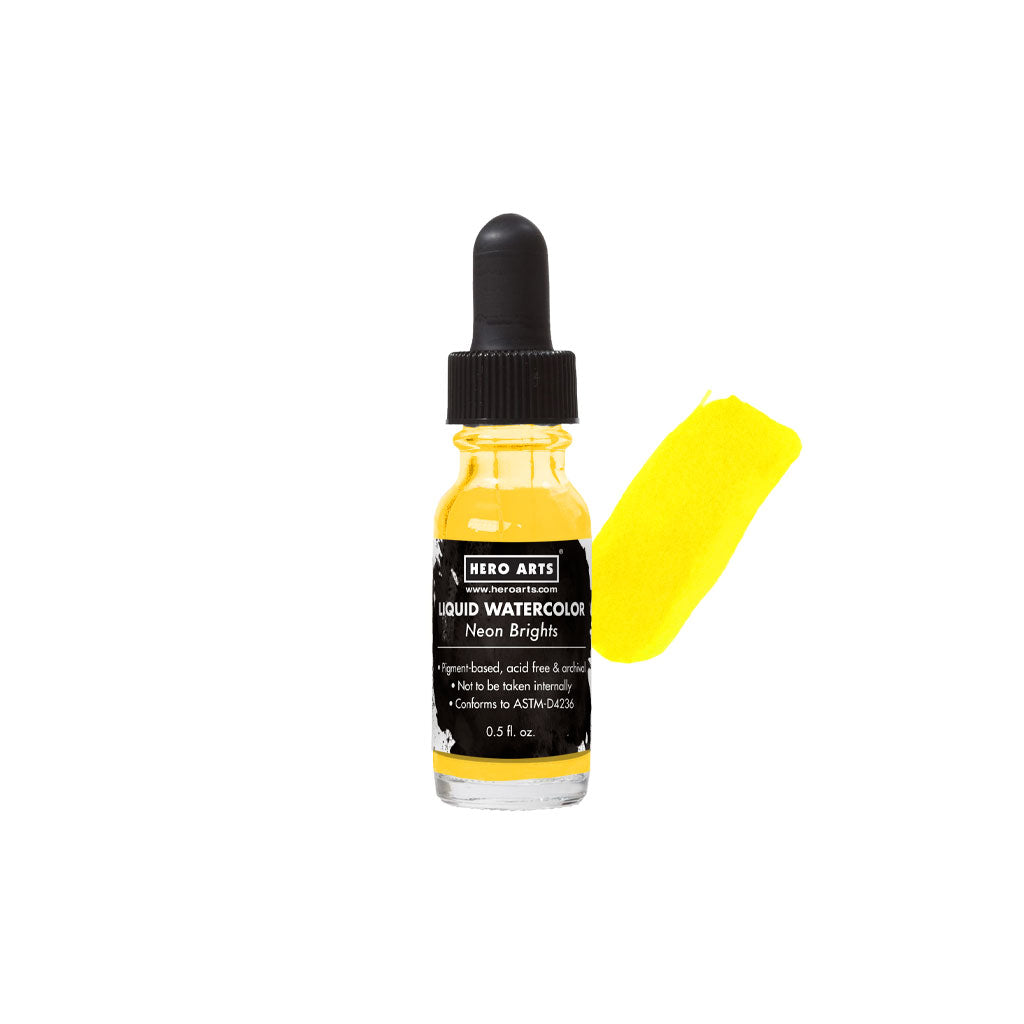
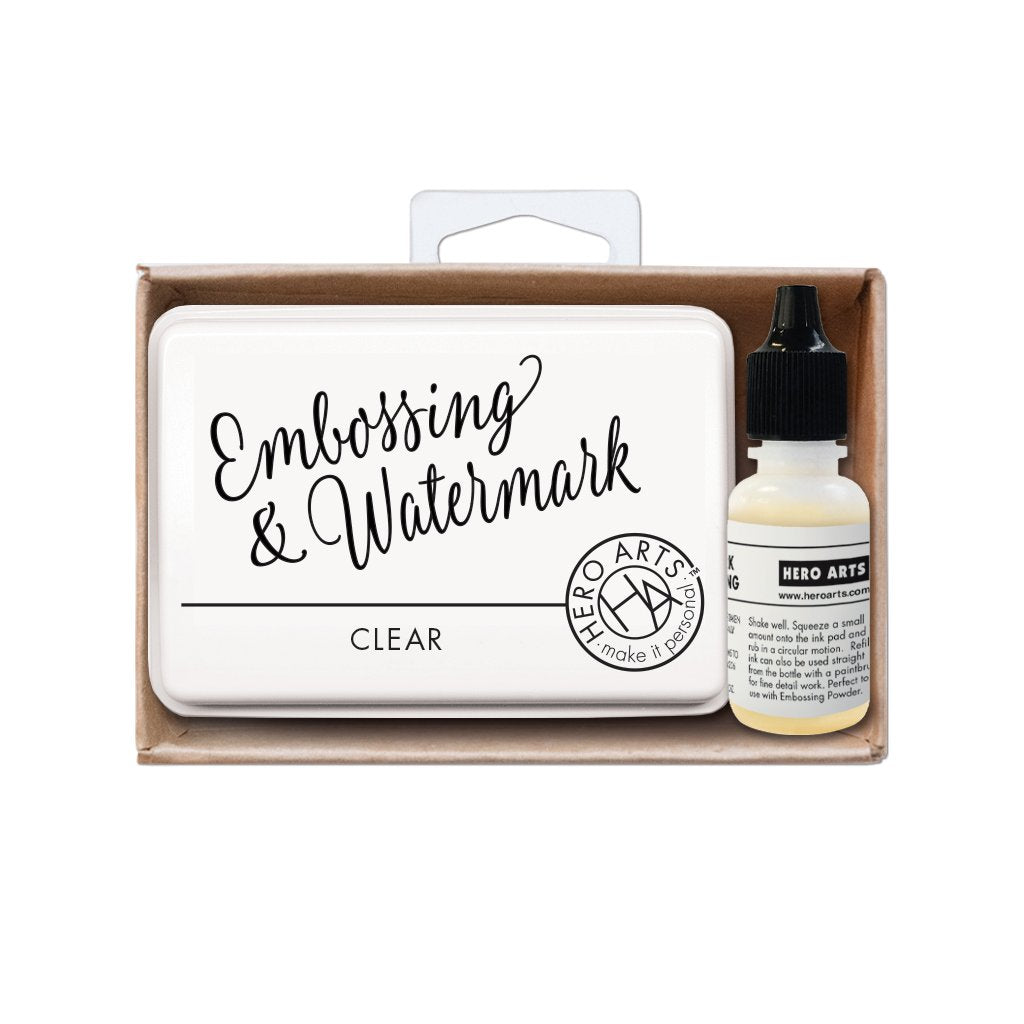
The colorful layer is made by creating a resist with the Starflakes Bold Prints stamp and Clear Embossing & Watermark Ink on photo paper. Then I just added the Brights Liquid Watercolors in Pink and Sunshine.
You can see a hint of the next step here, but glitter photography being the challenge it is, we'll need to go in for a closeup.
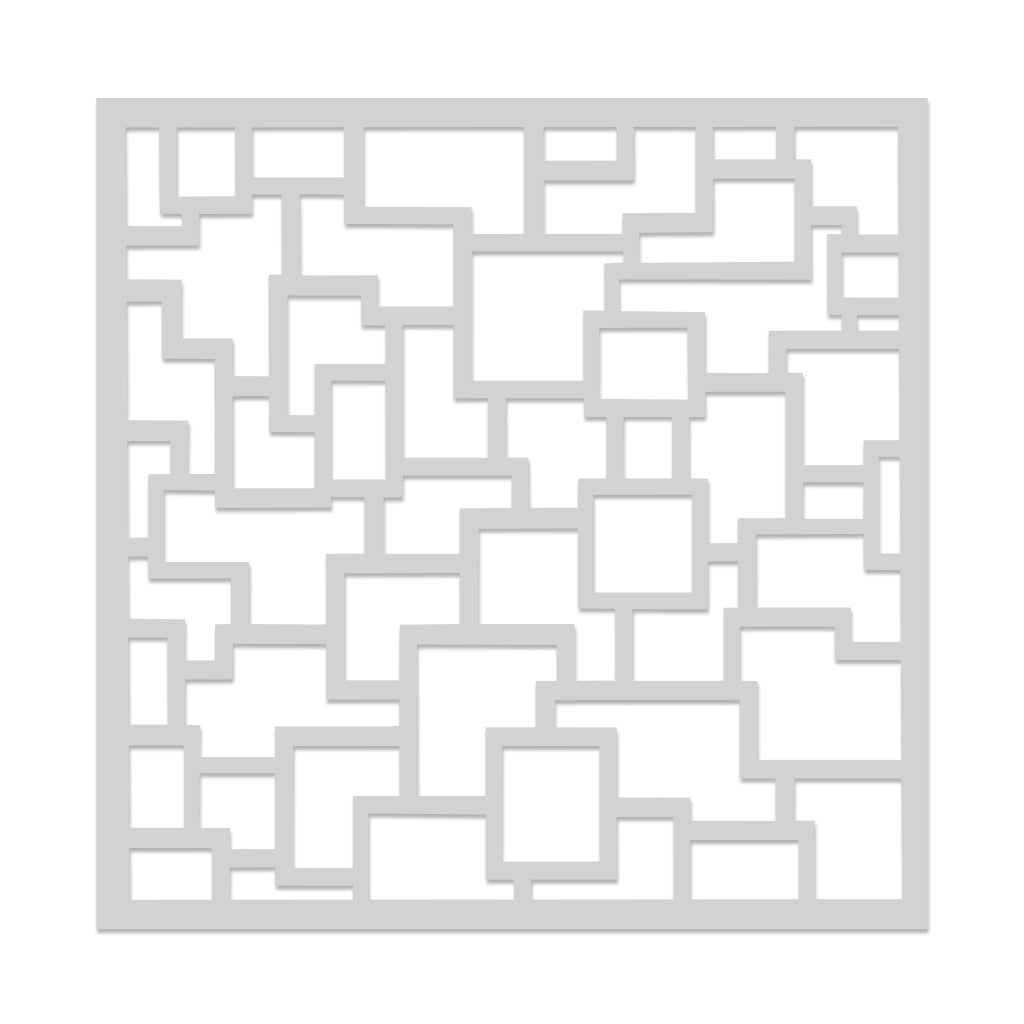
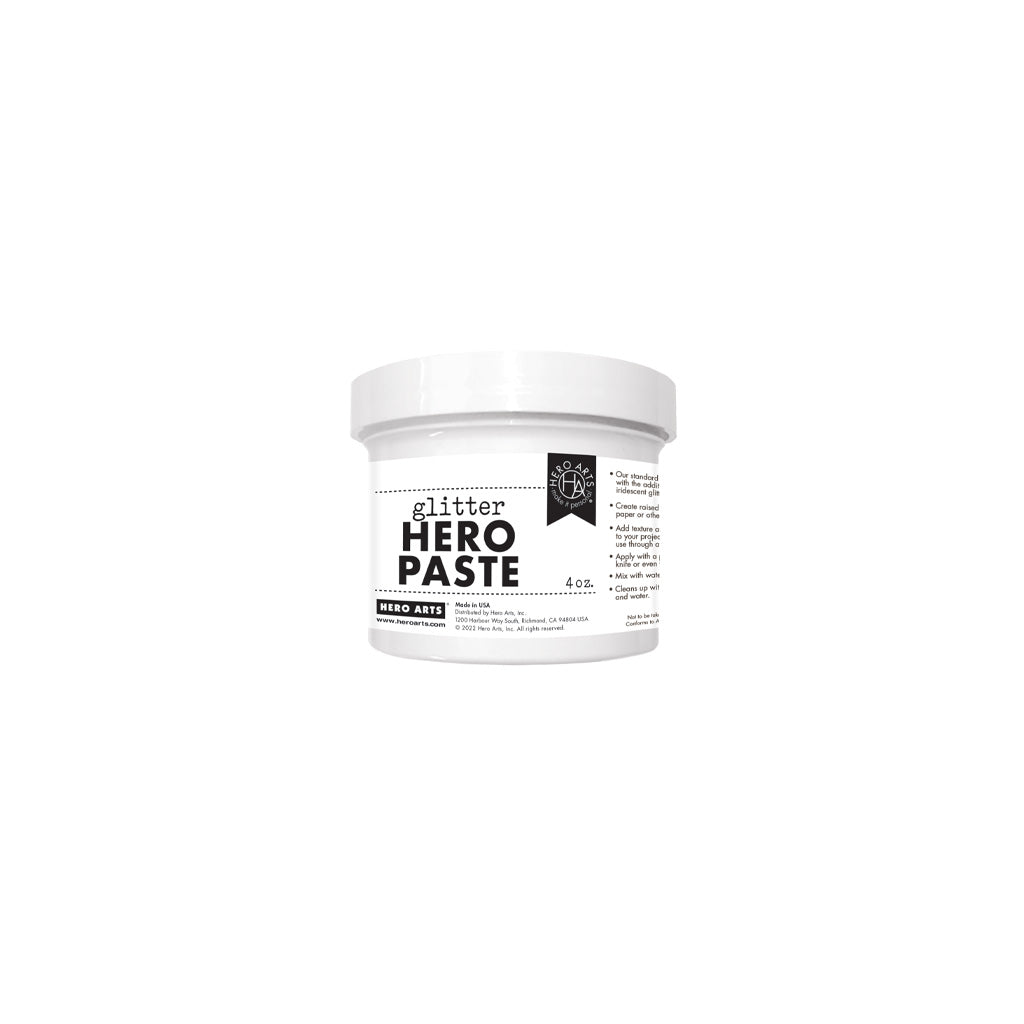
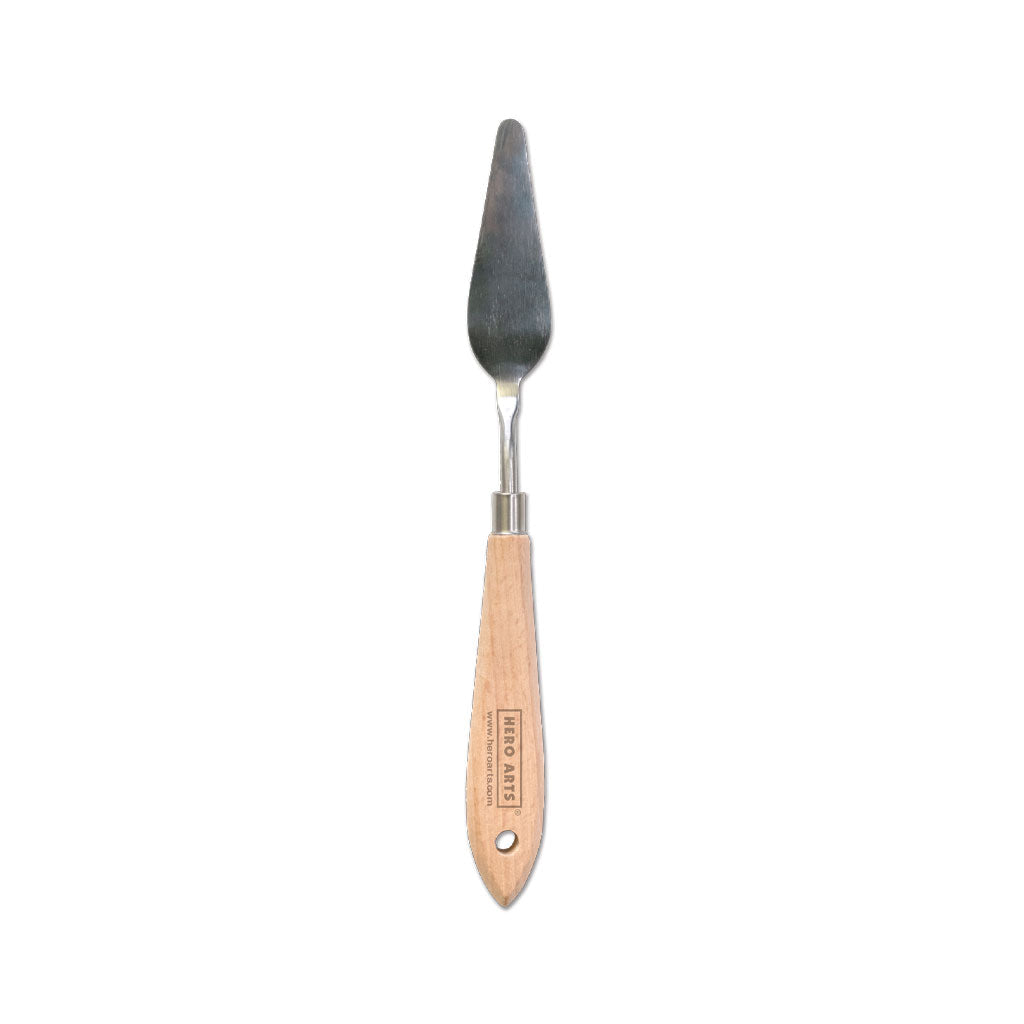
Grab your Glitter Hero Paste, your palette knife and your Mixed Frame Stencil, and let's add a layer of geometric, Glitter Hero Paste onto the smooth, shiny surface of the watercolored photo paper. Look at that fun geometric layer - so much sparkle. And don't worry - this doesn't activate the watercolor, so your details are perfectly preserved.

The transparency of the Glitter Hero Paste lets all that techniquey, colorful goodness you create shine through.
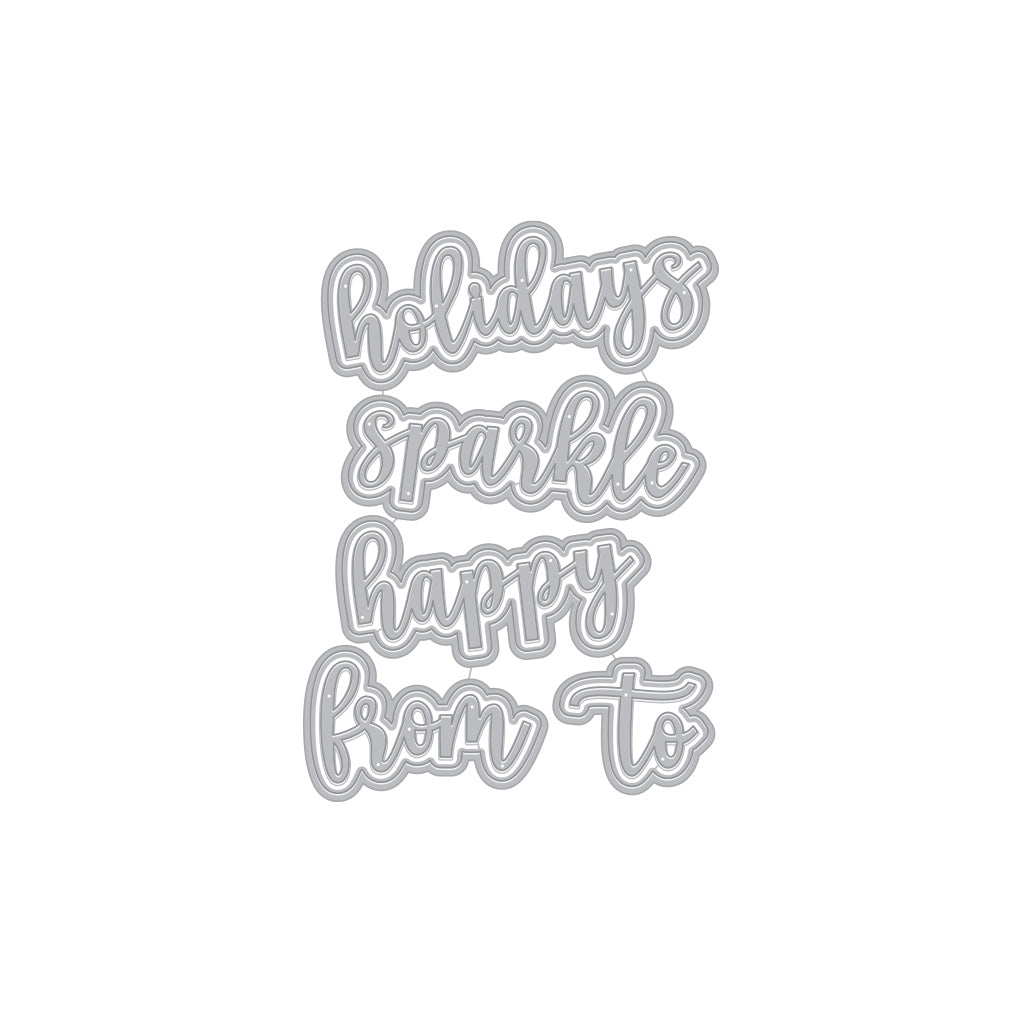
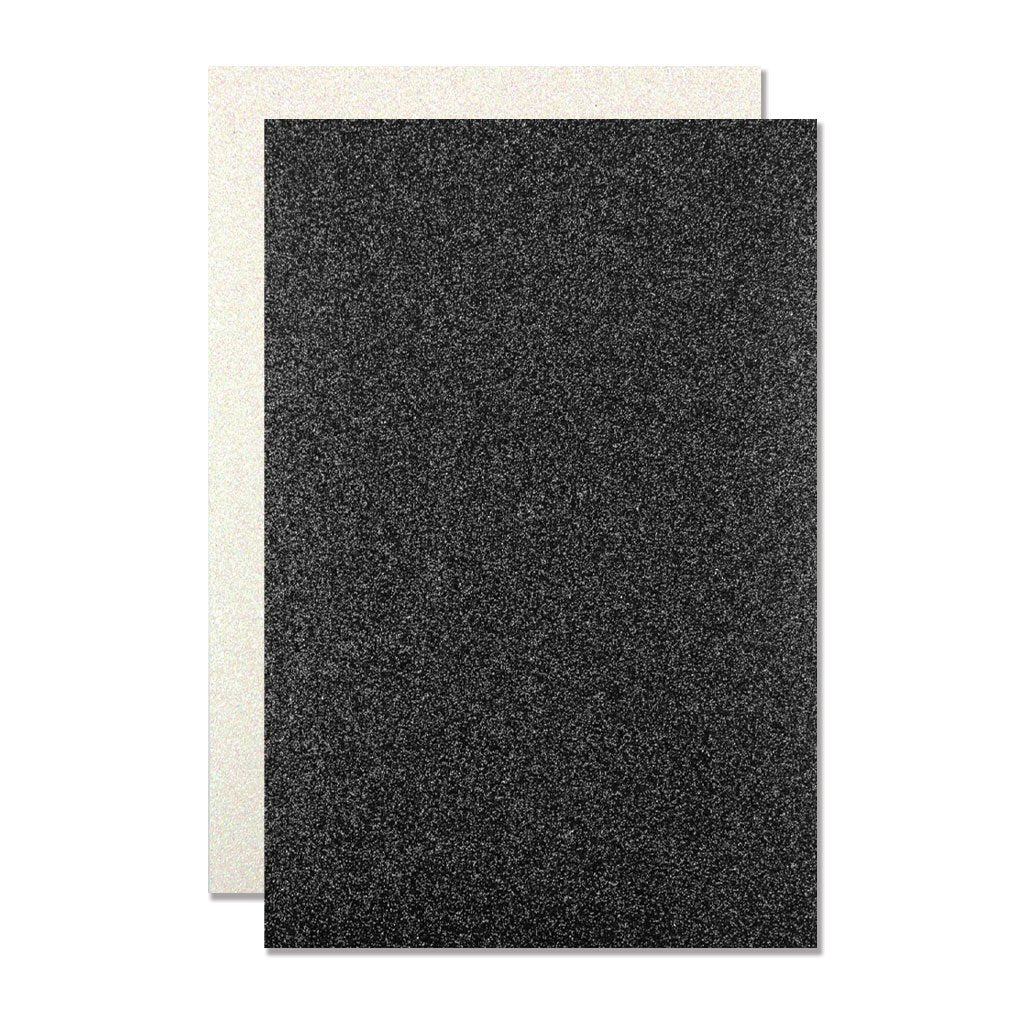
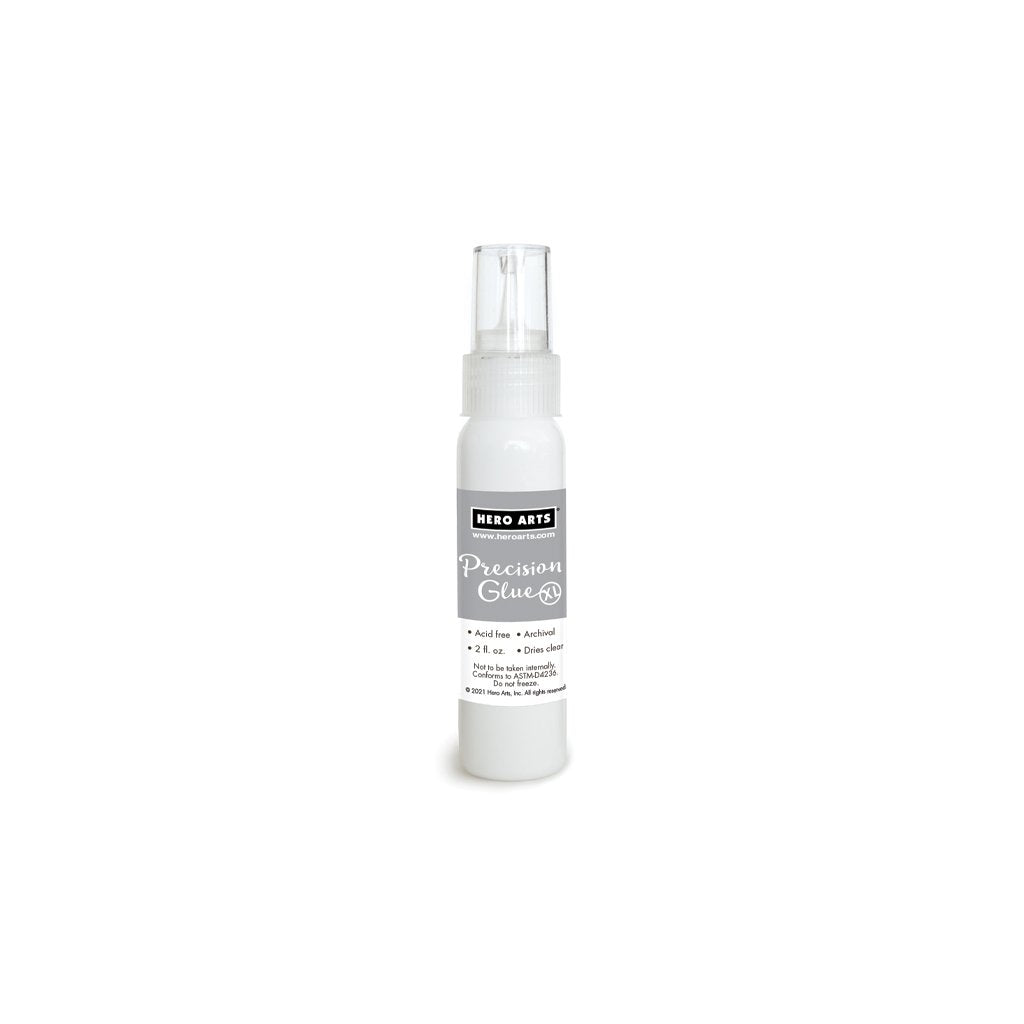
Let that layer completely dry before adding a sentiment. I used Basics Glitter Paper and the Holiday Words Fancy Dies and Precision Glue. Just a tip when gluing on an uneven surface like this - put the card in your MISTI and hold the item down with a magnet until it dries - it will be flat and perfectly adhered.
Thanks for stopping by today!

Click on products to shop:
|




What a bright and beautifully textured card, Lydia. I will have to put this on my techniques to try list. Thank you.