-
Products
-
Categories
Menu
-
Products
-
Categories
Stripy Stencil Birthday Card
Mindy Eggen
Hello friends! This is Mindy popping by to share inspiration using the new Stripy Stencil to create a birthday card.
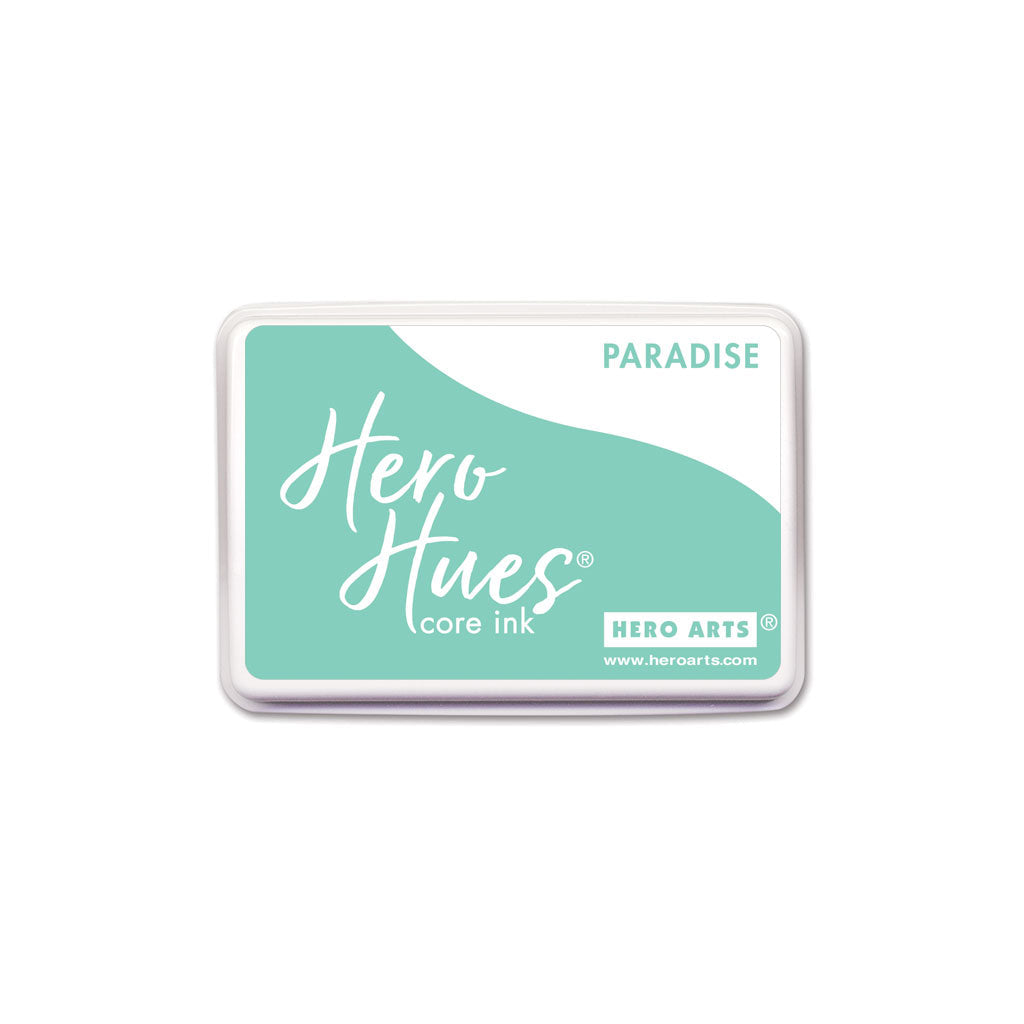
Now to use this stencil it is going to be helpful to place it on a sticky mat or magnetic work surface to really hold those fine lines of the stencil in place. I'm going to start by ink blending the stencil using Green Apple, Paradise, and Orchid inks using an ink blending brush.

After I remove the stencil, I'm going to go back over the background with those same colors.
To add a little shimmer to the background, I'm flicking on some Gold Glimmer Metallic Ink and then spritzing it with White Iridescent Shimmer Spray.

Since this background is a little busy I'm going to keep the rest of the card fairly neutral. I die cut the Birthday Cake Pop-Up die from Deluxe Smooth White cardstock and trimmed off the pop up pieces so I'm left with just the cake. A nice white die cut will really help break up and tone down the background. I added this to the bottom of the card with thin white foam squares.

For the sentiment, I used Congrats & Yay Stamp & Cut XL. I die cut Yay from Gold Glitter cardstock and layered it with white to add dimension using Precision Glue.

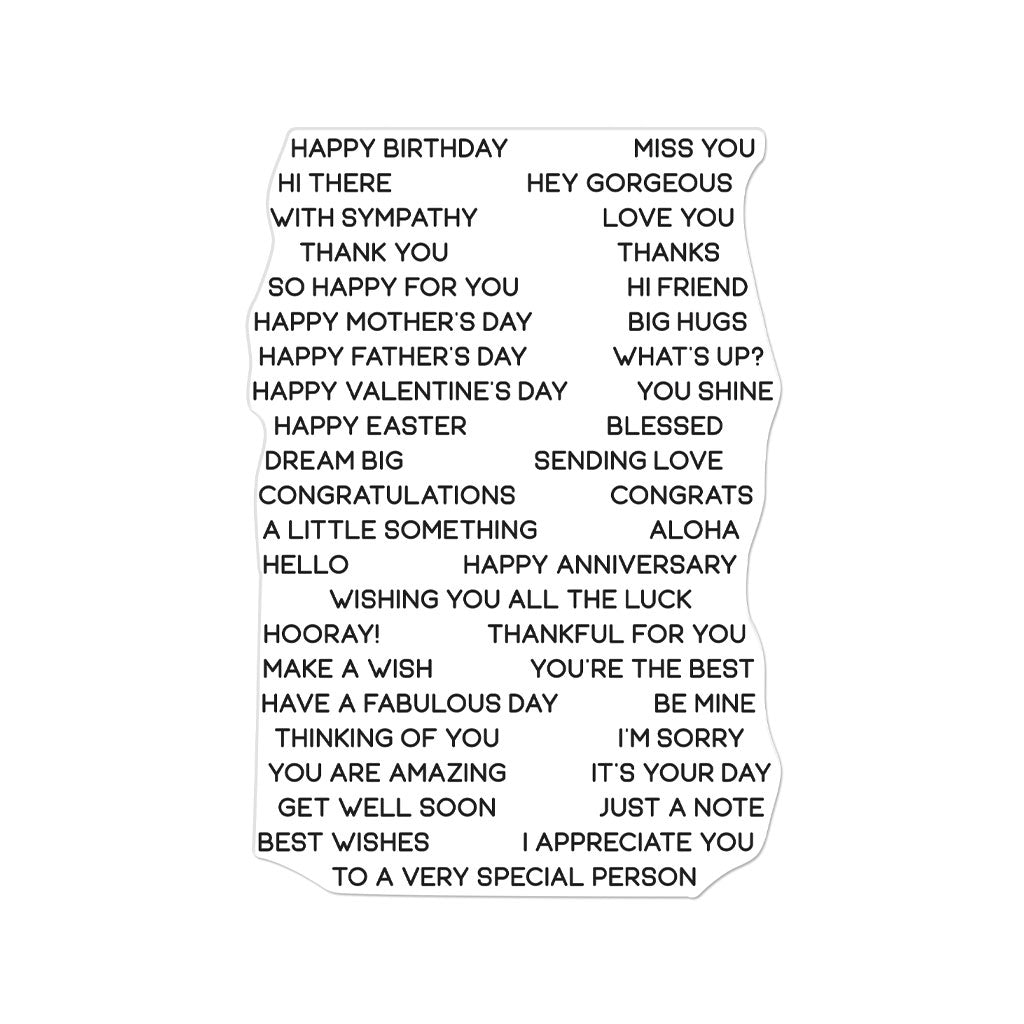
I really needed a pop of Black so I stamped Everyday Sentiment Strips in Unicorn Pigment Ink onto Pitch Black cardstock and heat embossed with White Embossing Powder. I then trimmed out my sentiments using the Sentiment Strips Fancy Die.
I selected the sentiment that would work best for my card and the rest I can save for later. I love having all of these sentiments done at once and ready to go for future projects.
Hope you enjoyed today's card project. This card plays along perfectly with the Stay Crafty With A Blog Named Hero Challenge that began last Friday! Be sure to head over and check that out and play along with us now through April 30.
Have a great week!

|


Leave a comment
Please login with your Hero Arts account in order to comment.
Click HERE to sign up if you don't have an account.