-
Products
-
Categories
Menu
-
Products
-
Categories
Stretching Stamp Designs with Simple Masking
Jayne Nelson
It’s a new year which means twelve months of new opportunities for sending cards to friends and family. For me, it also means that I’ll be looking for multiple ways to use my favorite stamps on my cards. Perhaps the easiest way to create different designs from a single stamp is to mask selective portions of the design. So today, I’m sharing a birthday card that I created with the beautiful Bird with Bouquet wood stamp and a bit of simple masking.

To make this card, I started by randomly stamping only the bouquet portion of the Bird with Bouquet stamp with Intens-ified Black Ink across the lower edge of a trimmed panel of Dove White cardstock. To ensure that I didn’t accidentally stamp the bird or the tag, I covered them with removable paper before inking the stamp. Then, after inking the stamp, I removed the masking paper and stamped the image, repeating this process every time that I stamped the bouquet.
I stamped a small flower from the new Flower Bouquet Pieces set in the gaps between the images. I also used the tip of an eraser to stamp Blue Raspberry dots around the flowers. After I finished stamping, I colored the images with an assortment of colored pencils.

Next, I covered the bouquet and tag elements of the Bird with Bouquet stamp with masking paper so that I could stamp just the bird onto a scrap of Dove cardstock. After coloring the image, I fussy cut around the bird and glued it to a trimmed, white cloud that I die cut with a Nesting Clouds Infinity Die. I die cut and trimmed three additional clouds and then secured them all to the panel with foam tape. For fun, I embellished the clouds with a few flowers from the Flower Bouquet Pieces set that I stamped, colored and easily die cut with the Flower Bouquet Pieces Frame Cuts.

I stamped the birthday sentiment from the Flower Bouquet Pieces set with Embossing & Watermark Ink onto a strip of Meadow cardstock. I covered the sentiment with white embossing powder and then I used a heat gun to melt the powder. After cutting the sentiment into two pieces, I secured the sentiment to the card with foam tape. Finally, I secured the finished panel to an Arctic card base and I added three Sunset Enamel Dots for some extra dimension and color.

I hope that you try stretching a few of your stamp designs with some simple masking this year. As always, thank you so much for stopping by today. Happy crafting!

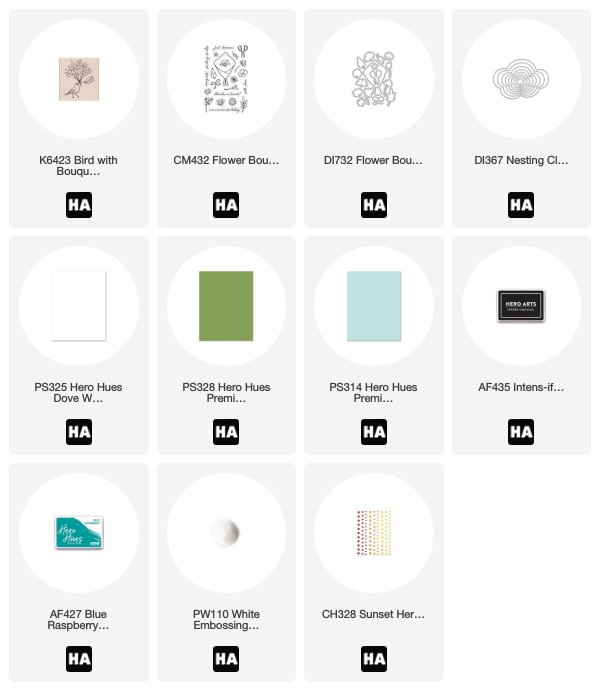
Click on the products to shop:


What a beautiful card. Just love flowers and bird. Just a breath of spring. Counting down the days till spring.
I just love these simple flower images, and the sweet bird. They are so wonderful!! I tend not to mask, but maybe I should try it again….
Lovely card and with masking, you have made the stamp even more versatile!!
Beautiful card and great idea.for.using that stamp!
Beautiful, love how you used the stamp to make the scene!