-
Products
-
Categories
Menu
-
Products
-
Categories
DIY With Debi: Stamped Leather Wallet
Hero Arts

Well hello my friends and welcome back to DIY with Debi! If this is your first visit here, welcome! This post is all about stretching the bandwidth of your stamps, dies and stencils with non-card projects. Today’s particular project has been on my radar for a while. It is sooo quick and easy and with our amazing Hero Arts stamp images, you’ll feel like an artist even if you don’t think you’re one! This is a perfect gift for any occasion and can be personalized to fit the particular individual.

Ok, so how cute is this little wallet? I got it at Target and it was under $20. It has both a flat side and a side with pockets. You can choose to embellish it on one side or the other but if you’re feeling nervous doing this for first time, you might stick with the flat side. If the item is leather or faux leather, I use Angelus Leather Paint, as seen here. It is inexpensive, can be layered and does not crack. If it is fabric, I use Fabric Creations by Plaid. It is also inexpensive.


To get started, I inserted a thick piece of cardboard or mat board inside the pocket area to insure that the fabric would lie flat.

Then I stamped the image using Hero Arts Intense Black Ink. For this purse, I chose the Hang In There Potted Plants stamp set but the reality is, you can choose anything that fits easily within the confines of your wallet/purse.

Once the images were stamped, it was just a matter of painting. Make sure to purchase a nice liner brush for the tiny areas and a small round brush for filling in. Brush quality makes a difference when you are defining designs.

If you should paint over any lines, not a problem. Either paint over all of them so that the lines no longer show or use a fine line permanent pen to redefine the blurred areas.
I finished off the purse with a little tassel/embellishment. That little doo dah will be featured on another one of these posts! :)

And that’s it! So what do you think? Pretty fun to do. Would love to see your creations!
Thanks for stopping by.
XO,
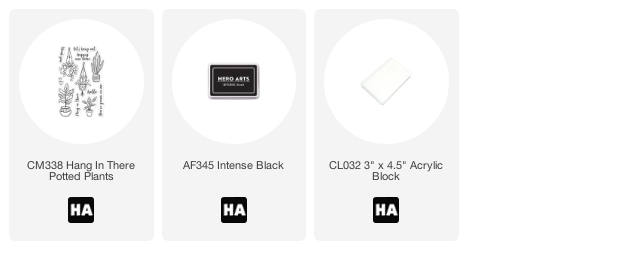
Hero Arts supplies are displayed below for shopping ease. Here are the other supplies I used: One wallet or purse of your choice, liner brush, round brush (fairly small), Angelus leather paint or Fabric Creations by Plaid, small piece of very heavy cardstock or mat board


Your blog submission on developing stamped pockets is virtually inspiring! The step-by-step directions are clear and effortless to follow, making this an ideal undertaking for novices and pro crafters. The lovely photographs and innovative suggestions you shared truly spotlight the versatility of stamping, and I love how you included special designs to customize the wallet. It’s an amazing way to mix performance with inventive expression. Thank you for sharing such first-rate and innovative thinking on your blog! Keep up the high-quality work!
Great idea….thanks for the inspiration! Can’t wait to try is out!
LOVE, LOVE, LOVE this! You are amazing in your creativity – I would have never thought of this. Thank you for your idea, I’ve saved this on my Evernote and refer to it often. My Happy Place! I was wondering where you got the wallet/wristlet?
I love this idea! So fun and a creative way to stretch outside the confines of paper as a medium. Thanks for the inspiration!
The blog, DIY with Debi, was eye-opening. “Thinking out of the box” was definitely this leather project. Never thought you could do so much with your stamps. Another good reason to buy from Hero Arts. What a talented group of designers you have.