Layer Colors, Texture & Die Cuts for Easy Mixed Media Fun!
Maria Willis
Hey everybody it's Maria here today with an easy concept to help you put together some super fun mixed media cards. The concept is "layering!" Layer those colors, layer those textures and layer that paper! When I'm creating mixed media projects I love trying to create depth in my work and thinking of my project in layers really helps me to do that. To get started select some stamps to add both color and visual texture to your project. Select a stencil or two and grab your Hero Paste and some embossing powders with different finishes/textures. You can also add layers using paper and die cuts so choose some paper and dies that match your theme. Here is a look at the products I used on today's card:
- Water Ripples Bold Prints
- Chain Linked Fence Bold Prints
- Sending Love Mail (sentiment)
- Delicate Petals Stencil
- Hero Paste
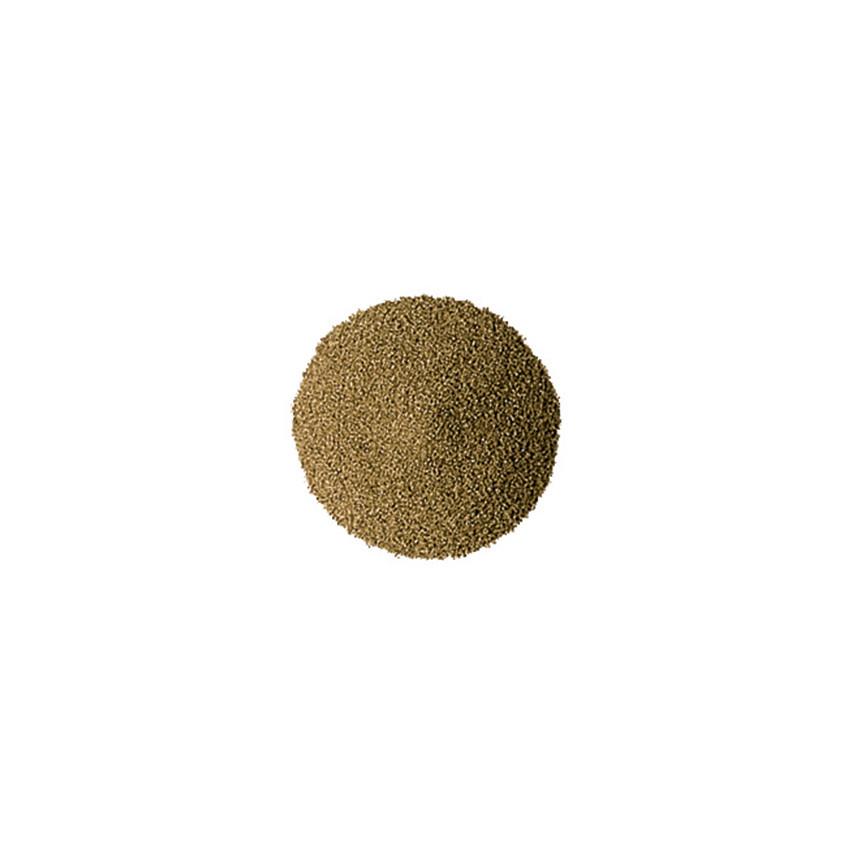
- Brass Embossing Powder
- Gold Embossing Powder
- Sand Embossing Powder
- White Detail Embossing Powder
- Decorative Woodgrain Vellum
- Seashells Fancy Dies
- Paper Layering Seahorses
- Reactive Inks

For my next layer I grabbed my Decorative Woodgrain Vellum and heat embossed the new Chain Linked Fence Bold Prints stamp on it using Brass Embossing Powder. I tore the edges off this piece in order to add a little bit of roughness to it.

I cut some seashells out of white cardstock and one small seahorse from Paradise cardstock. I used my Reactive Inks in a variety of colors (Creamsicle, Fruit Punch, Pool Party) to color my seashells. Then I splattered them with white and gold Glimmer Metallic Ink. I also added Sand Embossing Powder to some of them to add some great, gritty metallic looking textures to the shells. I added these to my card on top of the vellum. I used foam tape to pop it all up for some extra dimension. The final touch was adding the sentiment which I die cut from Pitch Black cardstock using Circle Infinity Dies.

I added a few extra details to this card because those little details can just be so fun! If you look closely you'll see gold thread, posca pen detail, and some sequins and jewels.
Ok, you all, that is it for today! I hope you all might try making your own mixed card using a layering concept. If you do please comment below and let us know how it went for you.
Have an awesome day!

|


Leave a comment
Please login with your Hero Arts account in order to comment.
Click HERE to sign up if you don't have an account.