

Posted by Hero Arts
on December 06, 2023


Hello and welcome to our Awesome Add-ons feature for the month of December! Here's a look at all this month's new offerings – we think you'll find something fun for everyone and every occasion!

Shop for the December MMH add-ons here
Today we're delighted to have Creative Team member Jayne Nelson here to share some fabulous "beyond the kit" ideas for a few of the add-ons.

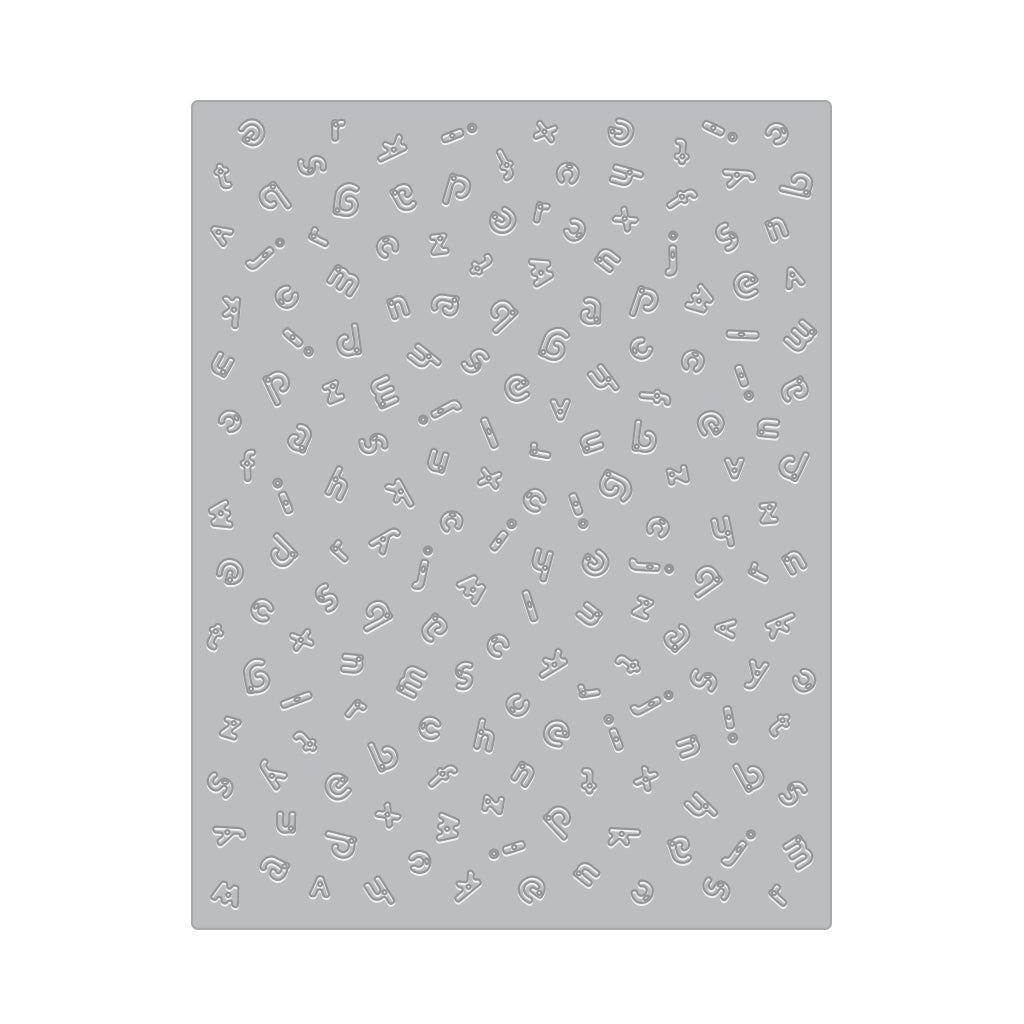
Embossing plates and Fancy Dies are wonderful tools for adding interesting textures, patterns and shapes to your card designs. Today, I’m sharing two cards that use a few of these terrific, new add-on products.

For my first card, I started by embossing a piece of
Passion Flower
cardstock with the versatile
Alphabet Embossing Plate
. Before securing it to a
Dove White
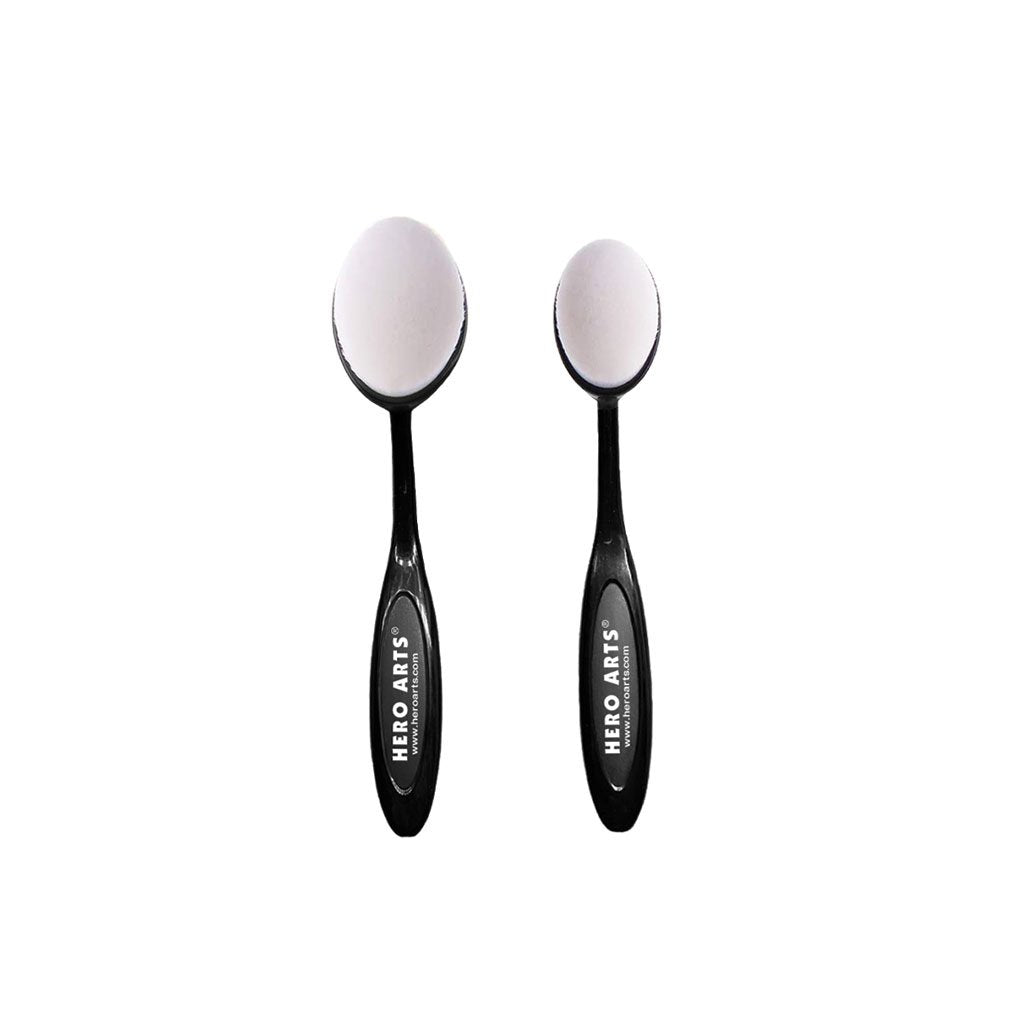
card base, I used a
Blending Brush
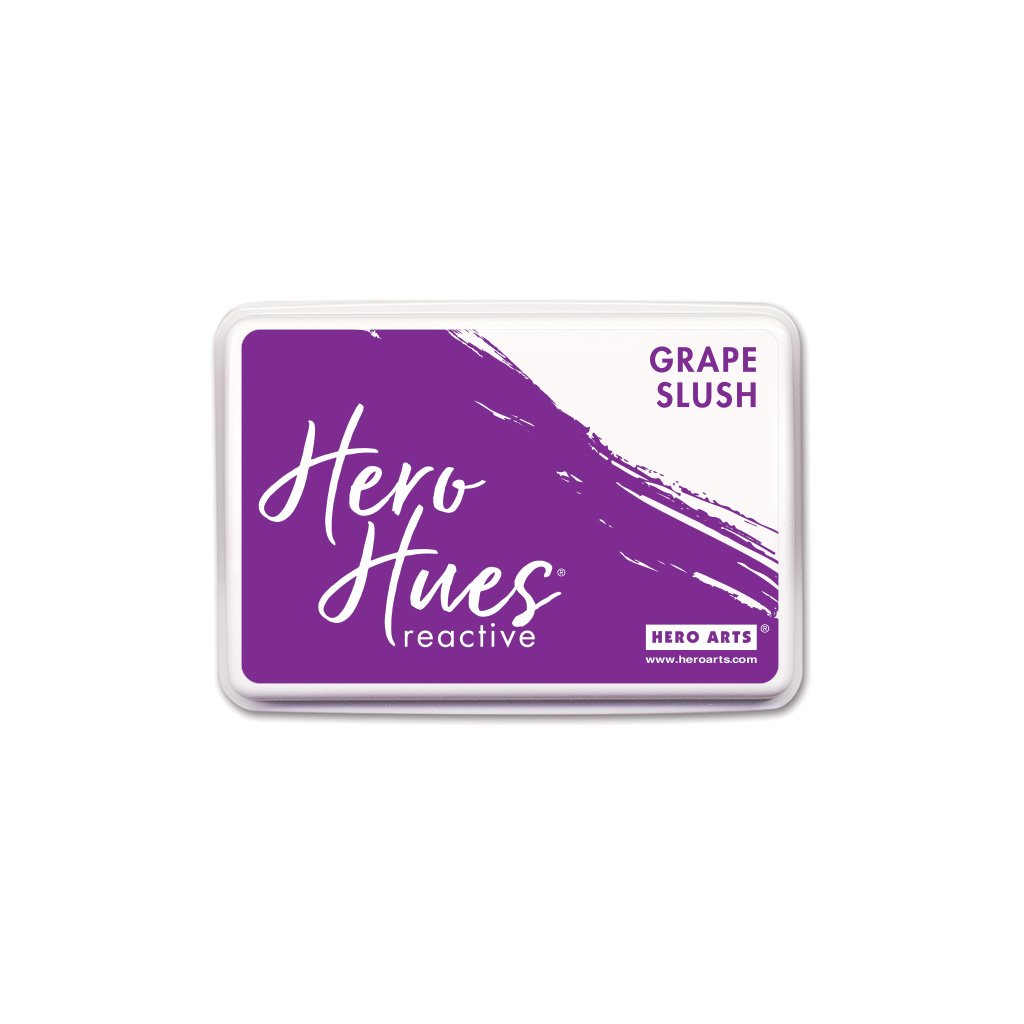
to darken the edges of the panel with
Grape Slush
and
Purple Galaxy
Reactive inks. I love how simple it was to add this textural alphabet pattern to the card’s background.

For the card’s focal point, I simply stamped a few of my favorite images and a sentiment from the delightful
Be You Bundle
with
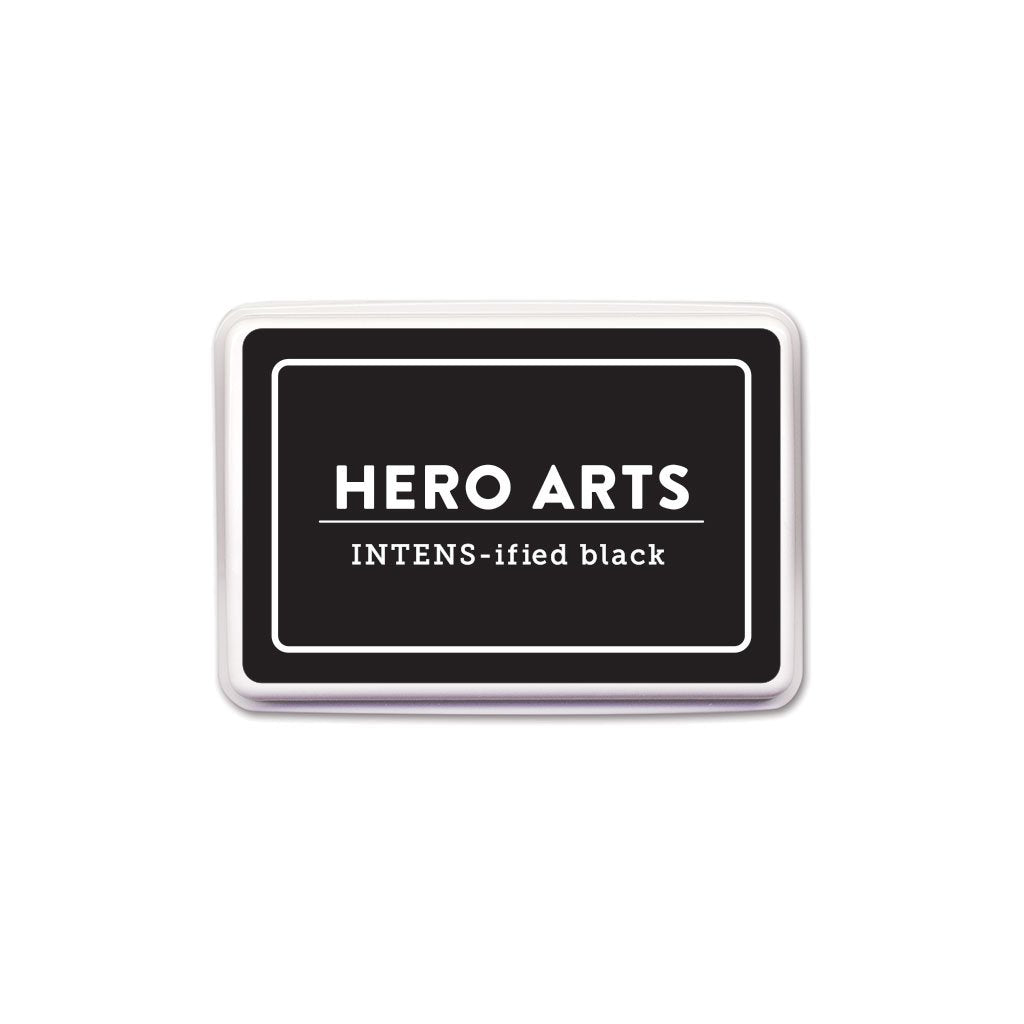
Intens-ified Black
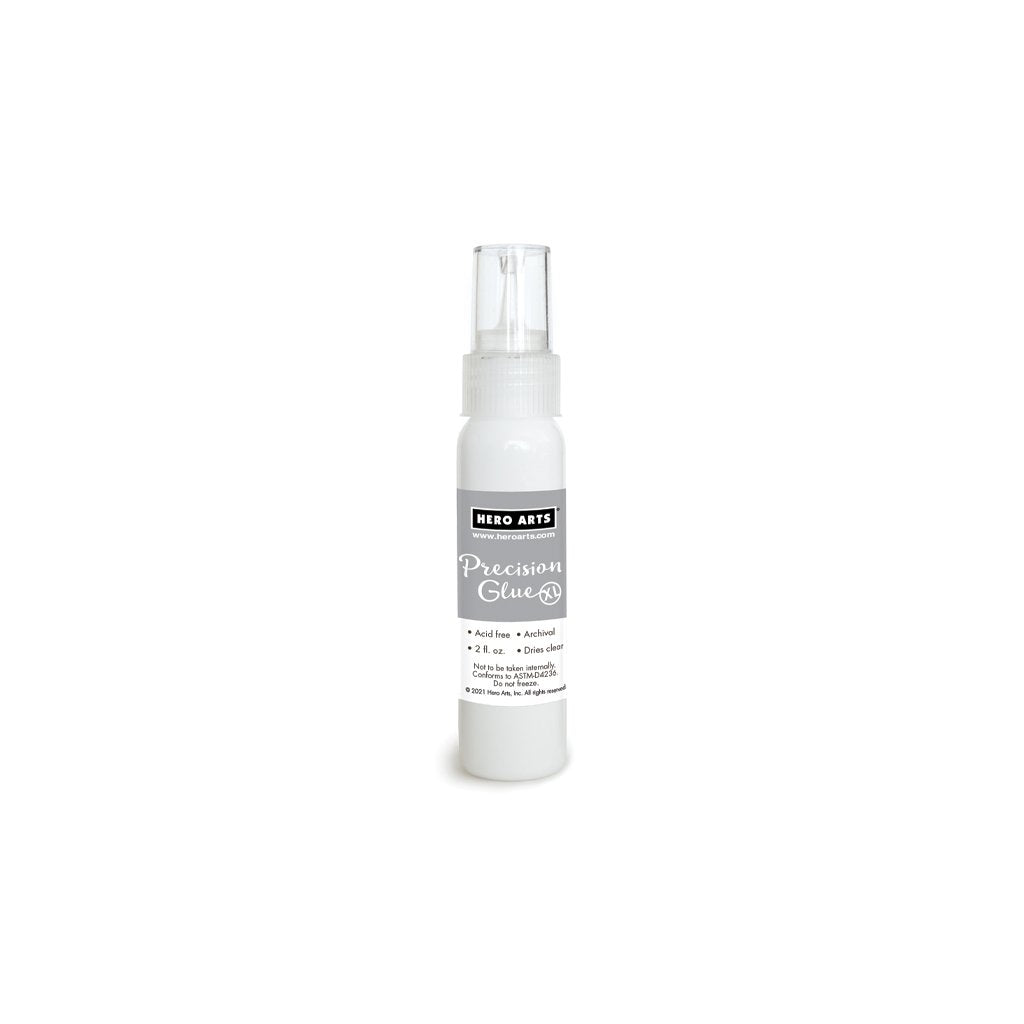
ink onto white cardstock. I colored the images with colored pencils and then I used the coordinating dies to easily cut around them. I secured the images to the card with
Precision Glue
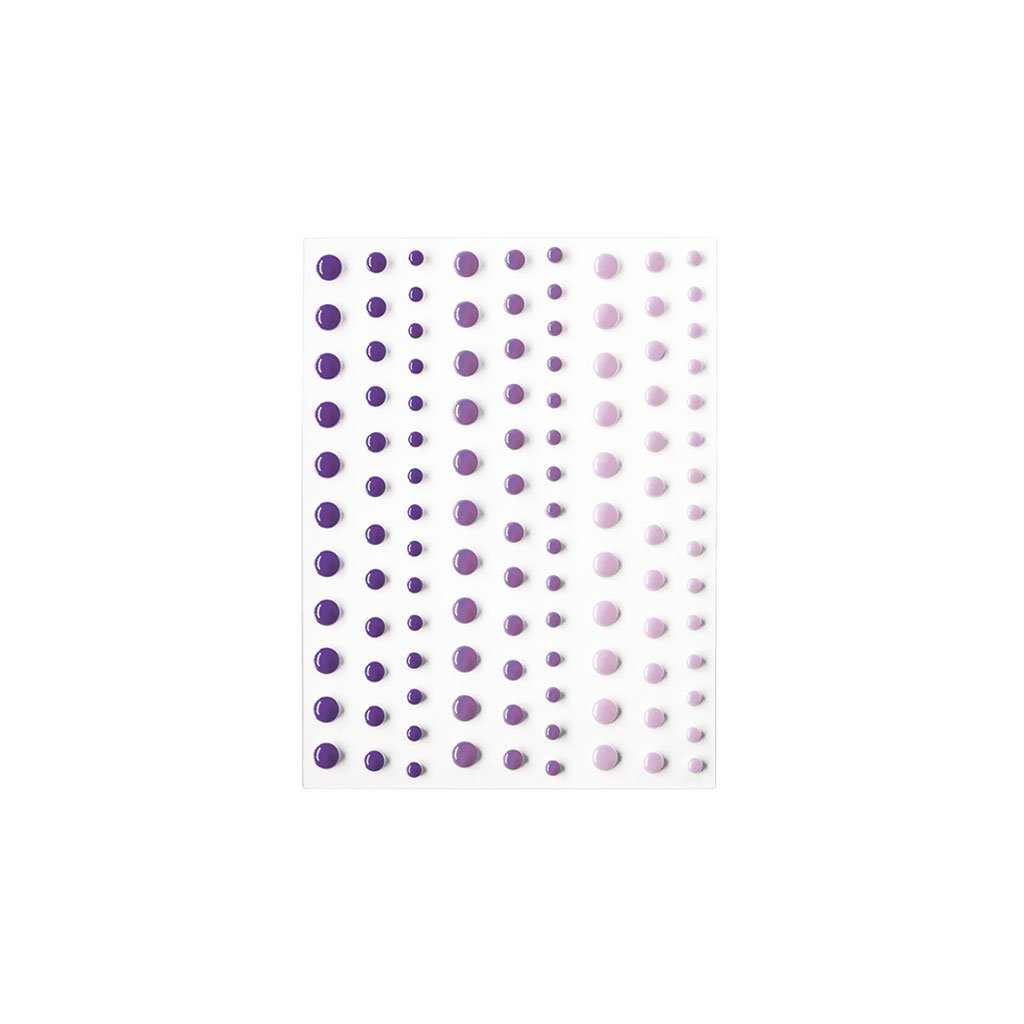
and foam tape. For a final touch, I added a trio of
Purple Enamel Dots
to the finished card.
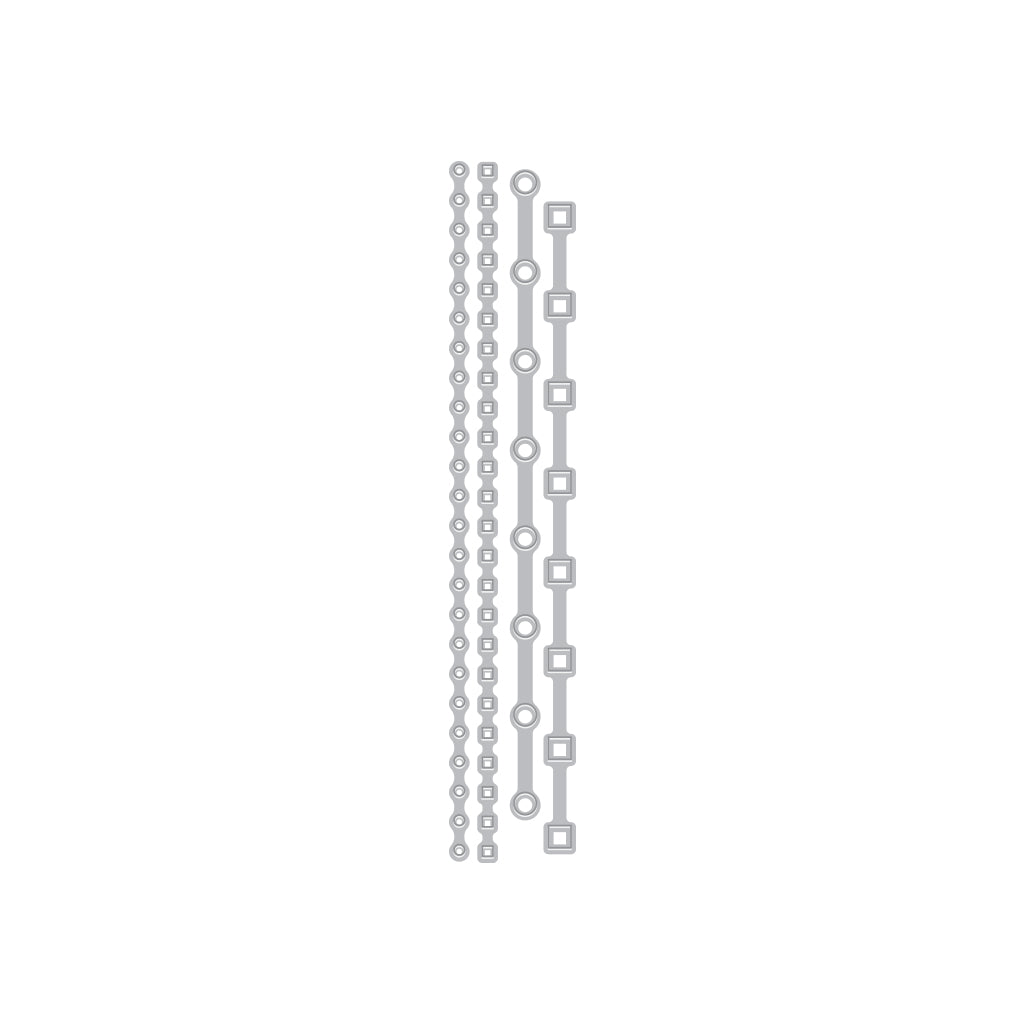
For my second card, I started by die-cutting four lines of punched shapes across the lower portion of a panel of white cardstock using each of the new
Hole Punch Edge Fancy Dies
. Before securing the die-cut panel to a white card base, I glued narrow strips of
Iris
,
Paradise
,
Peacock
, and
Meadow
cardstock behind each “punched” line to reveal assorted colors from the card’s front. I also added a strip of Peacock cardstock at the bottom edge of the card.

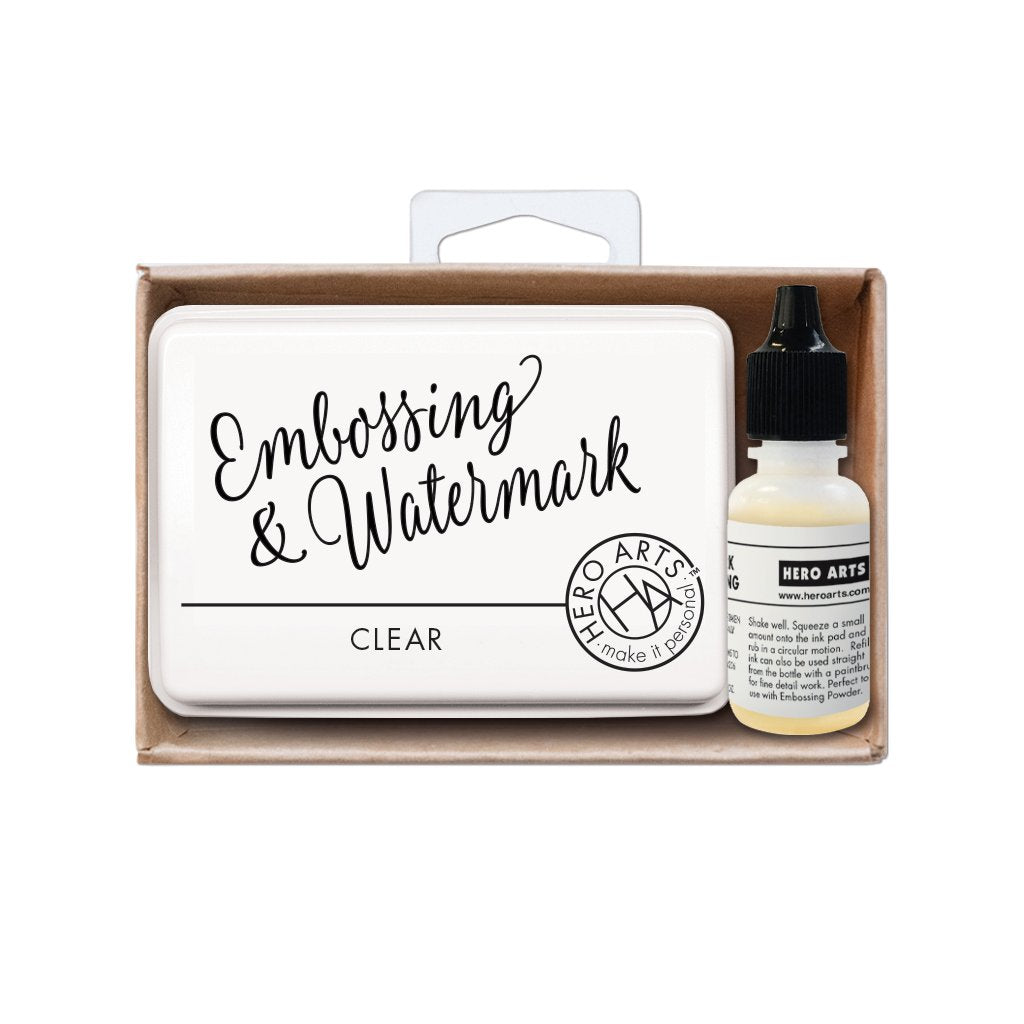
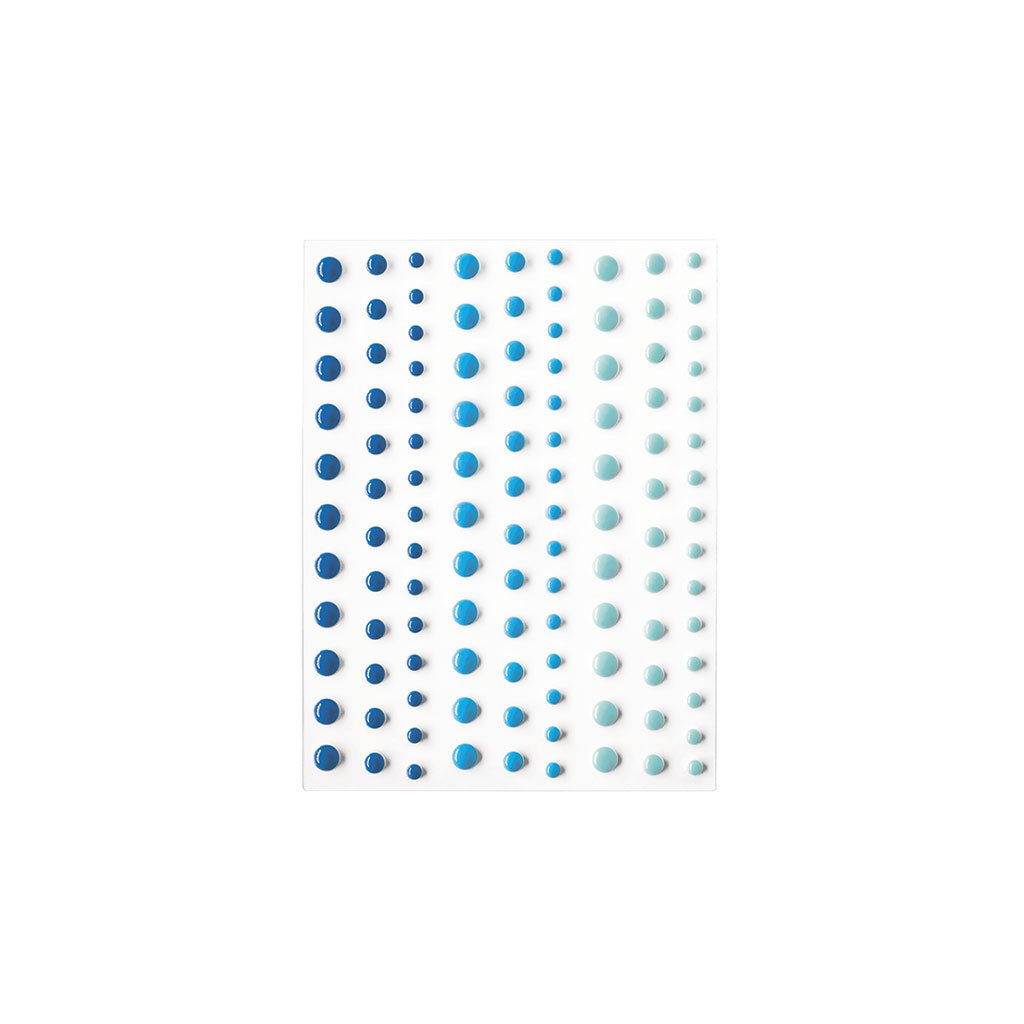
For the card’s sentiment, I embossed a “thank” sentiment from the new Message Basics set with Clear Embossing & Watermark Ink and White Embossing Powder onto a strip of Meadow cardstock. Then, I glued the strip over a letter “U” that I die-cut with the Letter S-V Fancy Dies . Using several Square Infinity Dies and Splash ink, I glued the sentiment to a square panel that I inked, die-cut, and secured to the card with foam tape. For some extra interest, I stamped, colored, and die-cut several sweet images from the Be You Bundle and glued them beside the sentiment. I also added a pair of Blue Enamel Dots for some subtle shine.

For a full walkthrough of this month's add-ons, check out the video below. It's also available to view on YouTube .
Did you know you can get the entire collection of add-ons in one bundle at a discounted price? Check it out here .
A reminder for all My Monthly Hero subscribers:
You have the opportunity to add extra items, including but not limited to add-ons, to your kit shipments with no additional shipping charges. Simply log in to your Hero Arts store account and place your order by 11:59am PT on Thursday, December 7 to take advantage of this offer.
We appreciate you stopping by today. Happy stamping!

|

































































































1 comment
Both projects so cute!!