-
Products
-
Categories
Menu
-
Products
-
Categories
Creating a Focal Point from a Background
Michelle Short
Hello there, Michelle here and today I have a card to share with you using Poppy Field Bold Prints. Bold Prints are essentially background stamps, but they can be so much more! If you take a portion of the background image, it automatically creates a focal point.
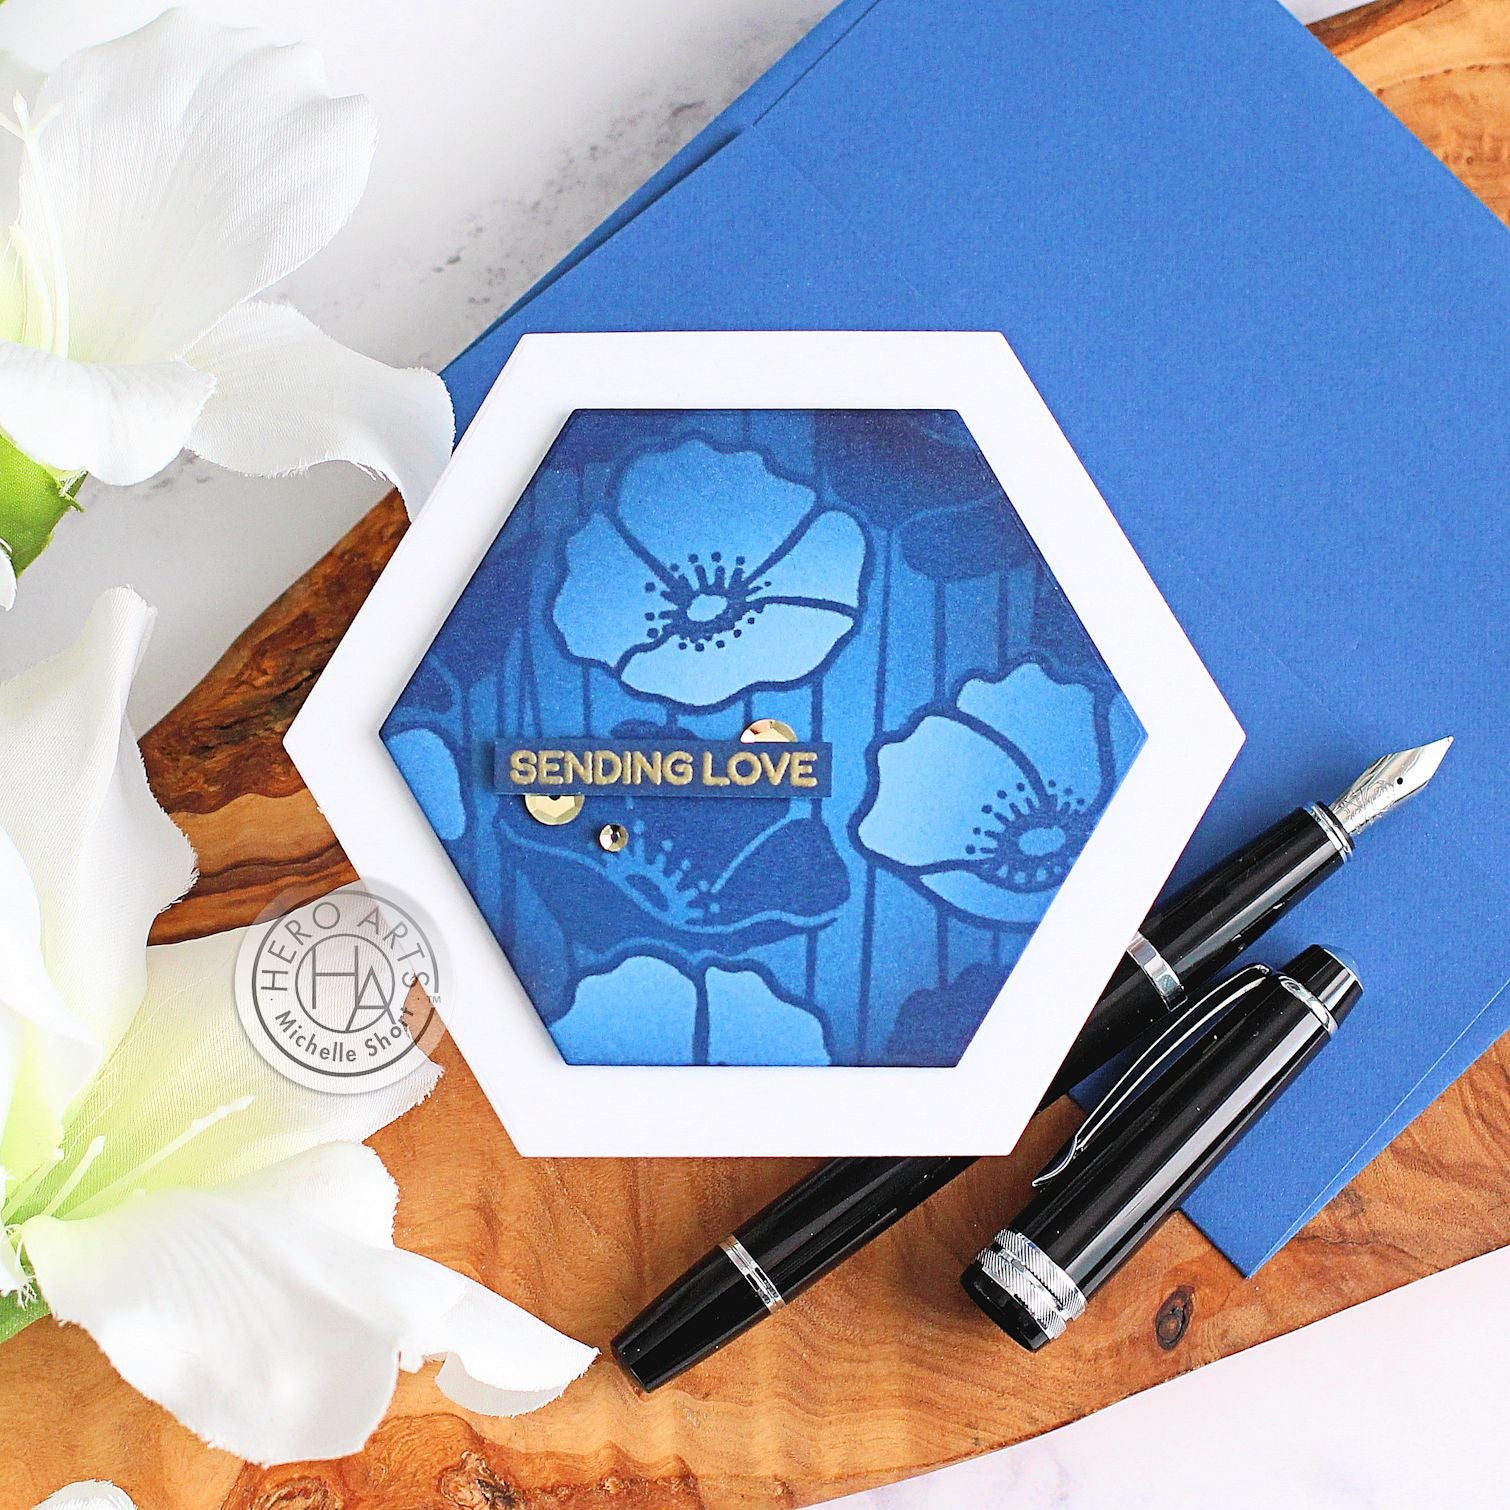
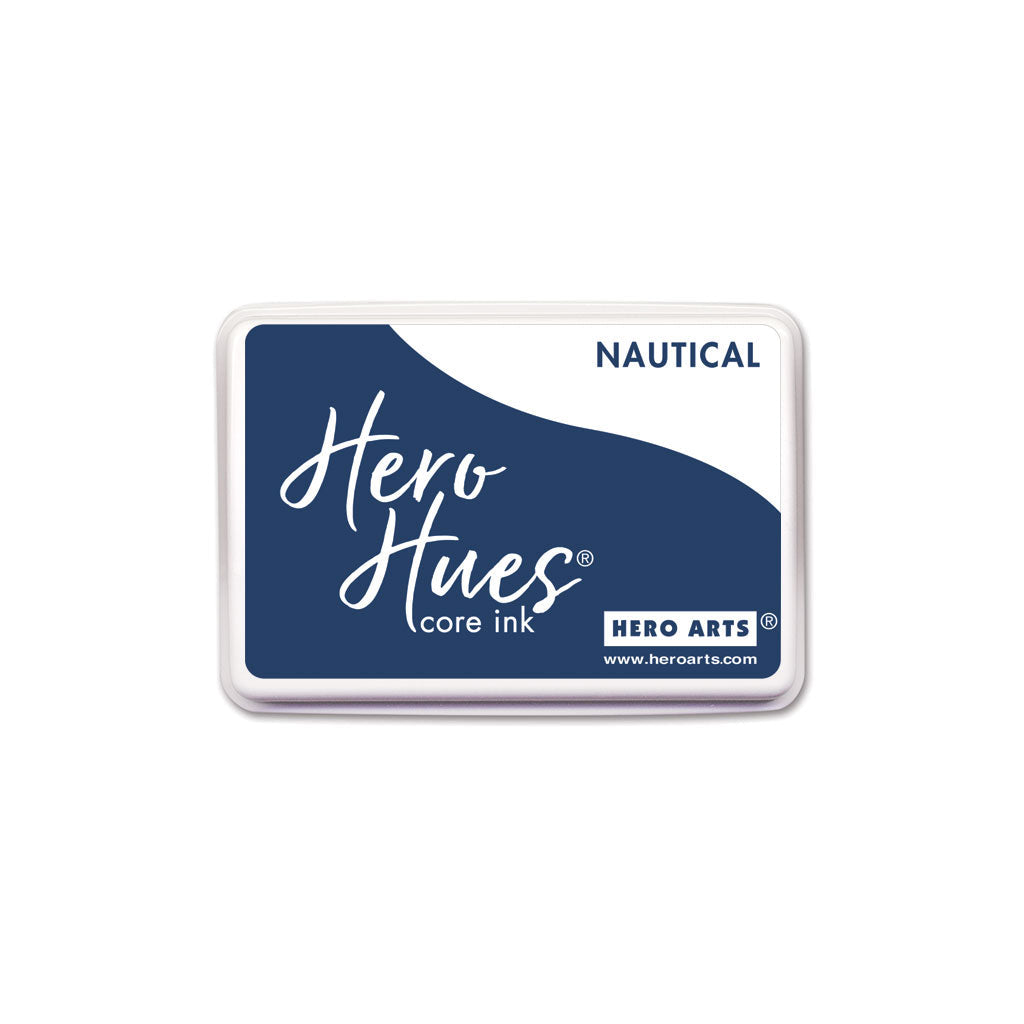
I started off my card by stamping Poppy Field Bold Prints on to a panel of Perwinkle cardstock using Nautical Core ink. It was then die cut using Hexagon Infinity Dies. I also stamped the image on to masking paper, before fussy cutting around the non-solid/outline poppies using scissors.
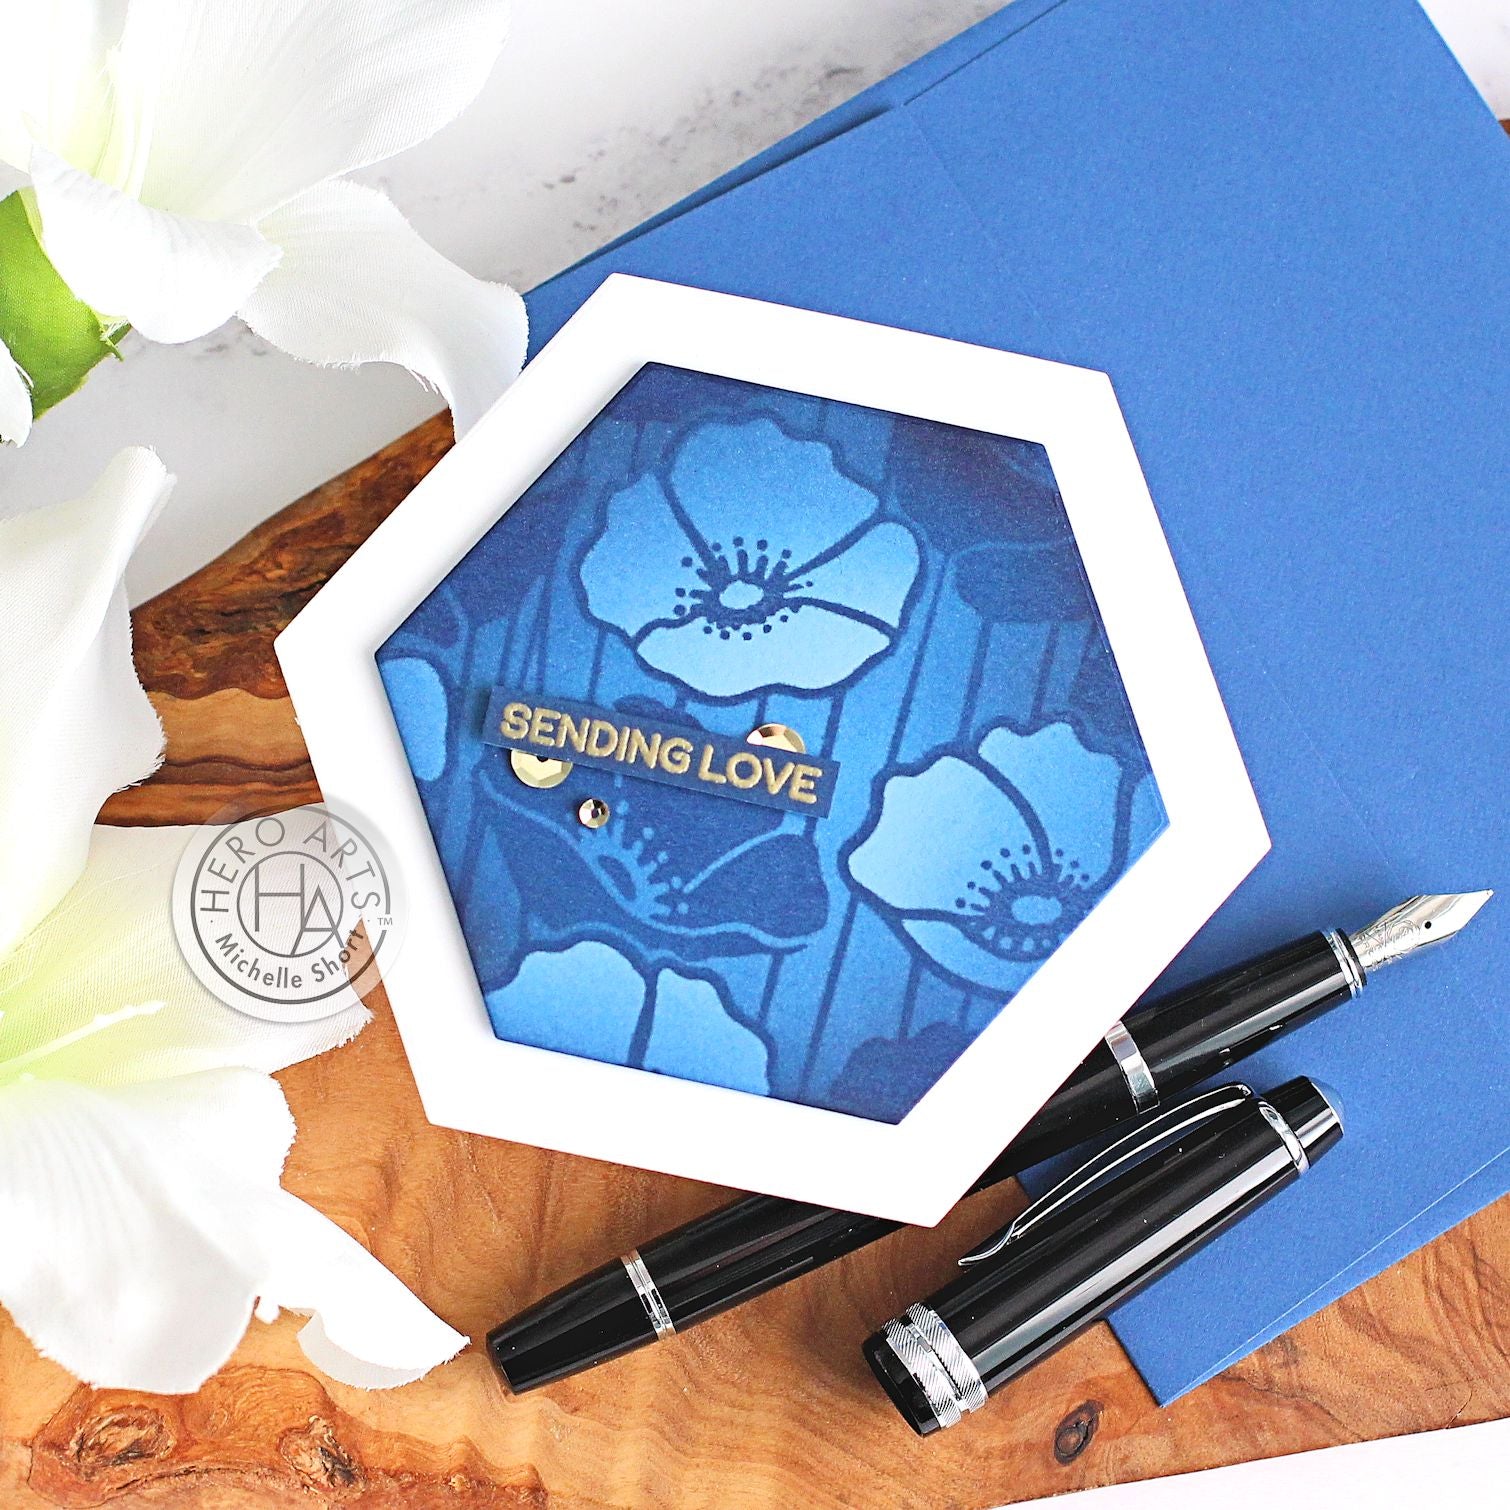
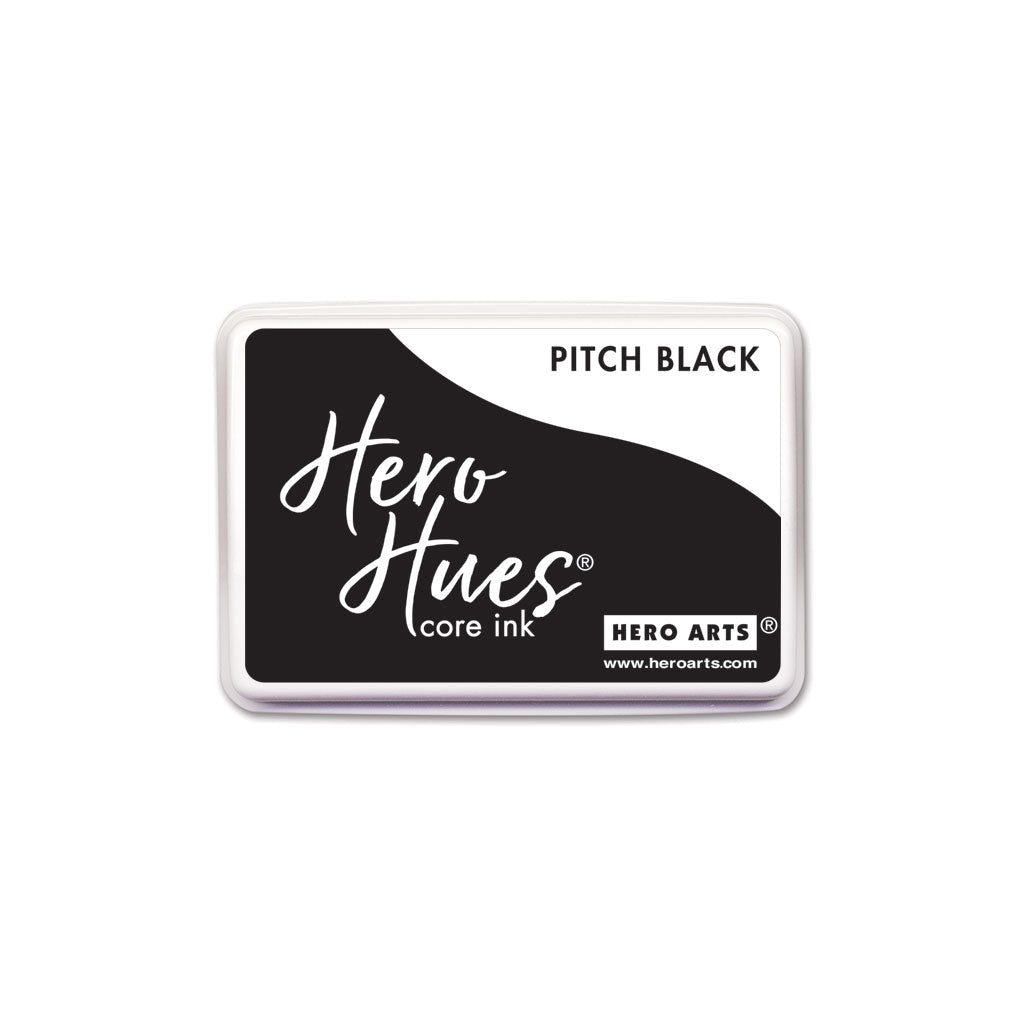
I placed the masks on top of the poppies and then using Ink Blending Brushes, I blended on Perwinkle Core ink first, covering most of the panel but with a lighter hand in the middle. I then blended on Nautical Core ink, focusing this colour on the edges of the hexagon. To darken the edges even further, I blended on a little Pitch Black Core ink.
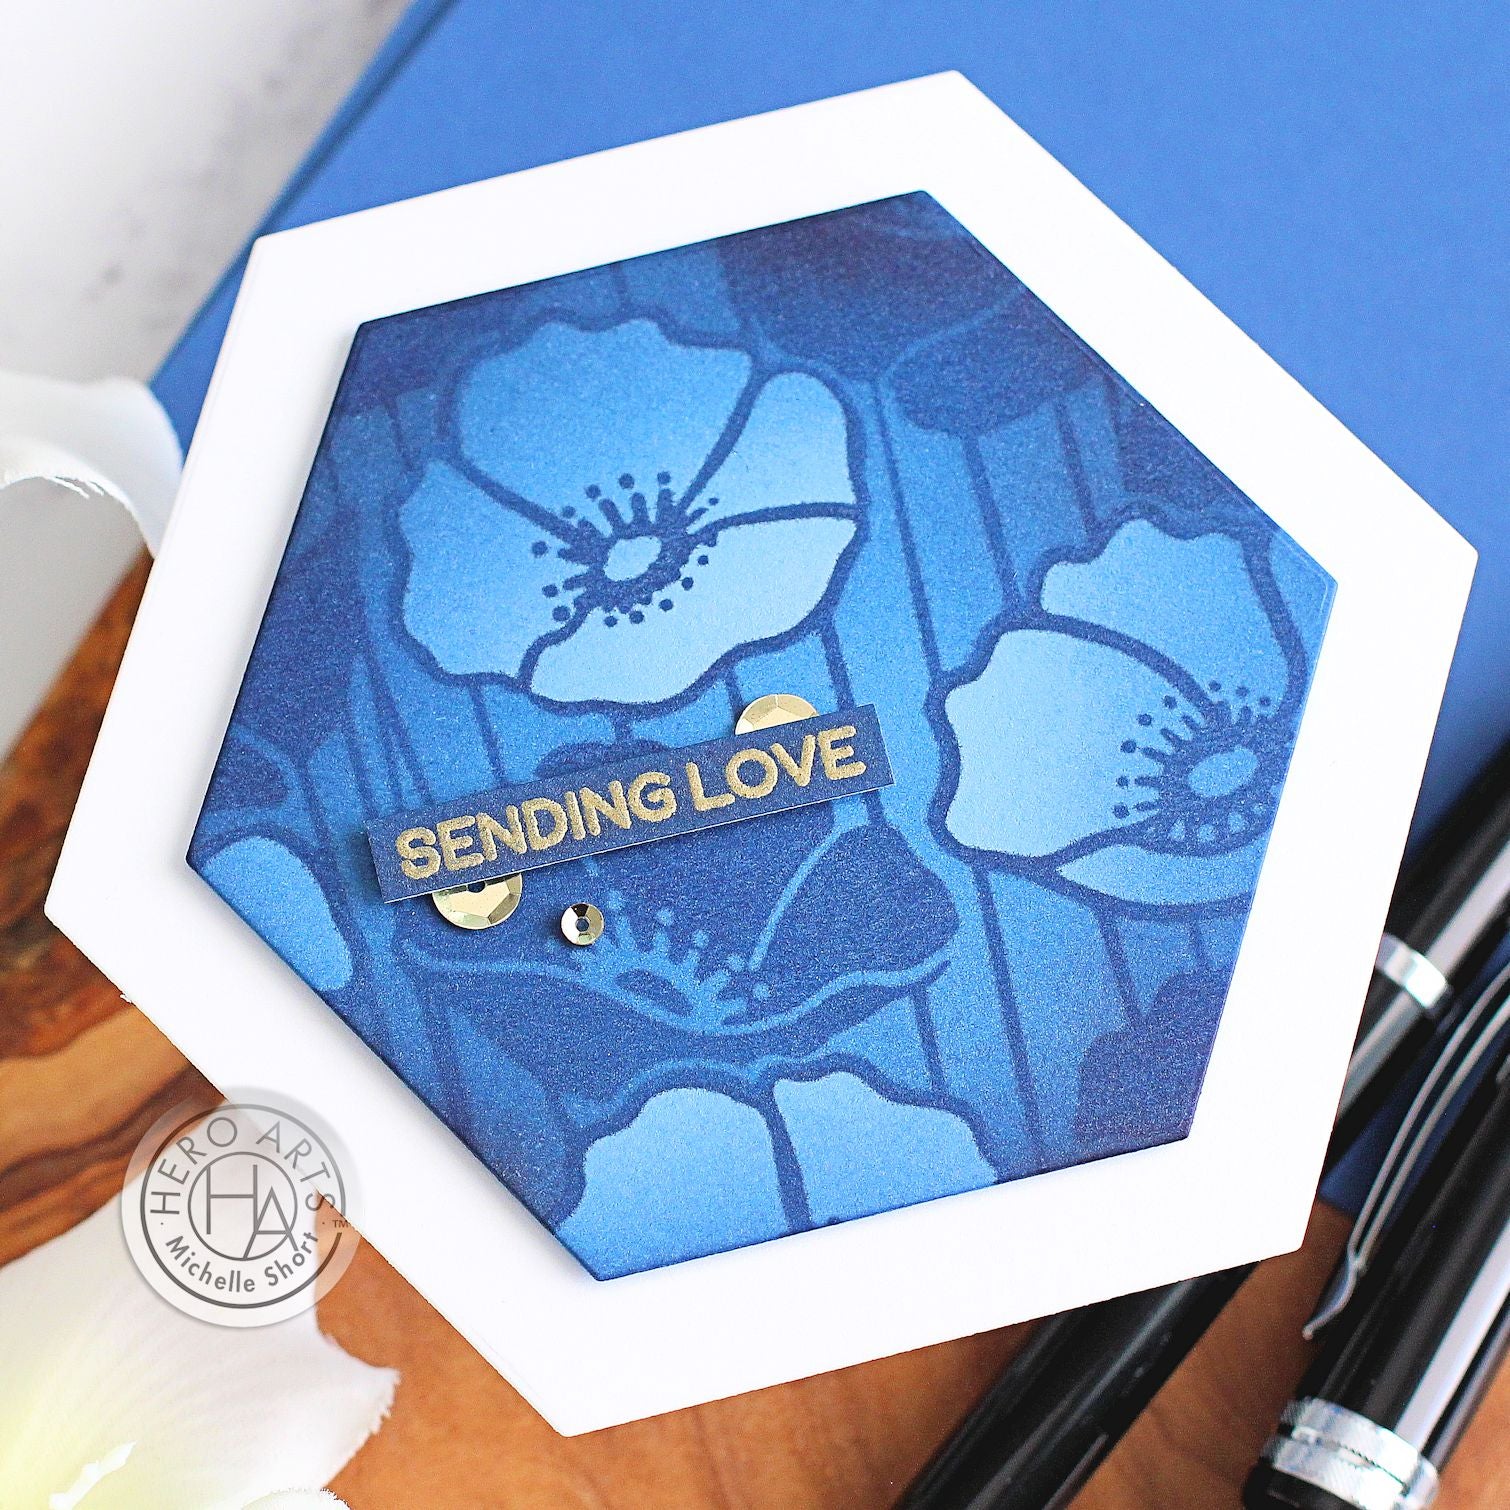
The masks were removed and the panel then blended again with Perwinkle and Nautical inks, using the residual left on the brushes. I die cut two larger hexagons from Deluxe Smooth White cardstock and on one, added a score line to create a hinge, added adhesive to the hinge and then adhered, back to back, to the other one to create a hexagon shaped card base.
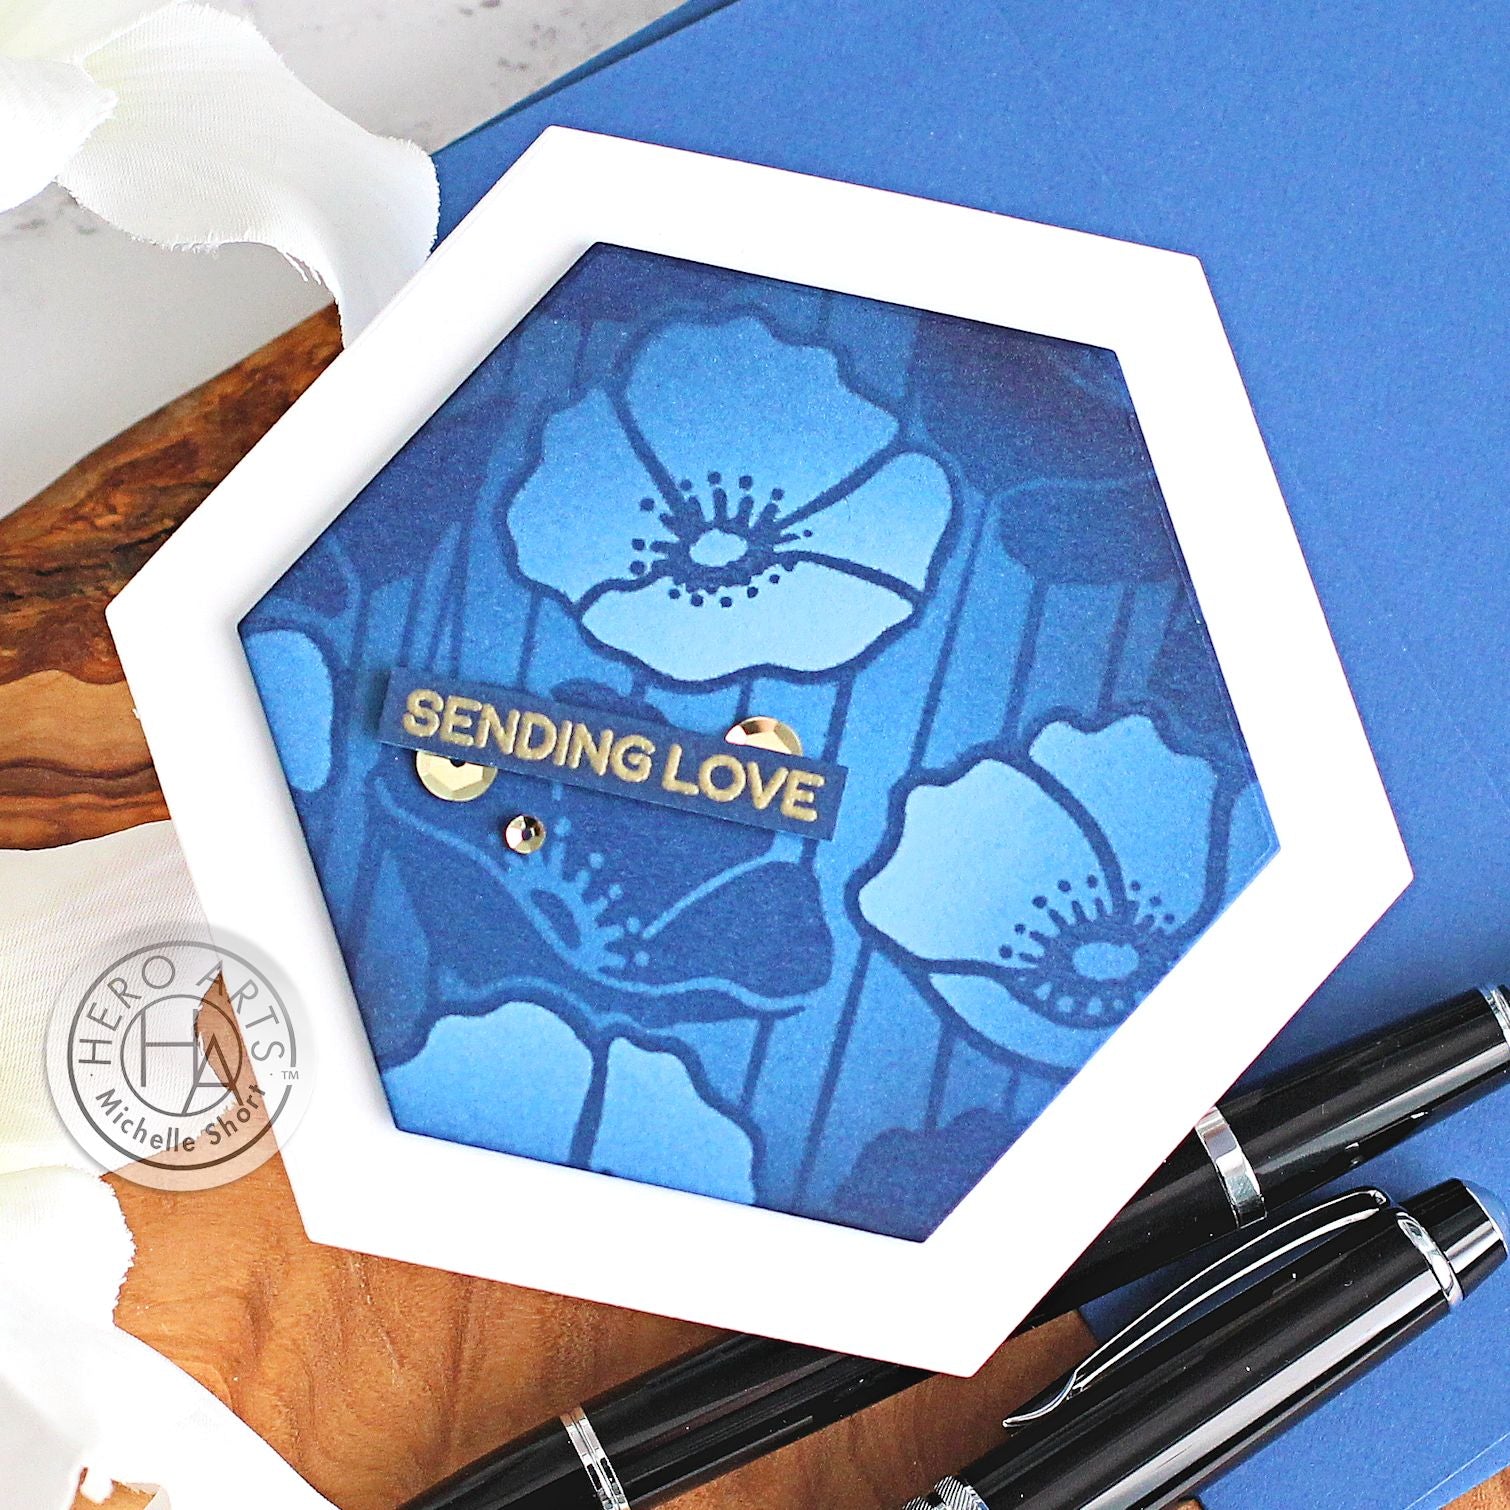
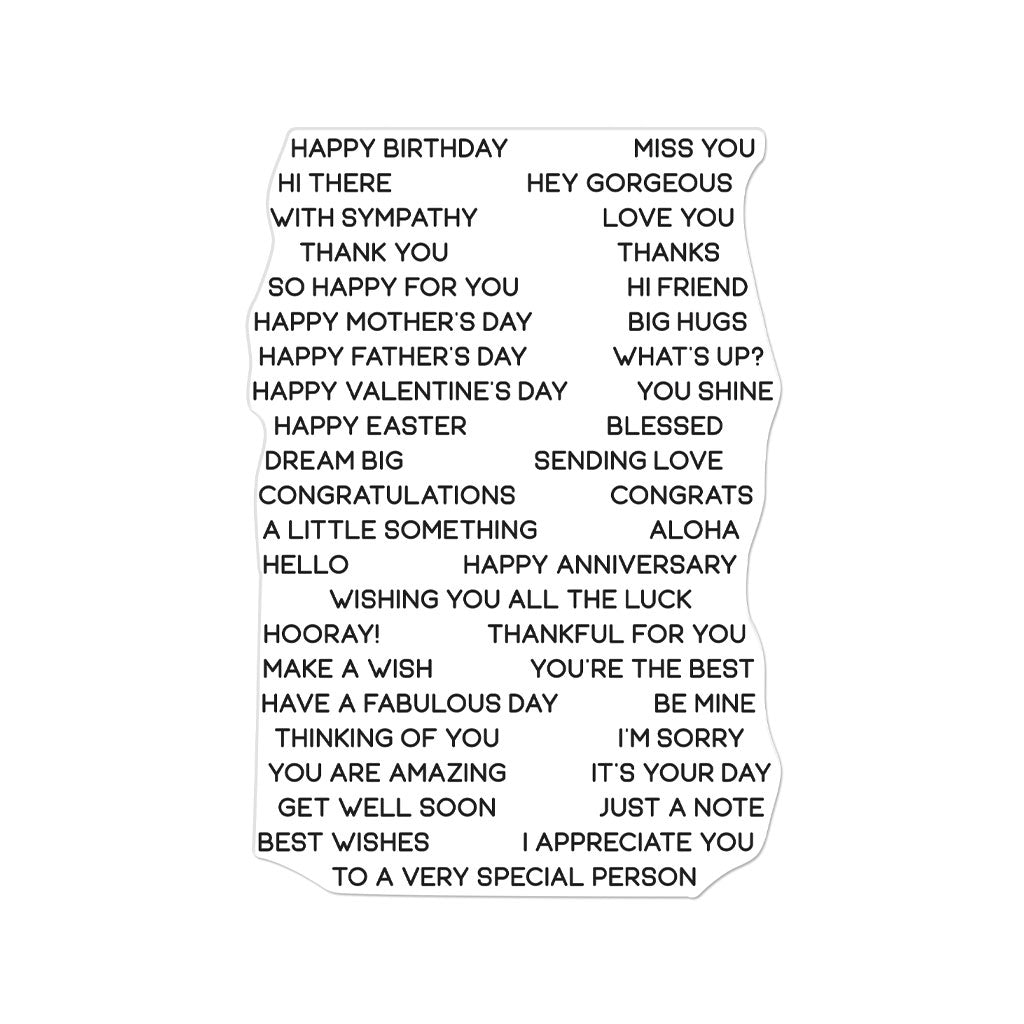
The poppy panel was adhered on top using thin foam tape. I then stamped Everyday Sentiment Strips on to more Perwinkle cardstock using Clear Embossing & Watermark Ink. I applied Gold Embossing Powder and heat set. I blended Nautical Core ink on top, wiped the embossing with a dry cloth and then die cut using the Sentiment Strips Fancy Die.
The sentiment was adhered to the card with more thin foam tape and then embellished with sequins.
Although I created a hexagon shaped card today, the Poppy Field panel would work well on an A2 card too, for a focal point. Thank you so much for stopping by today, I hope you have a great day!

|






Fantastic card!