-
Products
-
Categories
Menu
-
Products
-
Categories
Busy Background Eclipse - Texture & Pattern
Lydia Fiedler
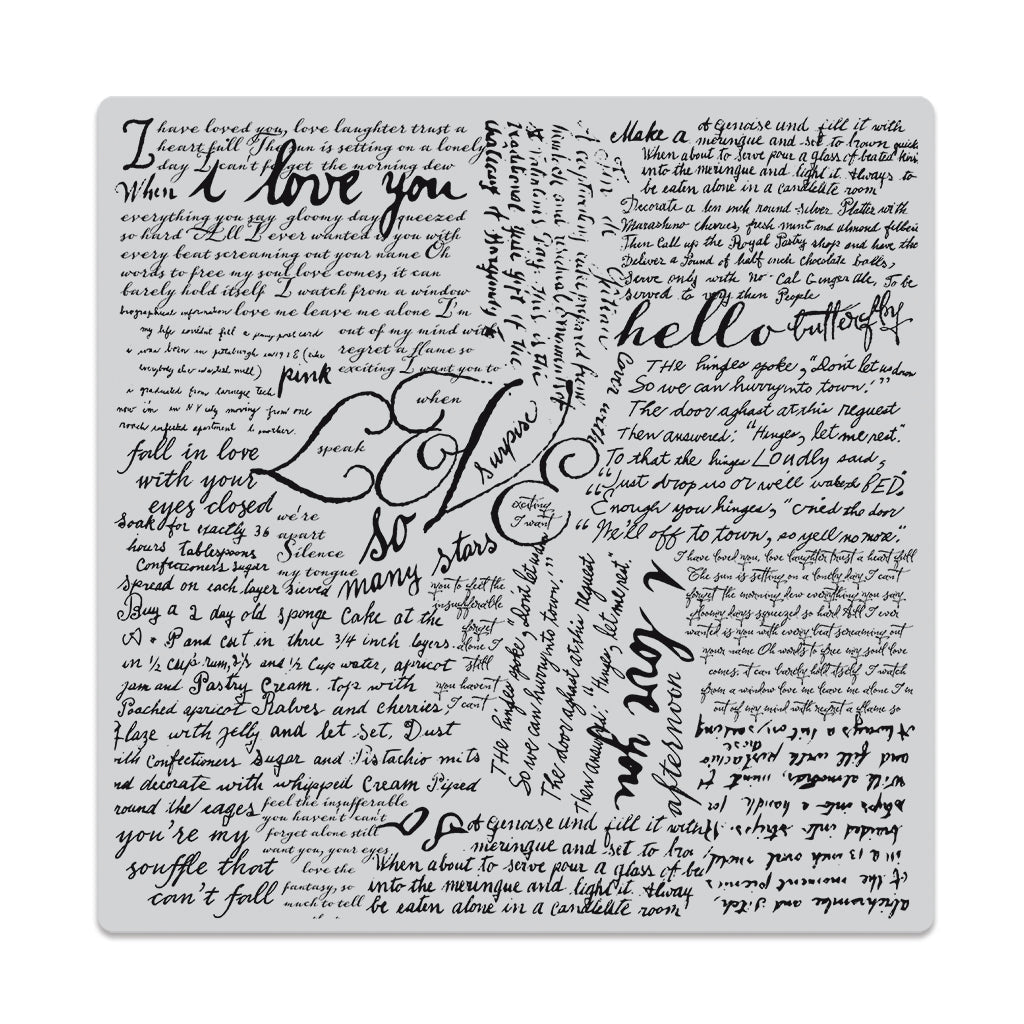
Hi friends! Lydia here with a fun and simple way to build a card around a background stamp - in this case - the new Ode to Andy Warhol Bold Prints. Text backgrounds are a favorite of mine because you can do so very much with them. And one fun thing to do is a contrasted eclipse which I'll be showing you.
To create the contrast, I'll be using a texture surface treatment using the Vintage Birdcage Fancy Die. When you do this technique - be sure and hang on to all your pieces after die cutting - you'll need them for the inlay piecing.

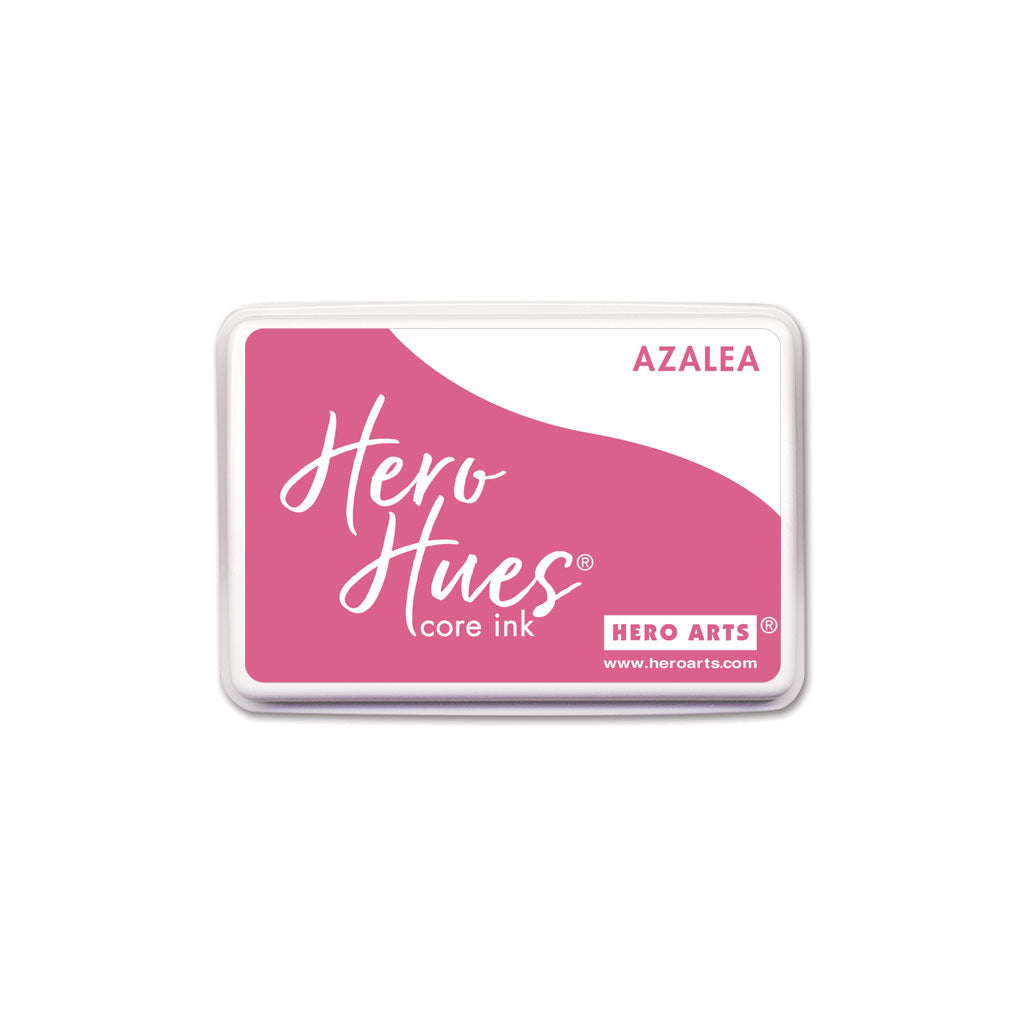
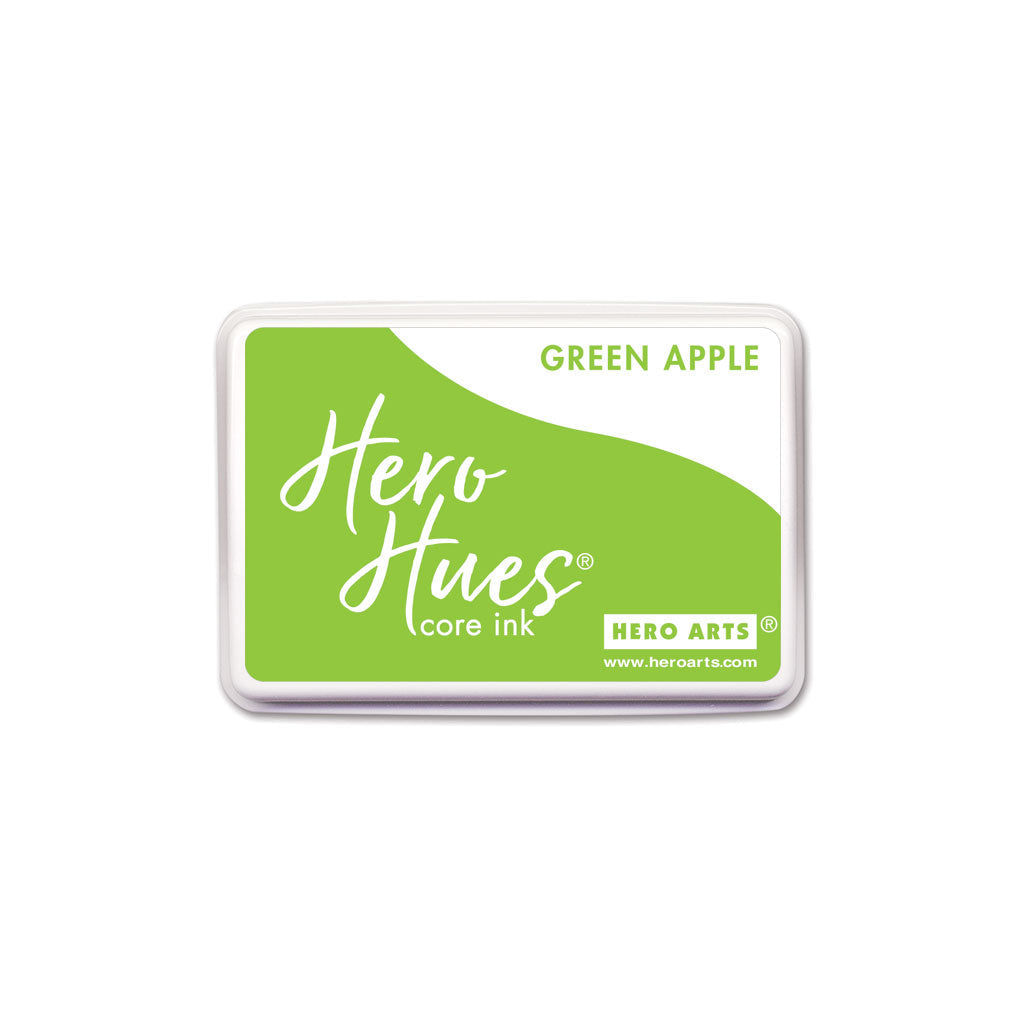
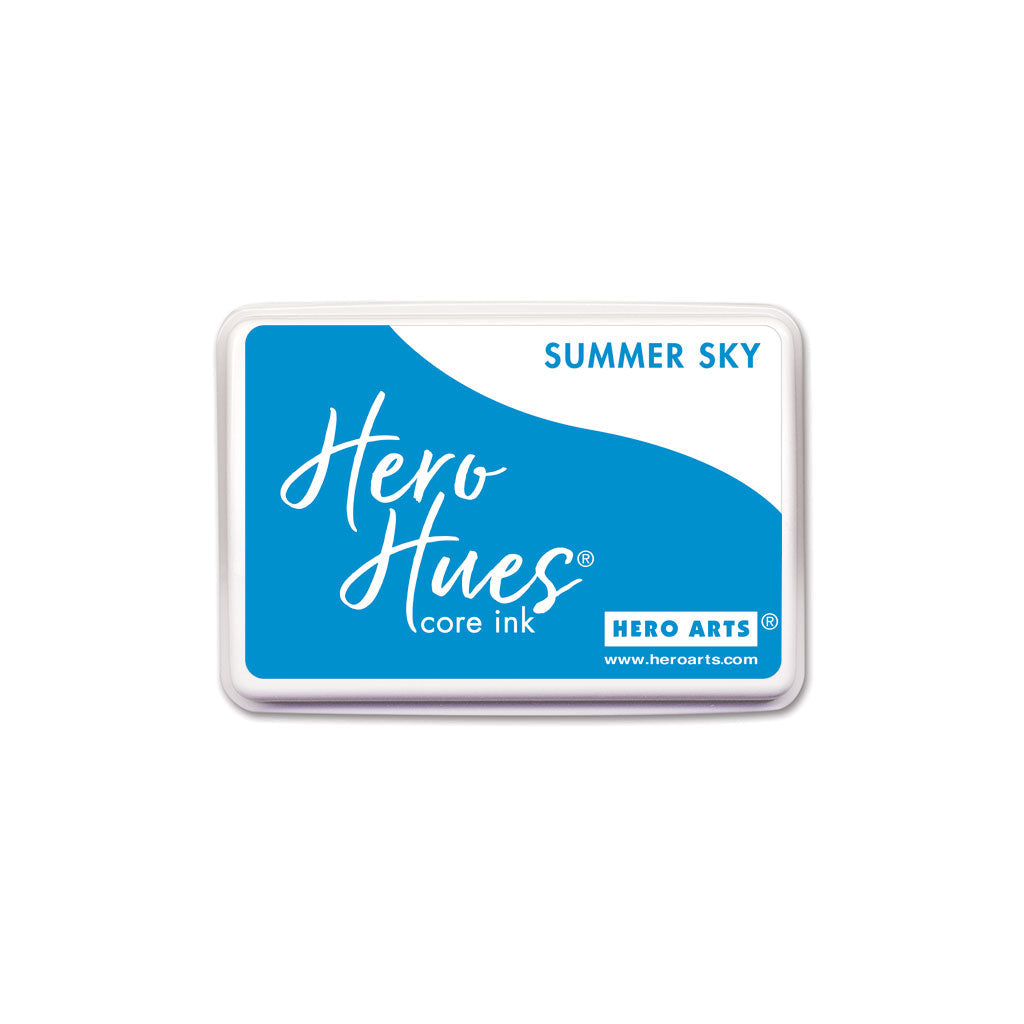
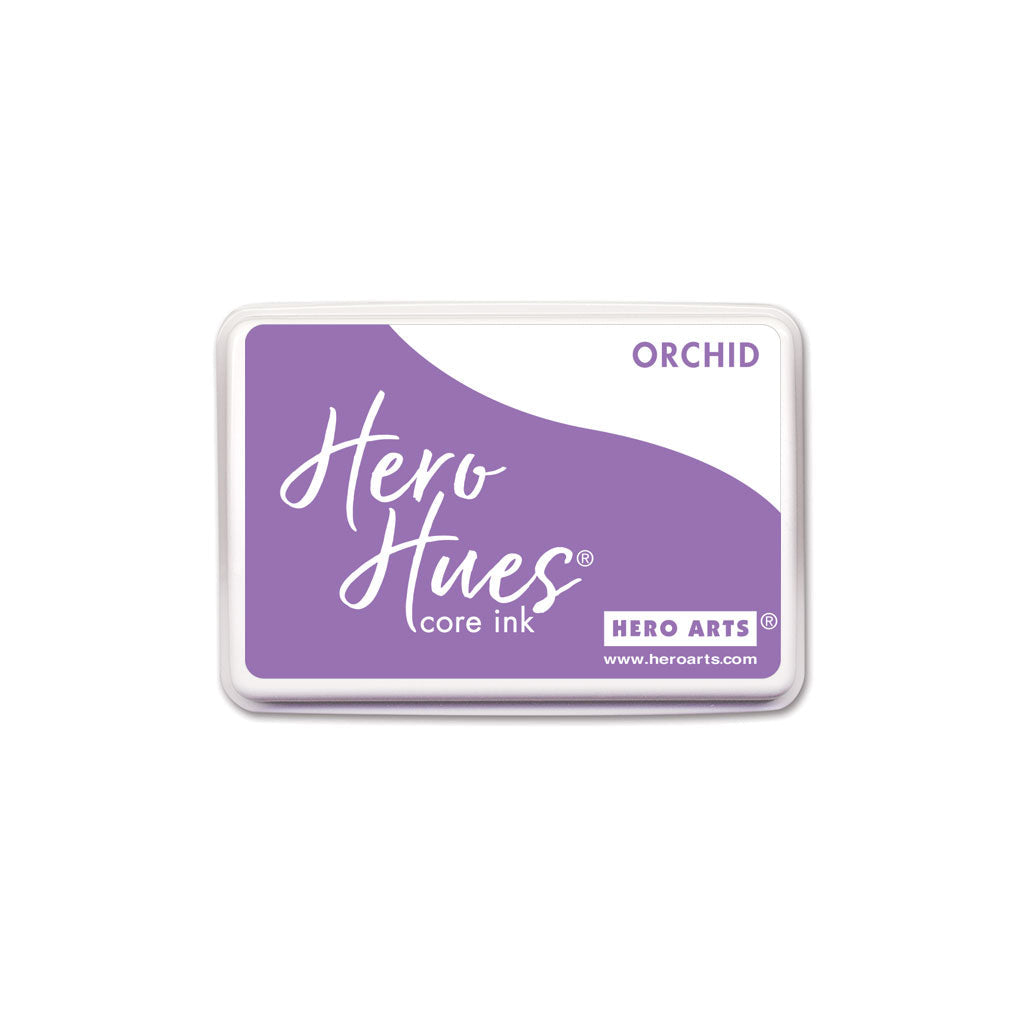
Start by stamping the image in partial colors using your MISTI - using inks from the hybrid line only. Ink up a part of the image and then dab the edges of the inked area with a cloth to soften any hard edges. Repeat with other colors. When your card front is fully colored, lightly ink blend with the same ink colors so no white is showing. My inks are Azalea, Green Apple, Summer Sky and Orchid.
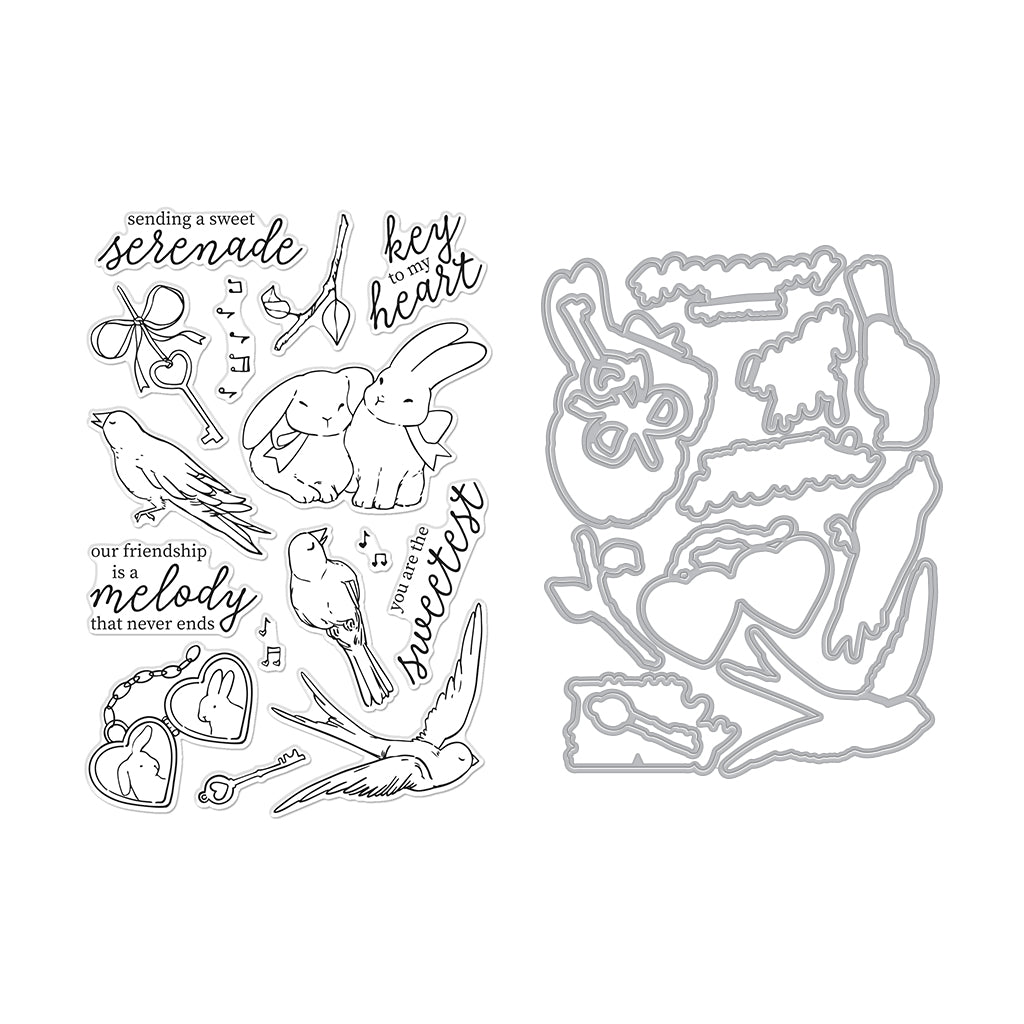
Then use the Vintage Birdcage Fancy Die to die cut this panel and cut two more birdcages to raise the image. Glue two of the spare die cuts together and then glue them into the opening. Then take the inside pieces of the stamped die cut and piece them into the negative space. Cover the stamped birdcage piece with Crystal Clear Lacquer (the hybrid inks won't react with this medium - that's why I chose them) and let dry before adhering on top of the two eclipse layers. I finished it with a little bird and heart cut from Pitch Black cardstock and a sentiment from the Love Bird & Friends Bundle.
This is what it looks like all put together, with the contrast of the shiny top layer and the matte layers below.

Such a fun color combo and such sweet images for love and friendship cards. There's nothing more iconic than a bird and a cage.
I hope your 2024 is off to a great start. Thanks for stopping by!

|






Leave a comment
Please login with your Hero Arts account in order to comment.
Click HERE to sign up if you don't have an account.