-
Products
-
Categories
Menu
-
Products
-
Categories
Emboss Resist with Bold Prints
Dana Joy
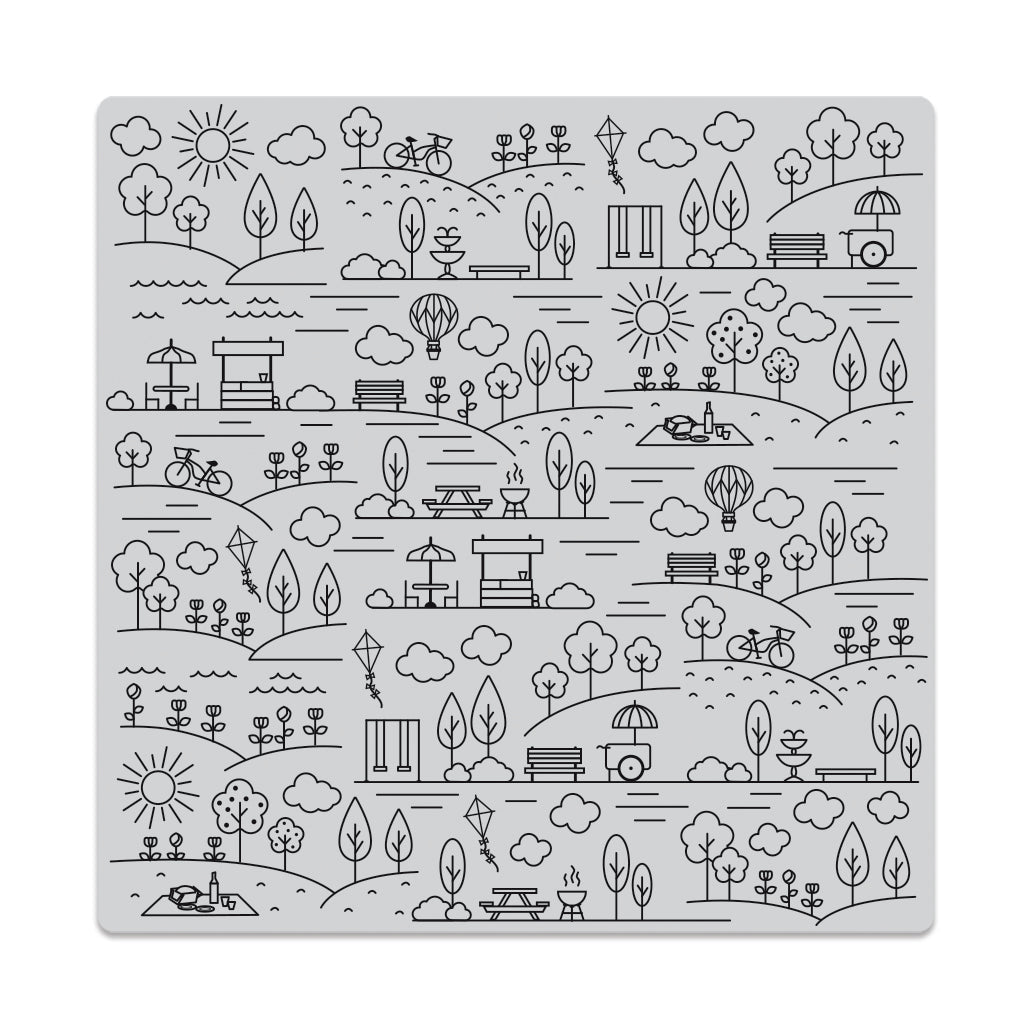
Hey everyone. It's Dana here with you today. Let's do some heat embossing with the new Park Background Bold Prints stamp.
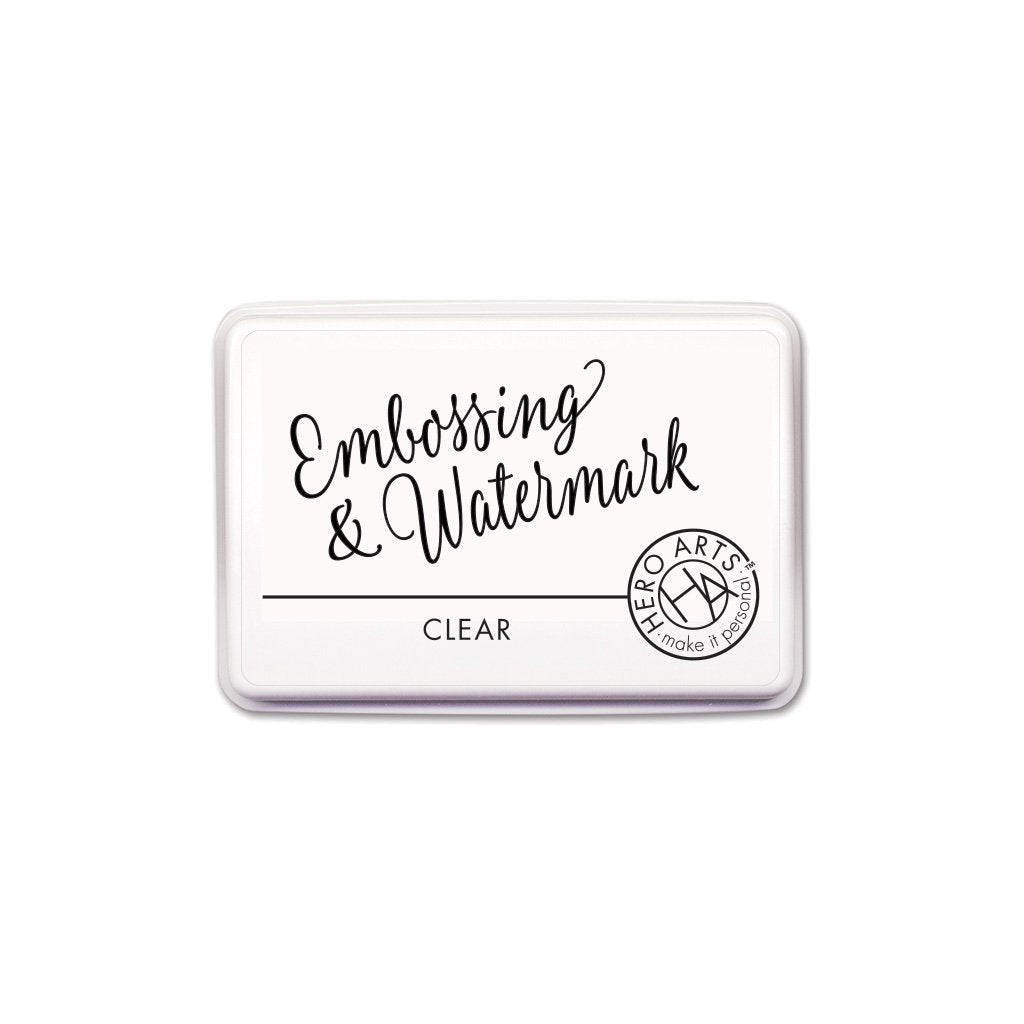
 Let's start with the background of our card. I stamped the Park Background Bold Prints onto Dove White cardstock with Embossing and Watermark Ink. To keep the crisp white image, I sprinkled on Clear Embossing Powder and heat set the image.
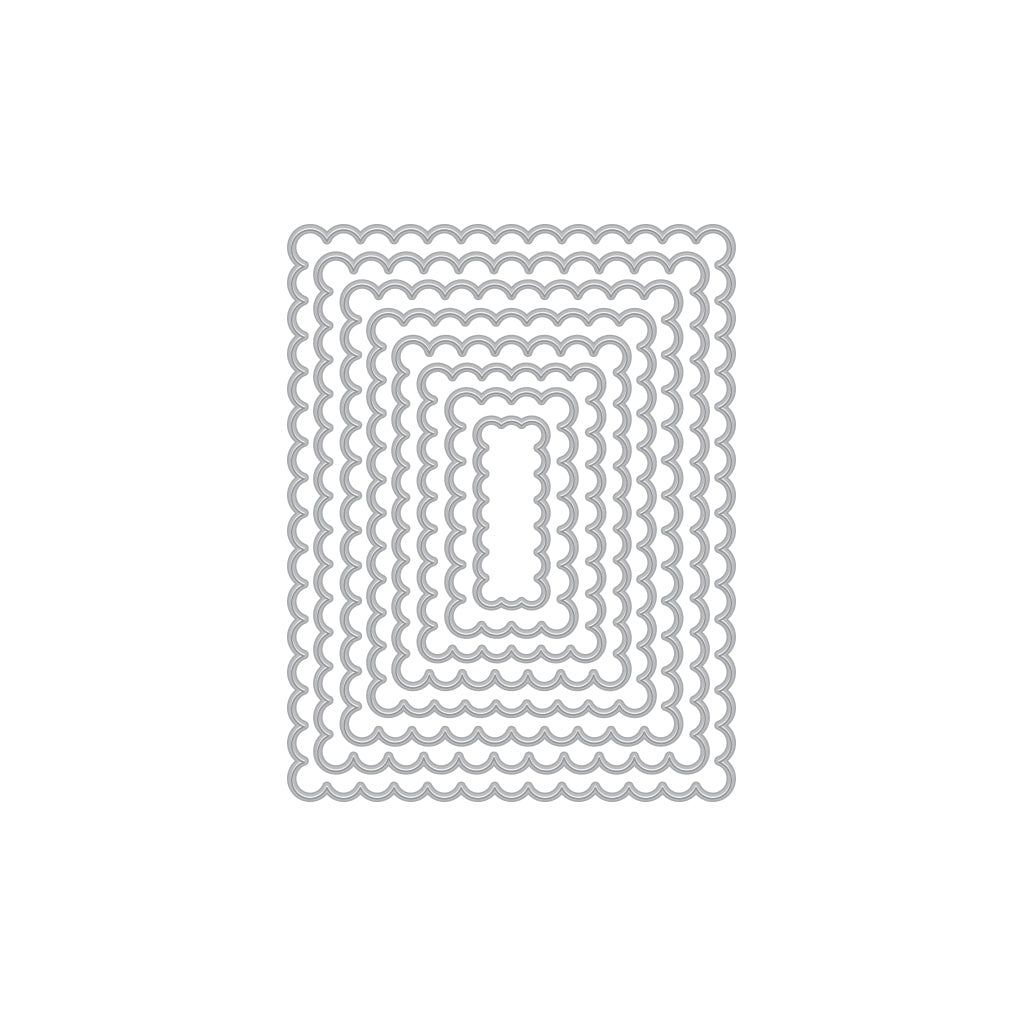
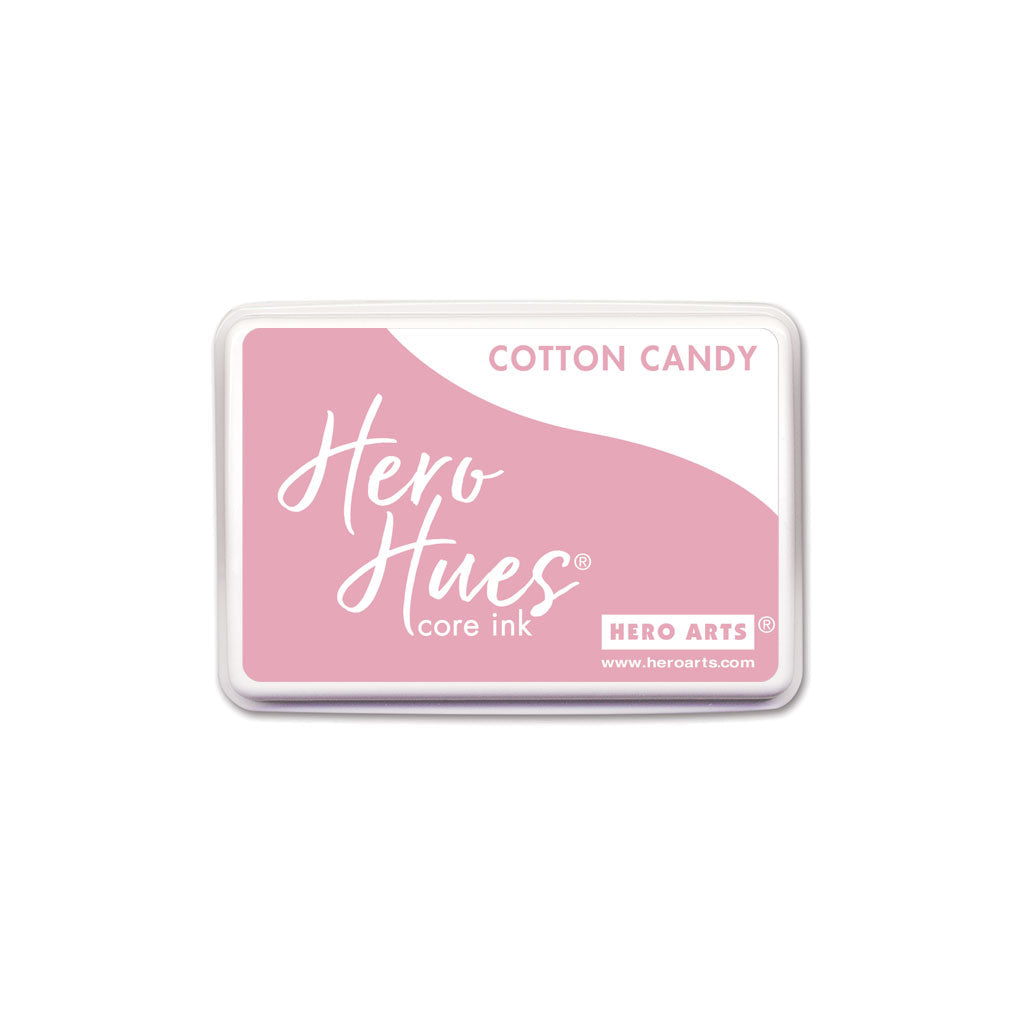
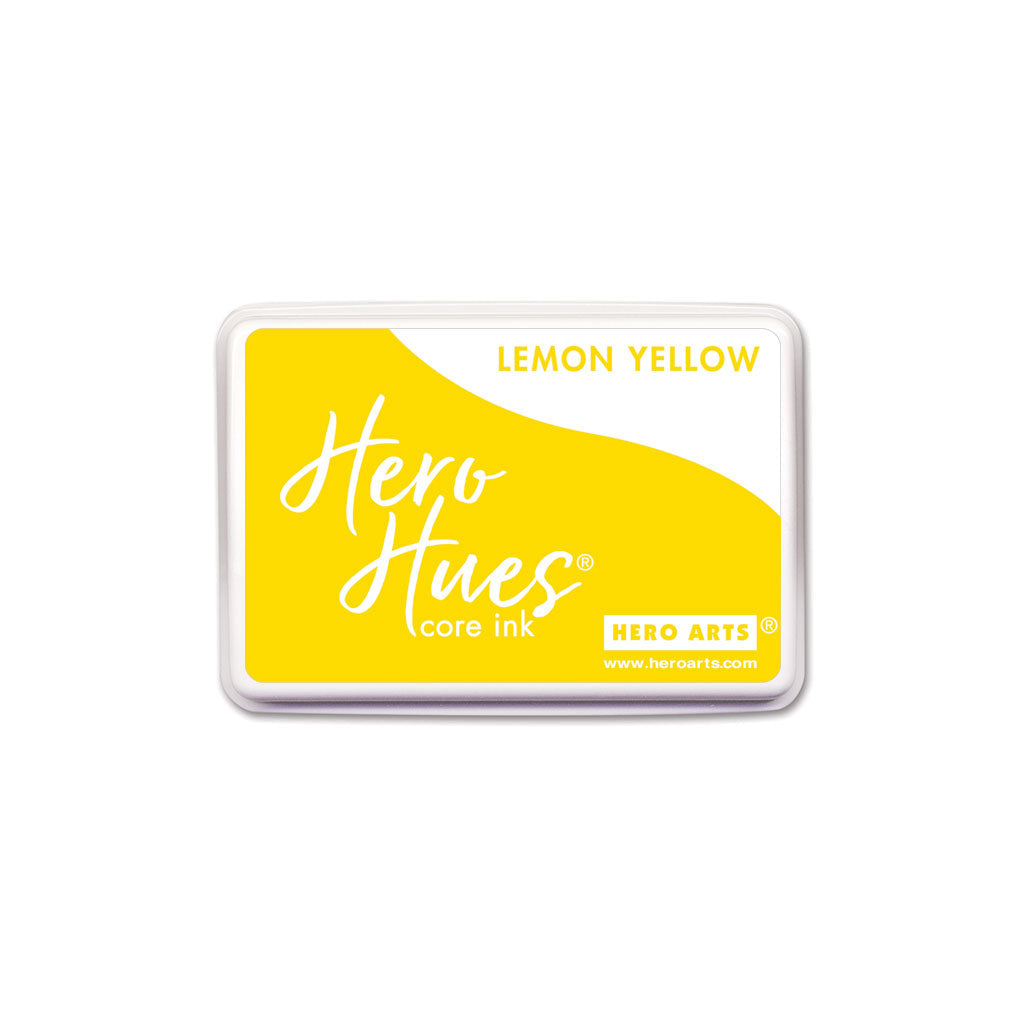
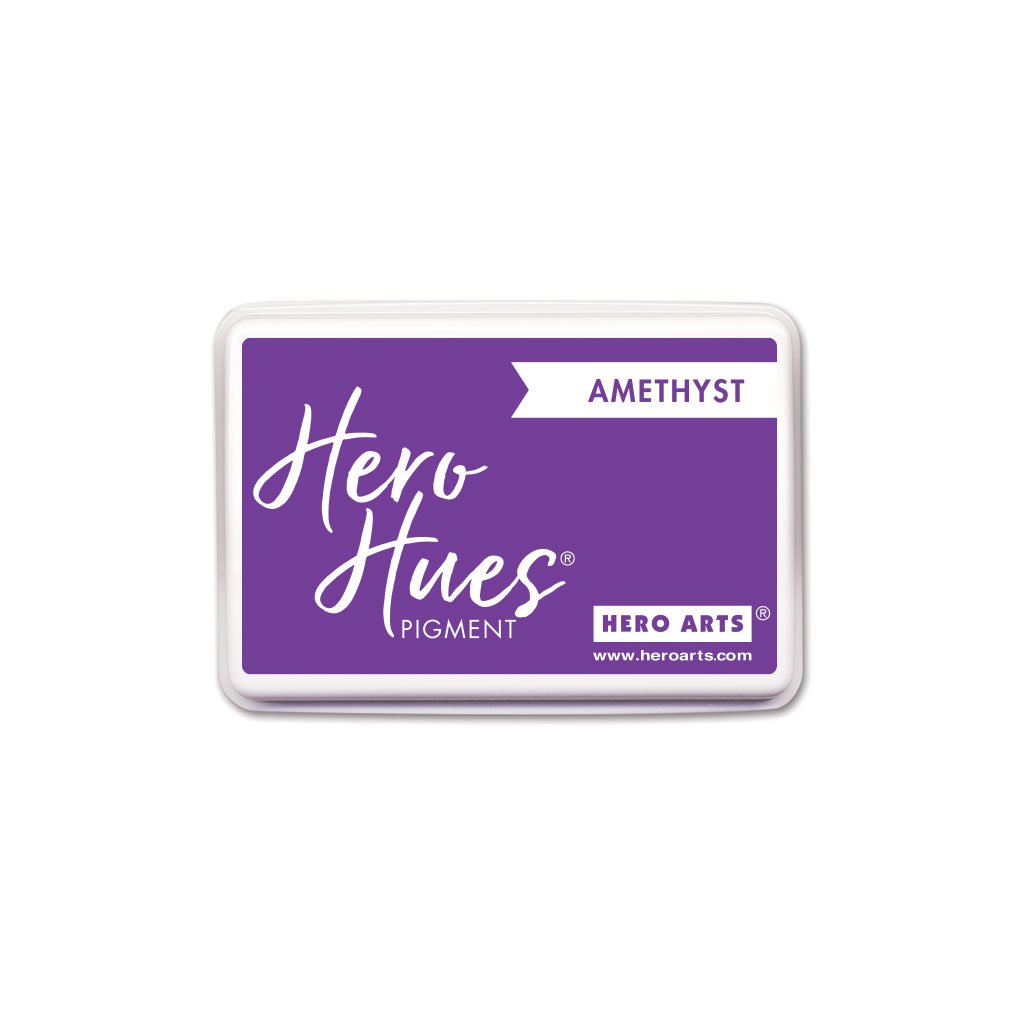
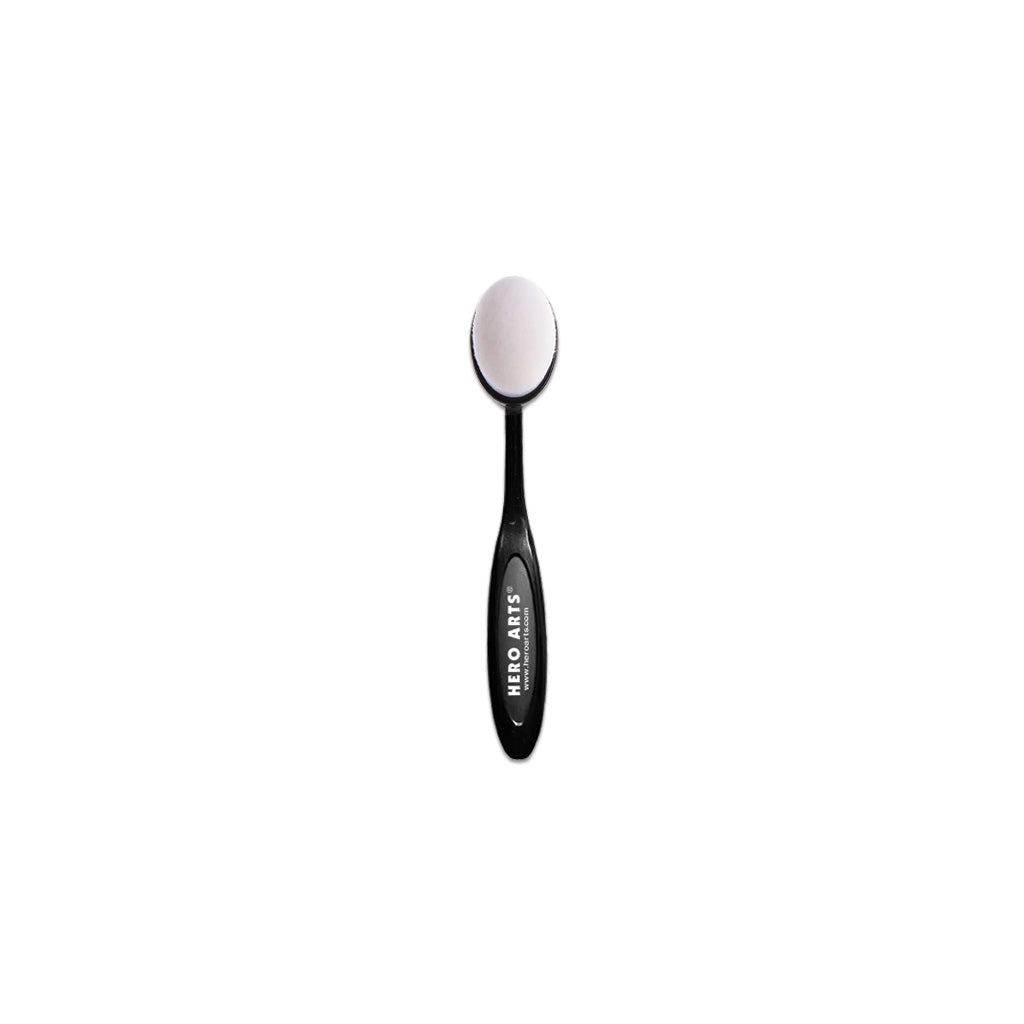
Next it was time to do some ink blending. Using Large Blending Brushes, I blended on Hero Arts inks in Cotton Candy, Lemon Yellow and Amethyst over the embossed image. I made sure to blend the colors into each other just a bit. When blending was complete, I grabbed my Scalloped Rectangle Infinity Dies to die cut out the center of the image. 
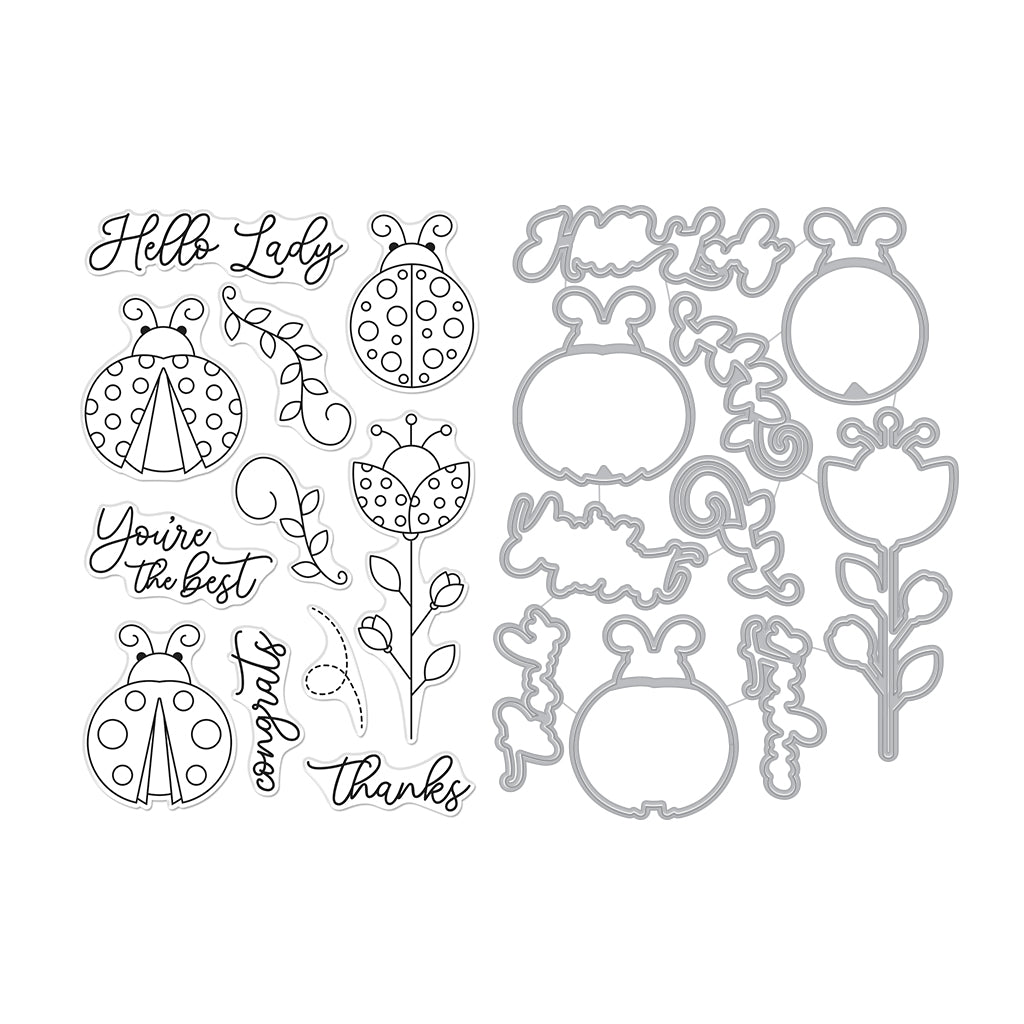
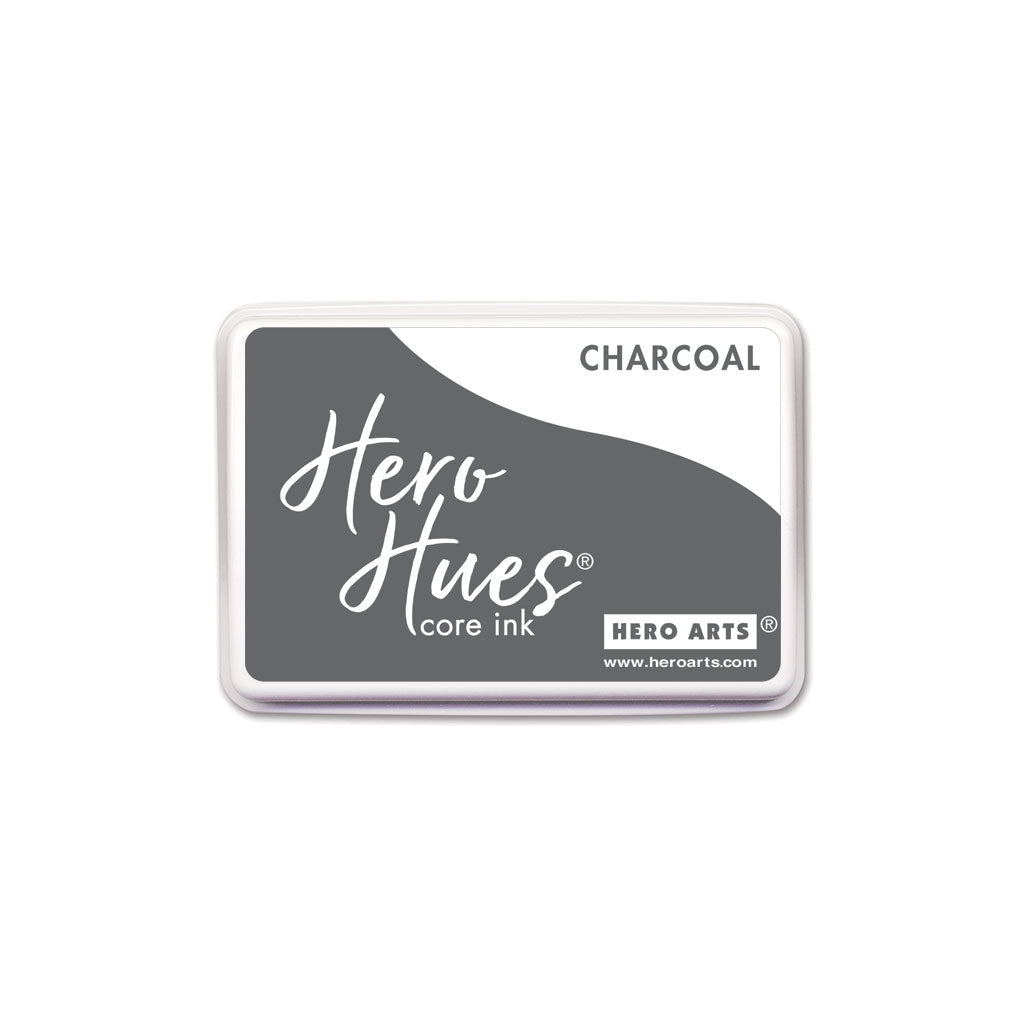
I repeated the process of stamping and heat embossing another background. For this panel, I ink blended Charcoal ink onto the background and die cut it with Nesting Rectangle Infinity Dies. Setting these panels aside, I worked on the sentiment. Peony cardstock was the perfect shade of pink to use for the sentiment and for my background which was also die cut with the Scalloped Rectangle Infinity Dies. The sentiment is from the Hello Lady Bundle, which includes both the stamp set and coordinating dies. Stamping the image in Charcoal ink carried the color from the negative background.
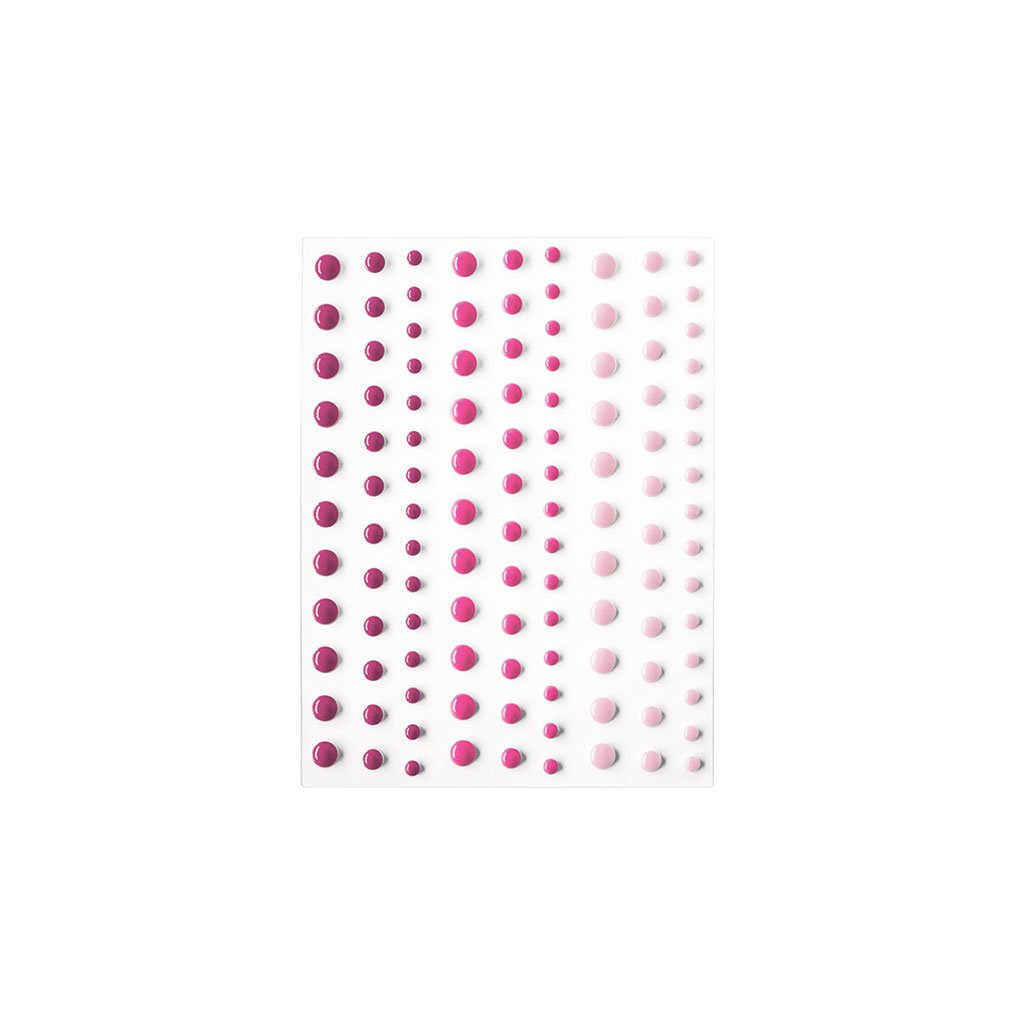
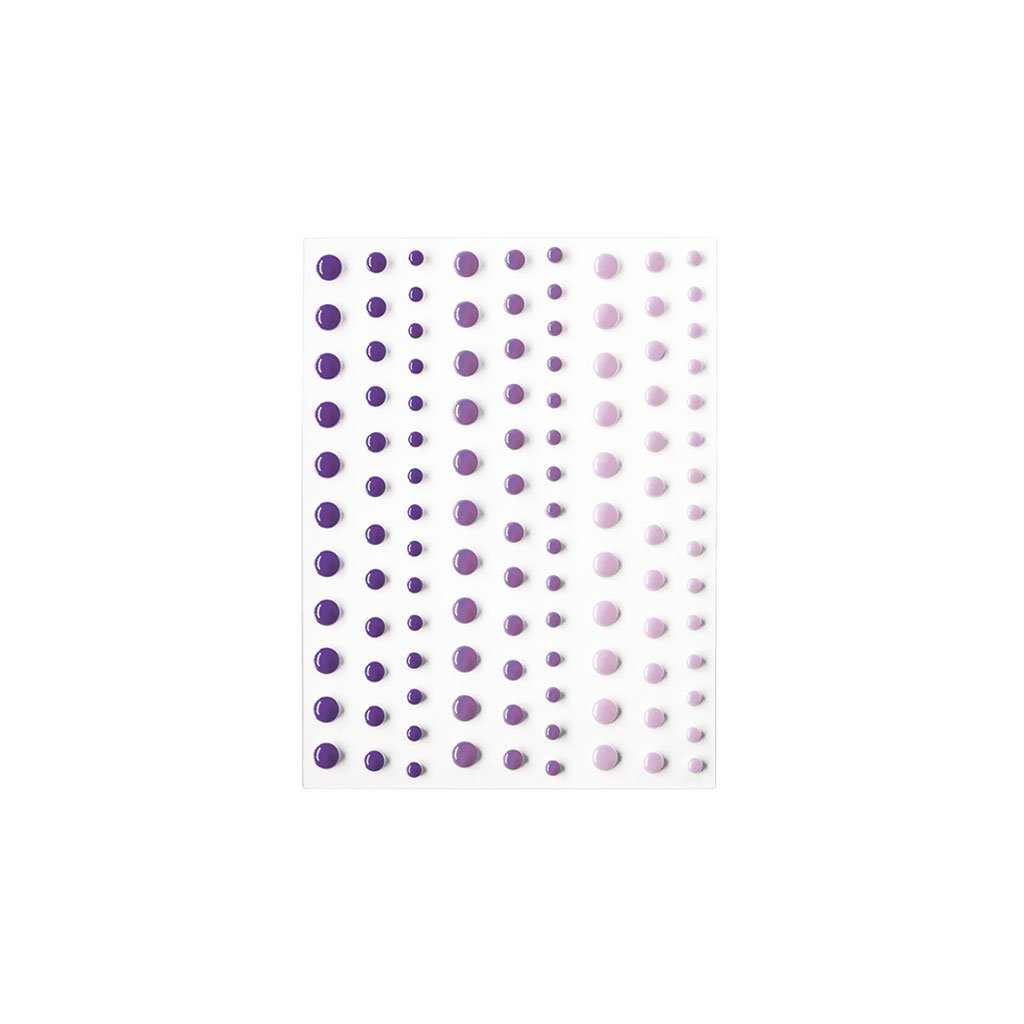
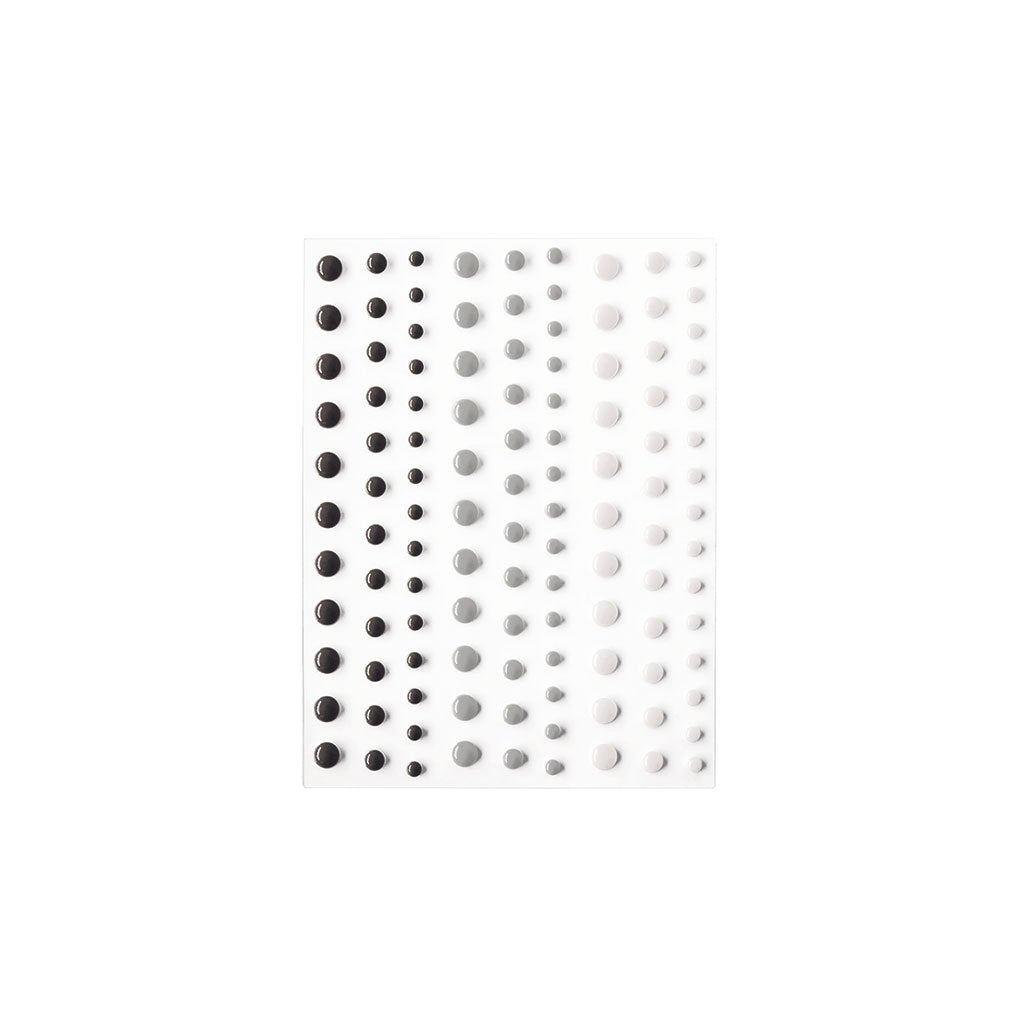
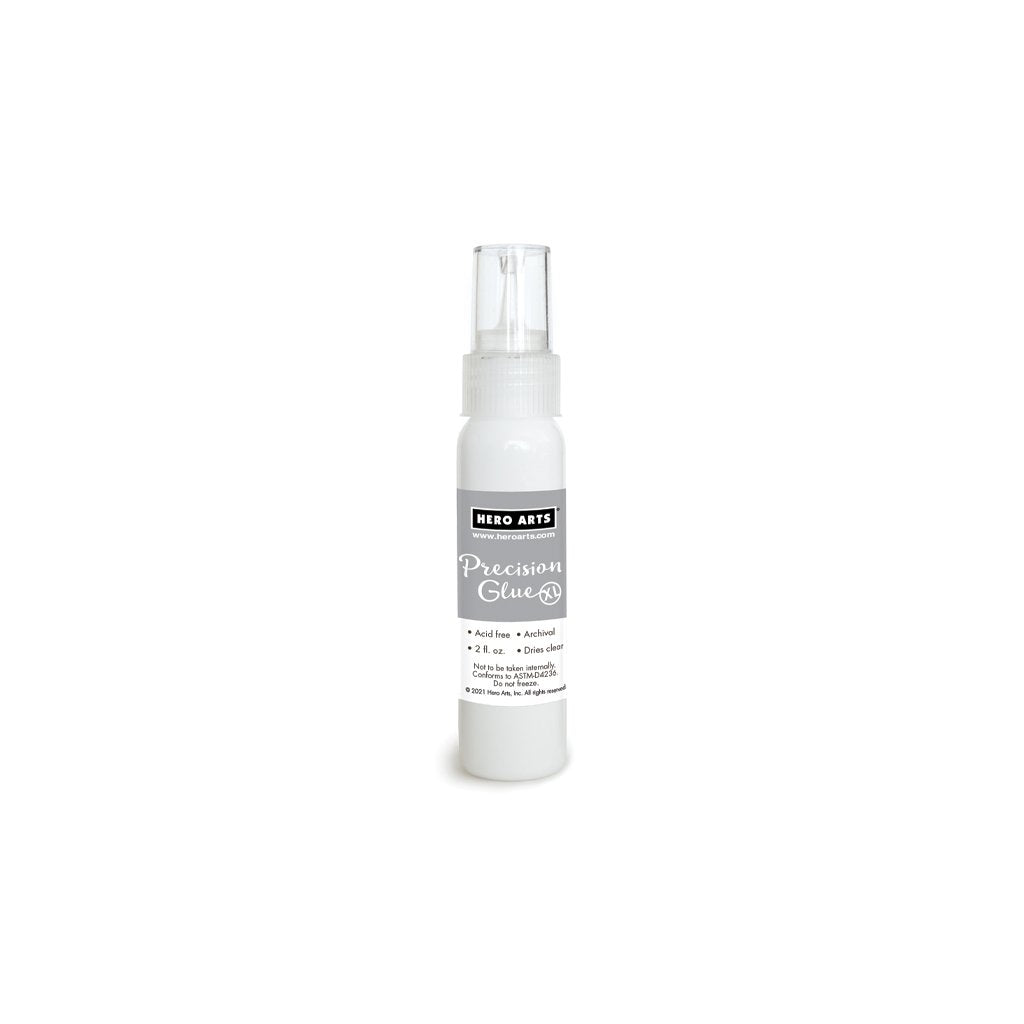
 Now it was time to assemble the card. Before I adhered the pink scalloped rectangle to a white card base, I used the remaining ink from my blending brush to deepen up the color around the edges. Once this piece was adhered with Precision Glue, the charcoal layer was adhered on top and the colorful layer was popped up with foam tape, making sure to line up the image. For just a little sparkle, I added a few iridescent sequins and filled the center of the sequins with Hero Arts Neutrals, Pinks and Purples Enamel Dots
Thanks for stopping by today and I hope you will give this technique a try. Until next time, stay safe and keep crafting.

Click on products to shop:
|






Leave a comment
Please login with your Hero Arts account in order to comment.
Click HERE to sign up if you don't have an account.