Posted by Spellbinders Team
on October 08, 2019
Hey, y’all! I’m Niki, the blogger behind Cardstoq Blog, and I’m SO happy to be guest designing here on the Spellbinders Blog. I don’t know about you, but fall colors are making their way into my craft room as a “cold front” is moving into Texas soon. And by cold front, I mean 85F. It’s not cold by a long shot, but a girl can dream.
I wanted to incorporate some rich reds, oranges, and golds into the things I’ve been making, and the October Glimmer Plate Collection worked beautifully with these colors. So hang on to your craft aprons, I have three card projects to share with you today!
I found some old card sketches in a book from years ago on my shelf, and I thought it would be great to show you how you can make a matching set with just a few pieces of paper. To make these cards, I needed a fancy background (or patterned paper), a plain piece of cardstock, and a textured or embossed sheet of cardstock to add a bit of fun. All the card fronts get made first; then, you can attach them to card bases.
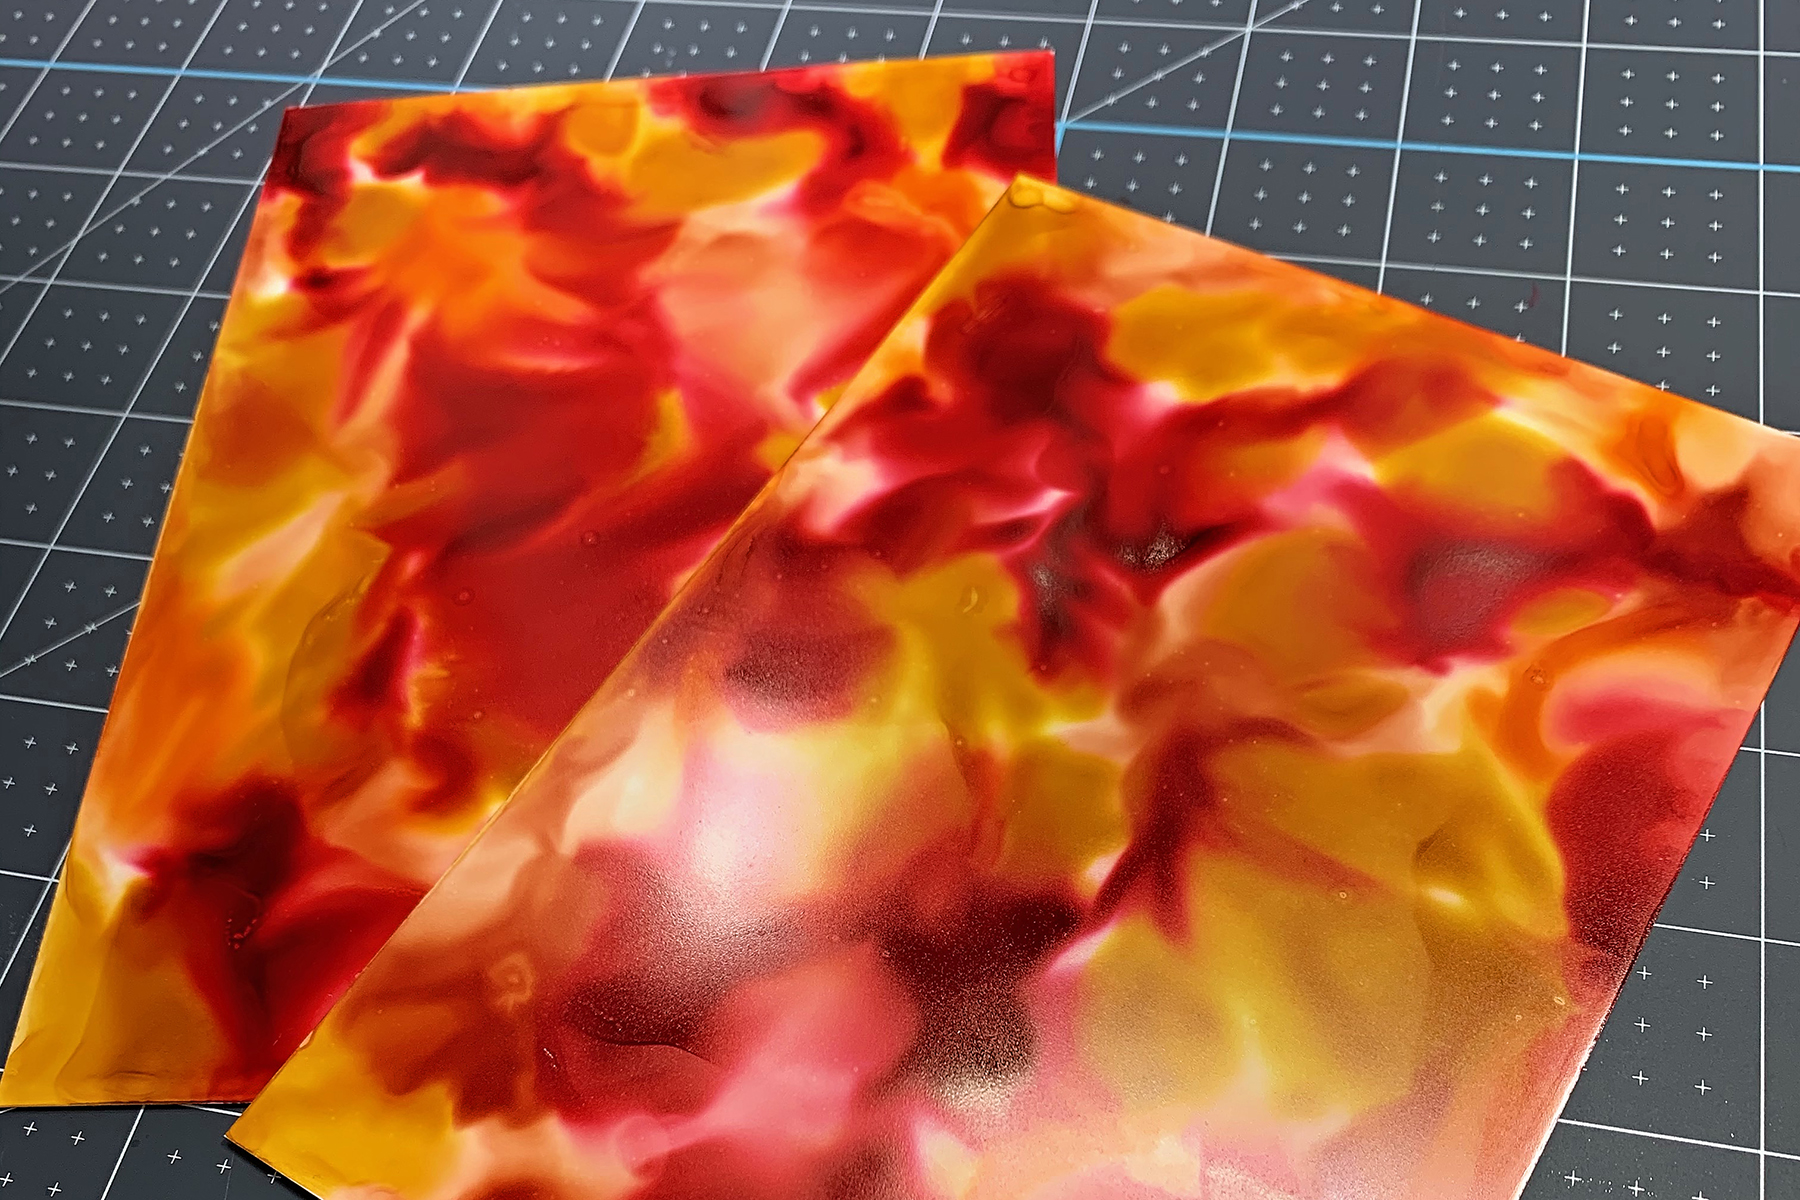
For my fancy paper, I created an alcohol ink background, which will be the “main” paper, and I chose the other cardstocks based on this one.
If you’d like to get a quick refresher on how to make this type of background, I have a video here where I used the same technique (but got very different results - that’s the beauty of this medium). The other two papers are Curious Metallic cardstock in White Gold, because I felt I couldn’t go with plain ivory, and Craft Perfect paper in Glacier Gold.
Of course, because these cards are pieced together, they are super easy to mass-produce, and you can swap up the main background pieces to match whatever season for which you’re creating!
Once I cut all the pieces needed, I used the Glimmering Butterflies Glimmer Plates to foil and die-cut four butterflies. Then, I chose my favorite Art Deco Border and the sentiments.
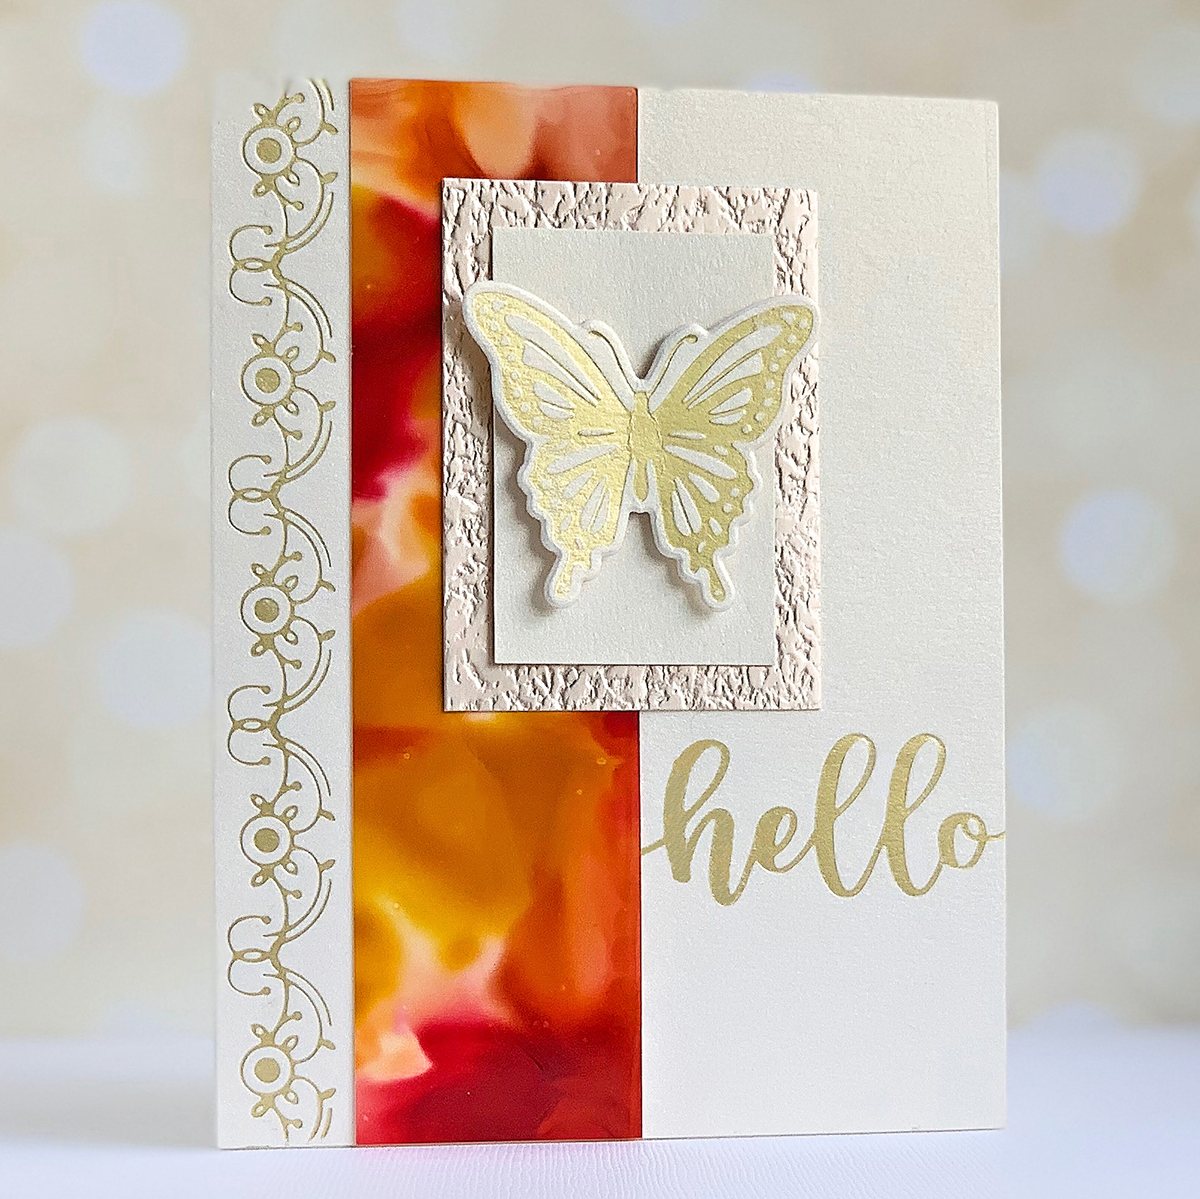
First up is this lovely vertical card.
I foiled the border first, then used the alcohol ink cardstock piece to arrange the “hello” before foiling that as well. Then it was just a matter of layering on the pieces with glue tape and adding the butterfly with foam squares.
The paper measurements for this card are:
- White Gold: 4.25” x 5.5”, 2.25” x 1.5.”
- Glacier Gold: 2.75” x 2.”
- Alcohol Ink Yupo: 5.5” x 1.5.”
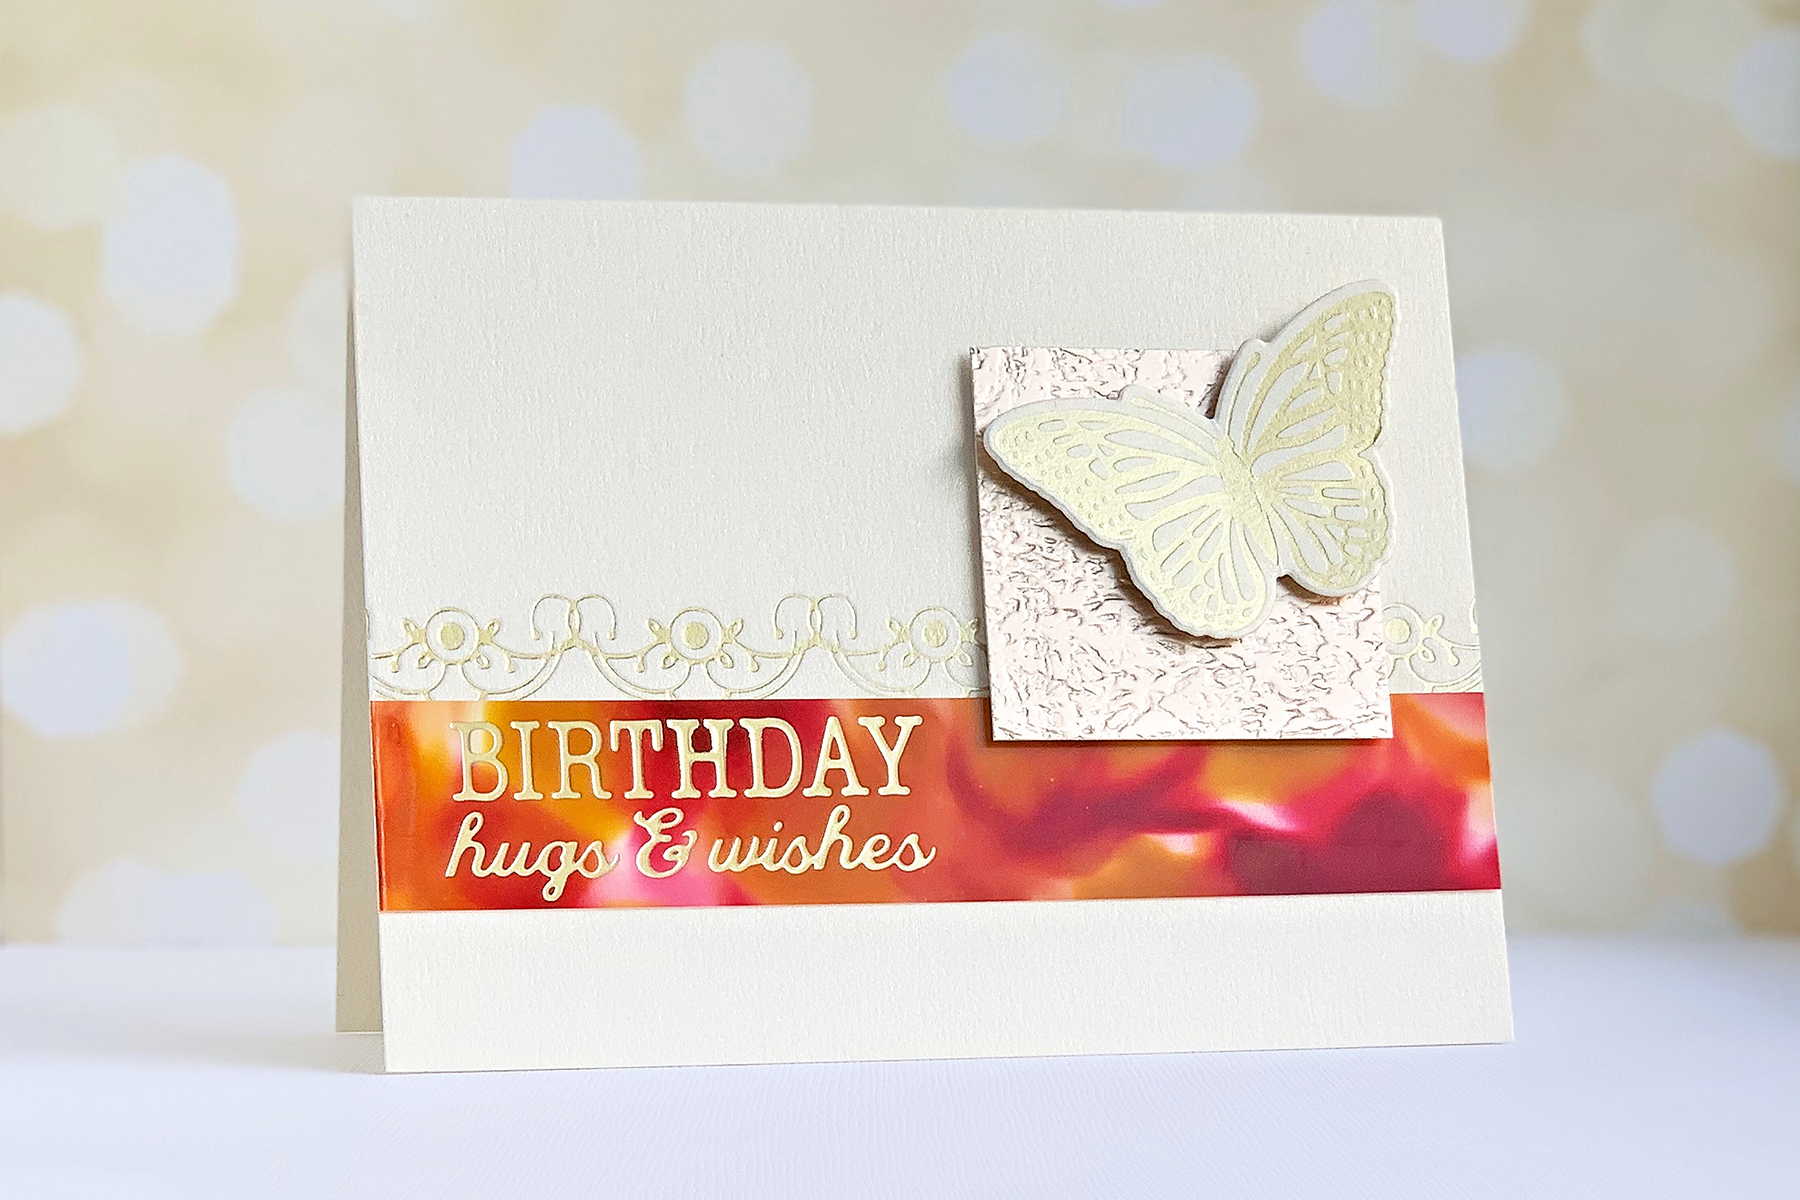
- White Gold: 4.25” x 5.5.”
- Glacier Gold: 2” x 2.”
- Alcohol Ink Yupo: 5.5” x 1.5.”
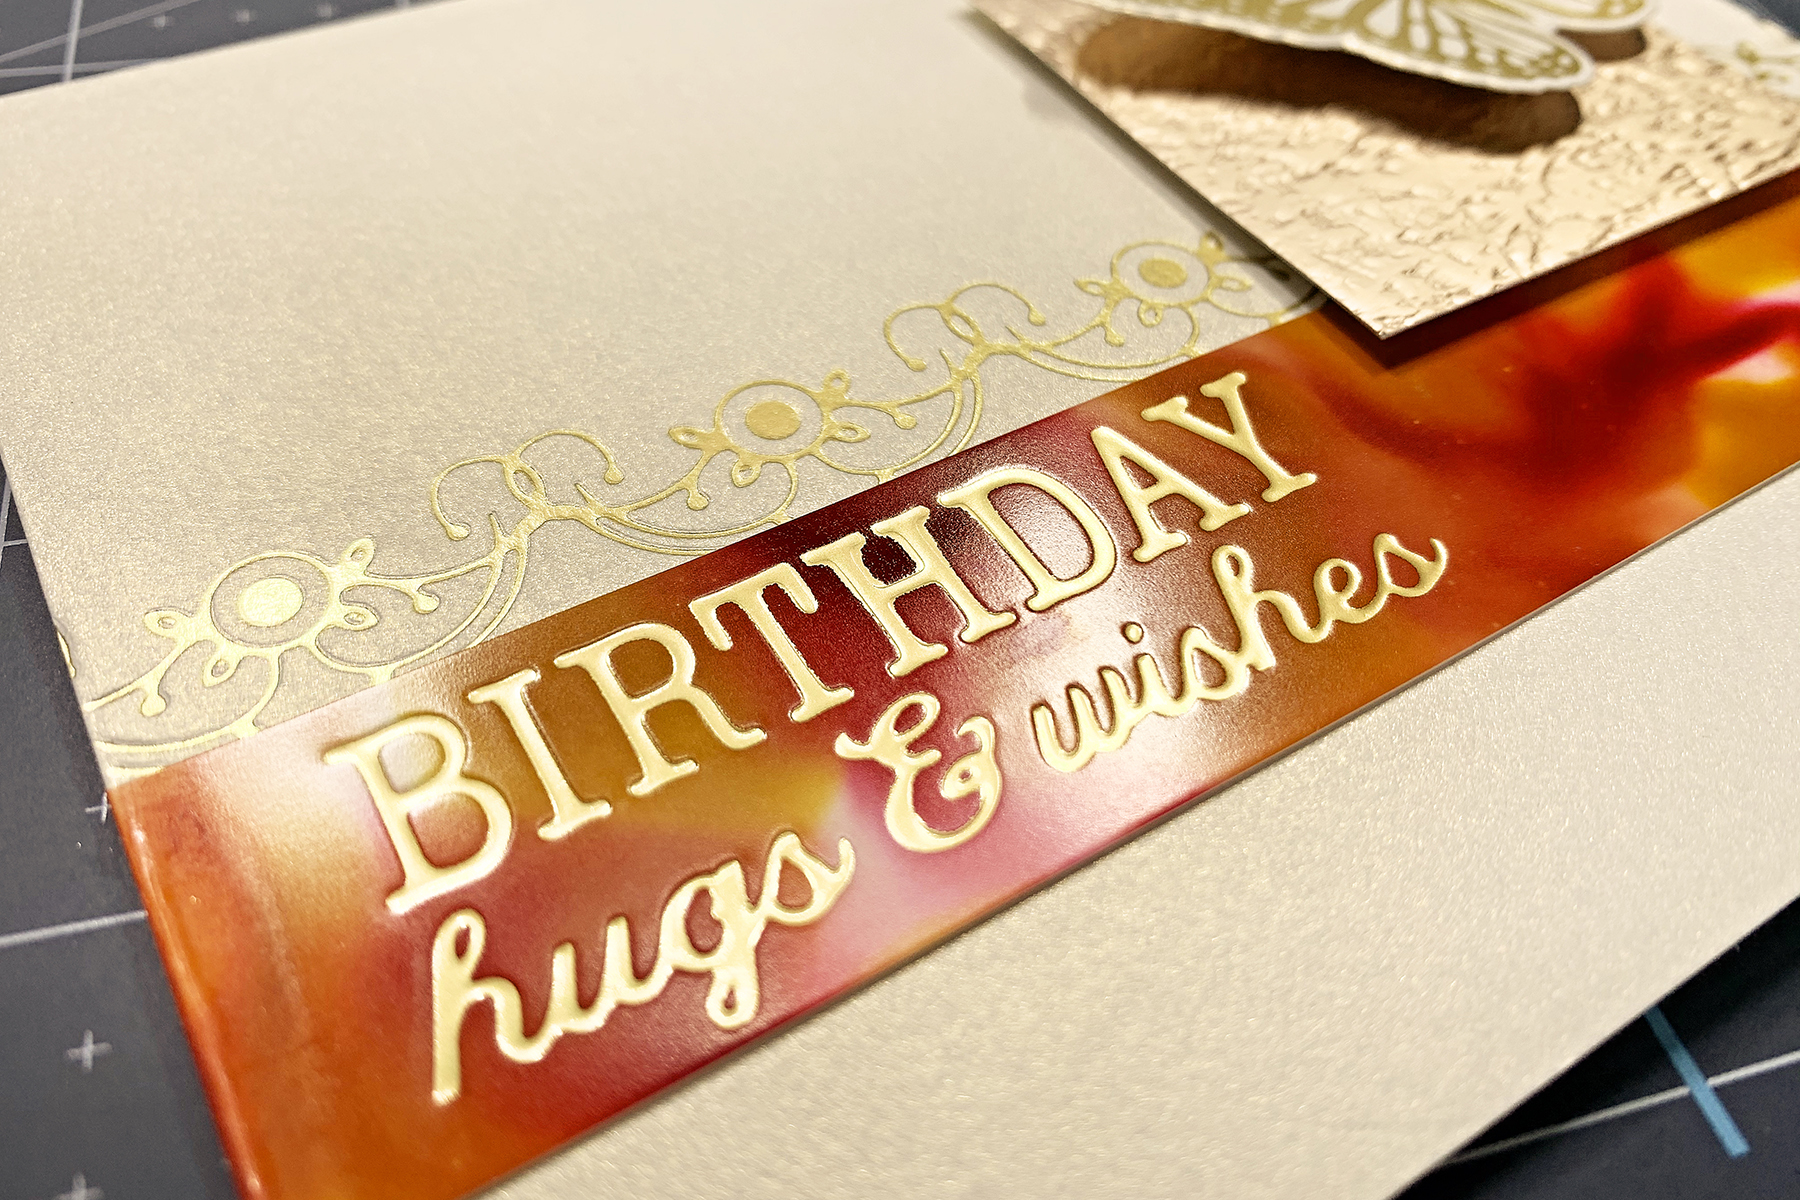
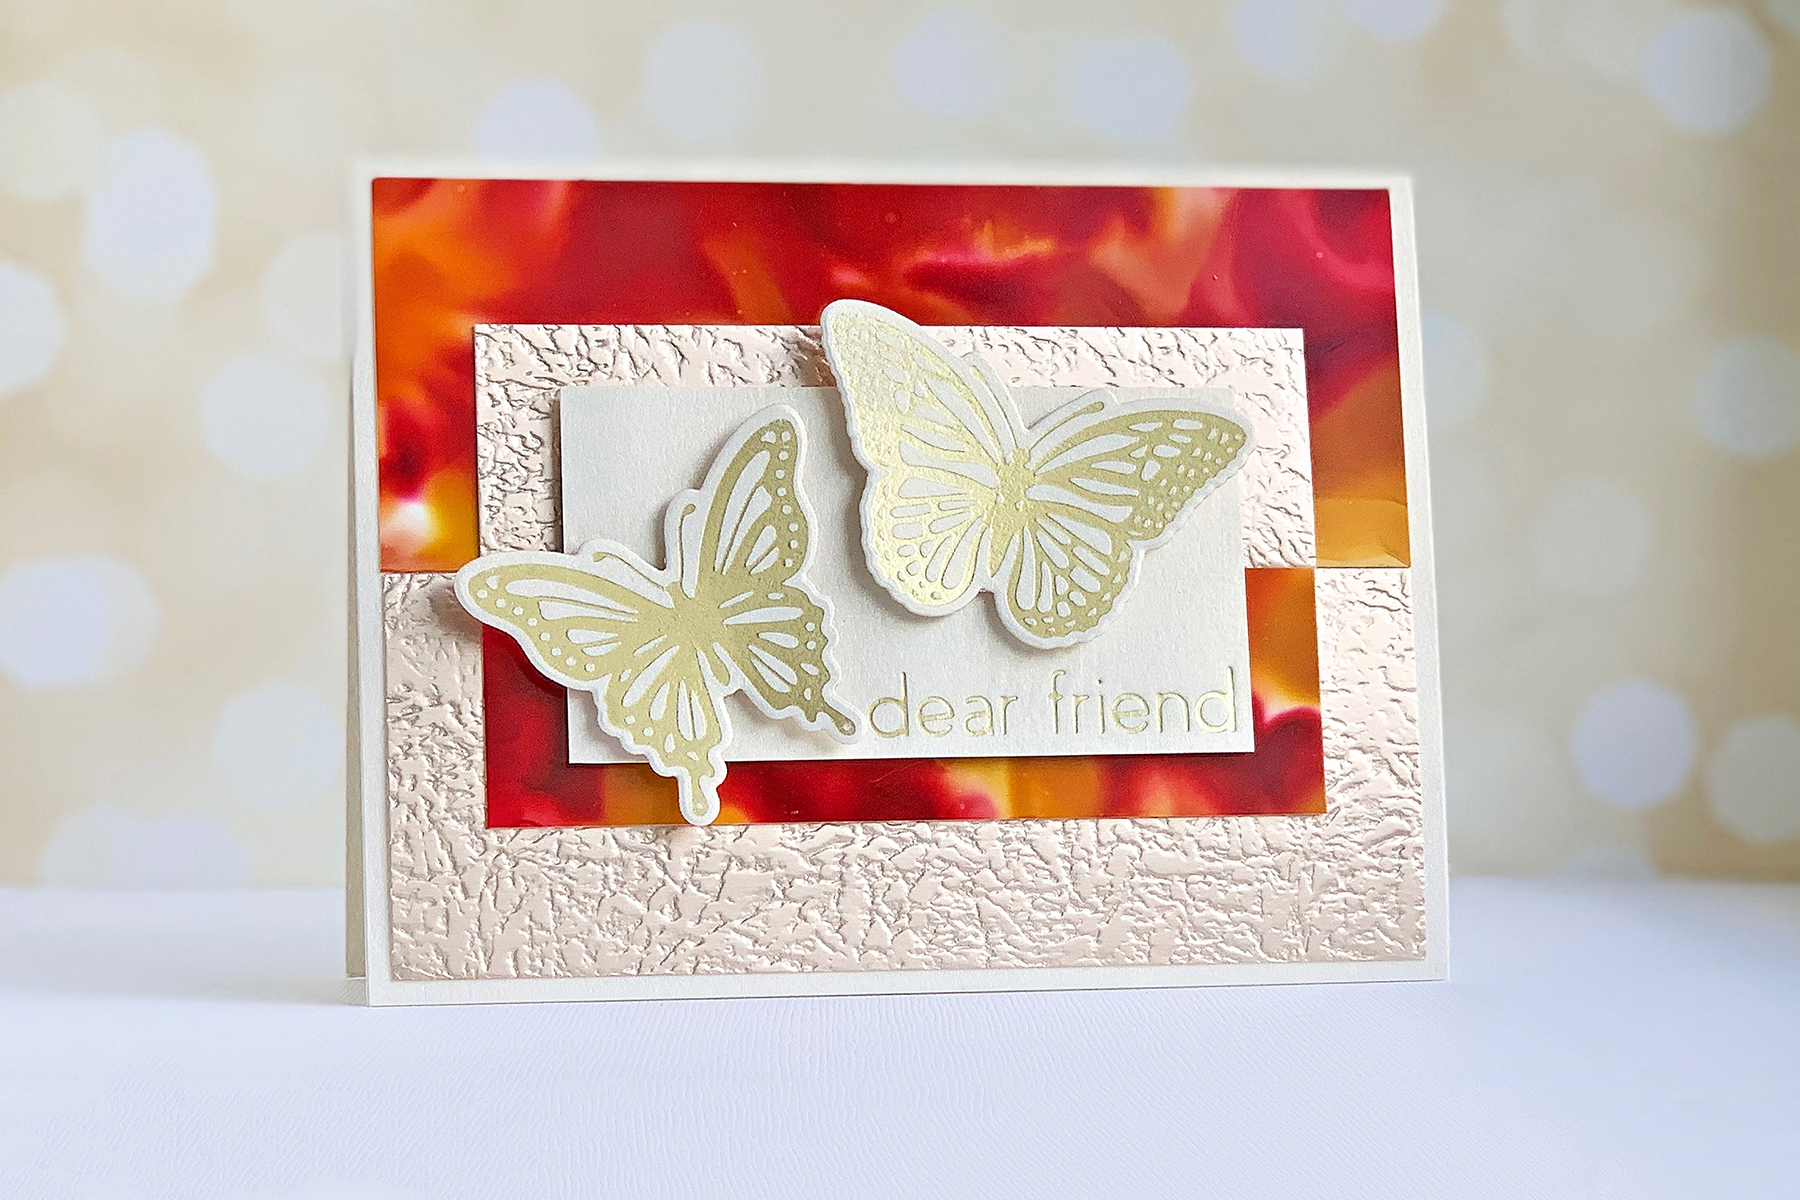
- White Gold: 4.25” x 5.5”, 3.5” x 2.”
- Glacier Gold: 5.25” x 2”, 4.25” x 1.25.”
- Alcohol Ink Yupo: 5.25” x 2”, 4.25” x 1.25.”