

Posted by Spellbinders Team
on October 07, 2018

Here we are again! Kimball here, excited to bring you my final Artomology post! Portraits are one of my favorite things to do so, of course, I saved this for my last entry. The reason I love creating faces is because the slightest changes can create a whole new person, emotion or story. This time it’s all about the eyes.
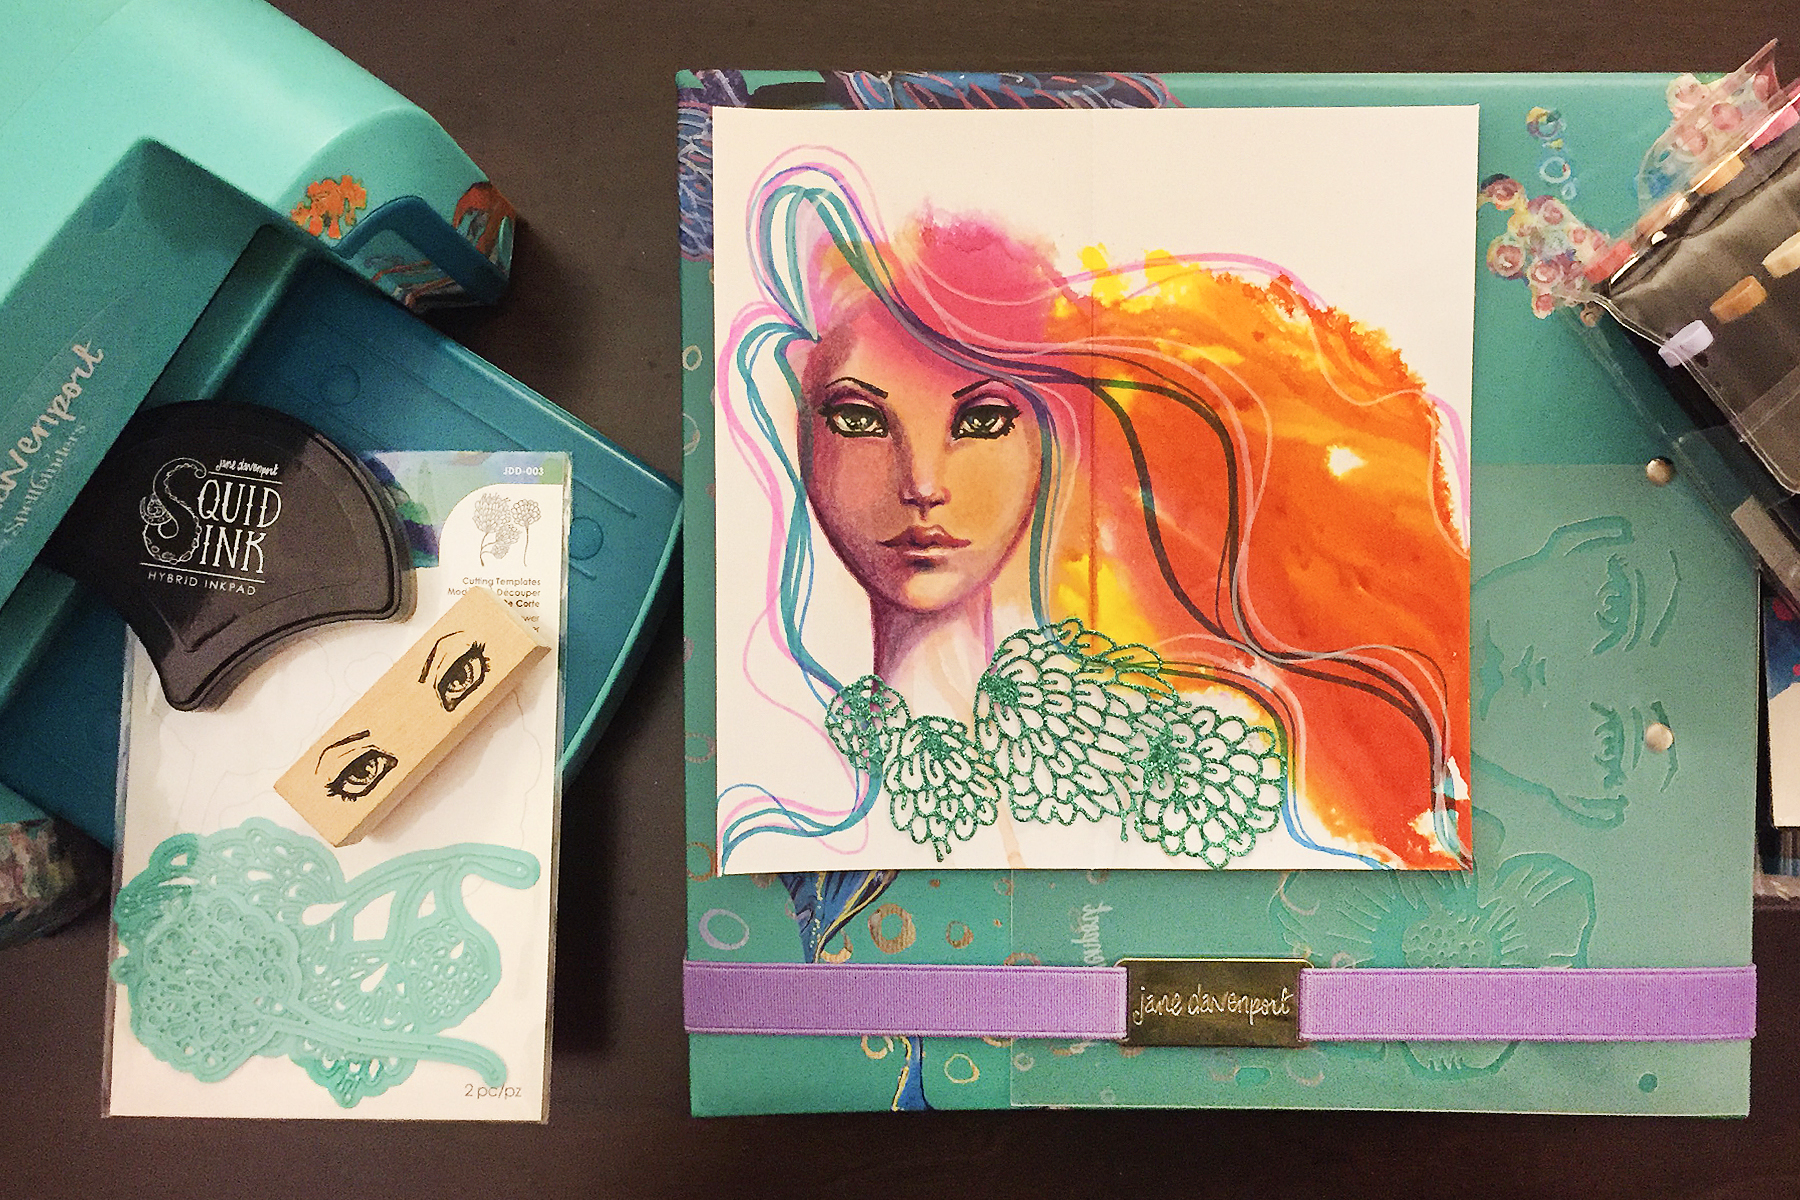
Instructions:
- Step 1 - I started off by using Jane’s INKredible Inks to add a splash of color to the background. To get the ink flowing, I use Jane’s mister bottle to wet the page before splashing down colors. Knowing this was a portrait, I made sure to use a flesh tone as part of my background. This makes a great face base. One of my favorite products from the Artomology series is the “Tin of Glances” Stamp Set. Each stamp has it’s own personality and it’s so much fun discovering the person behind the eyes. After my inks dried, with the help of my trusty hair dryer, I selected a set of eyes from the stamp set and placed it within the flesh toned background using “Cave Black” Squid Ink, leaving enough space for the nose and mouth below.

- Step 2 - One of the great things about the Artomology collection is that the products interact so well with each other. One instance is this “Flower Girl” Stencil which works perfectly with the “Tin of Glances” Stamp Set. Using the “Flight” Smooth Marker from the “Feathered Friends” set, I created a faint outline to give me a jumping off point for the face.
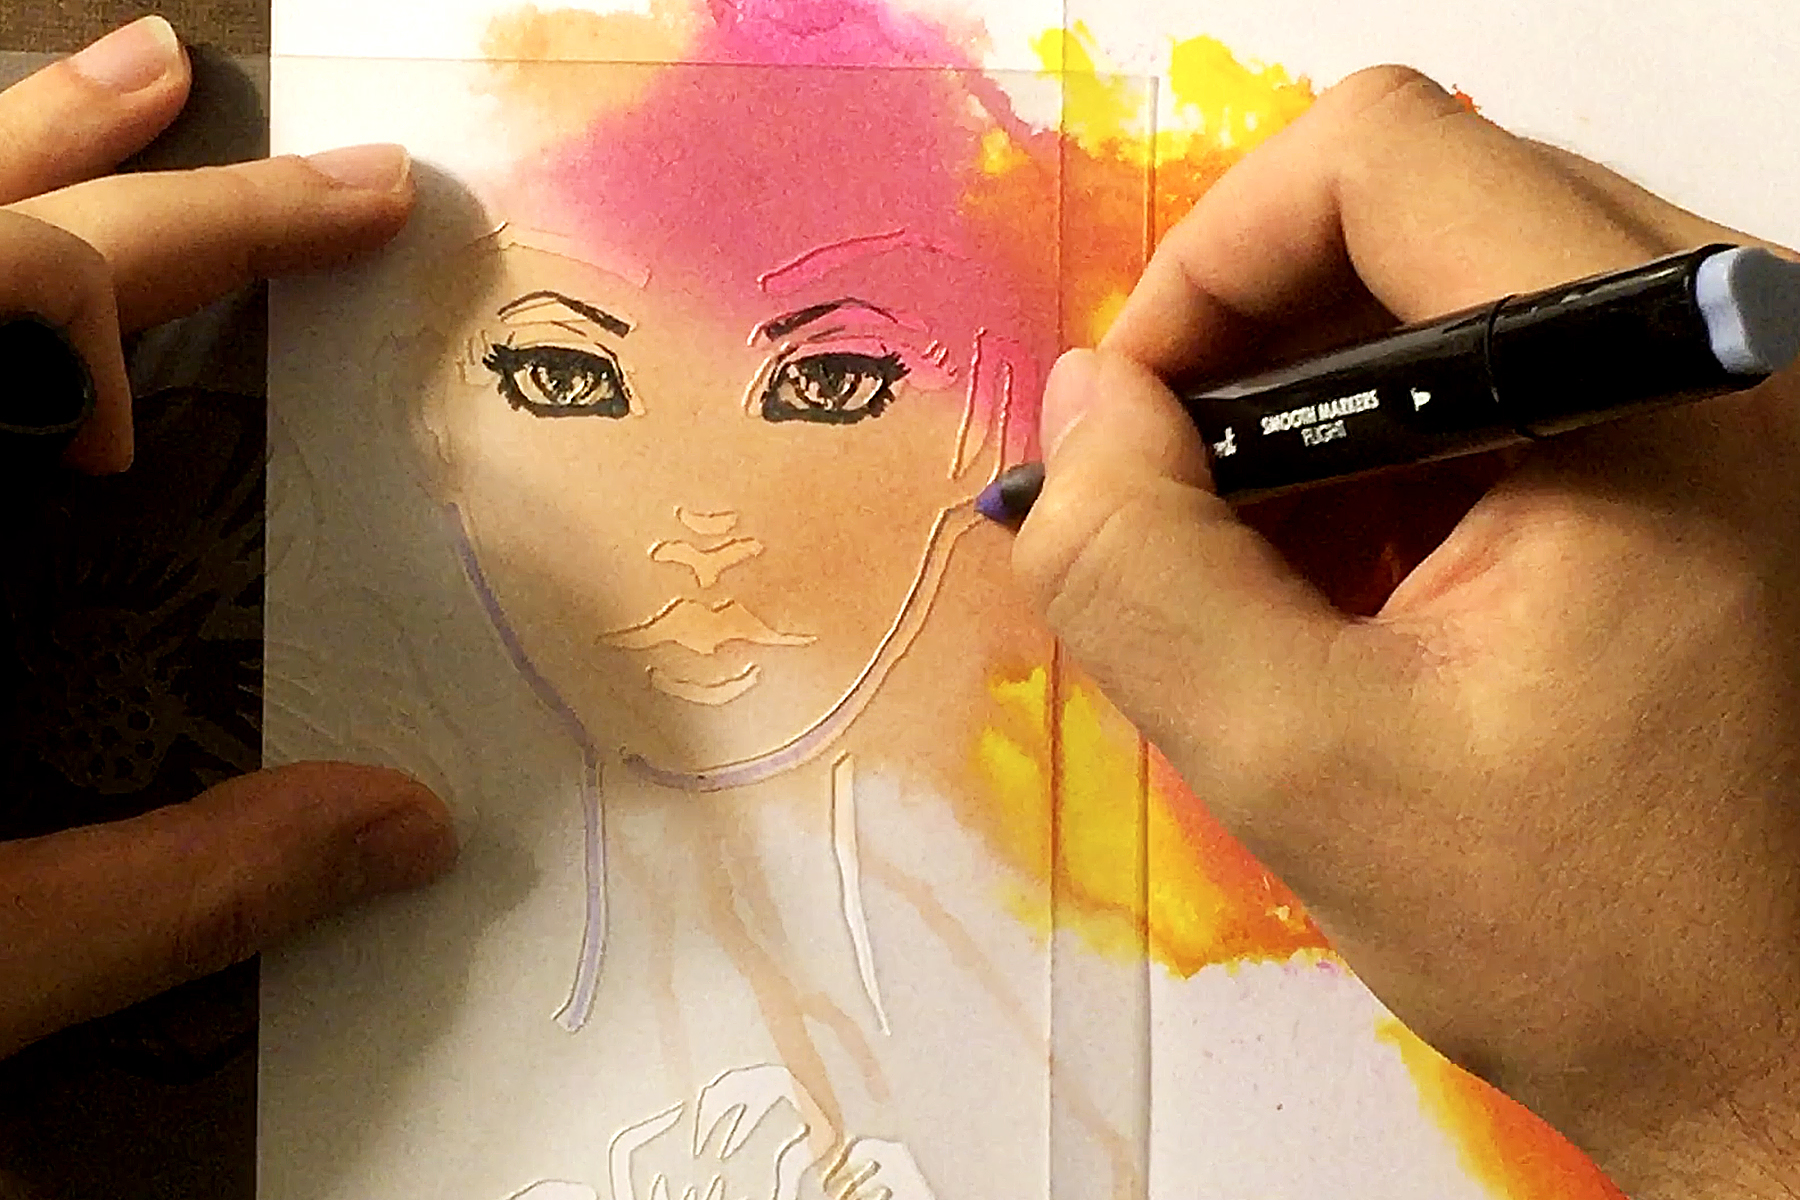
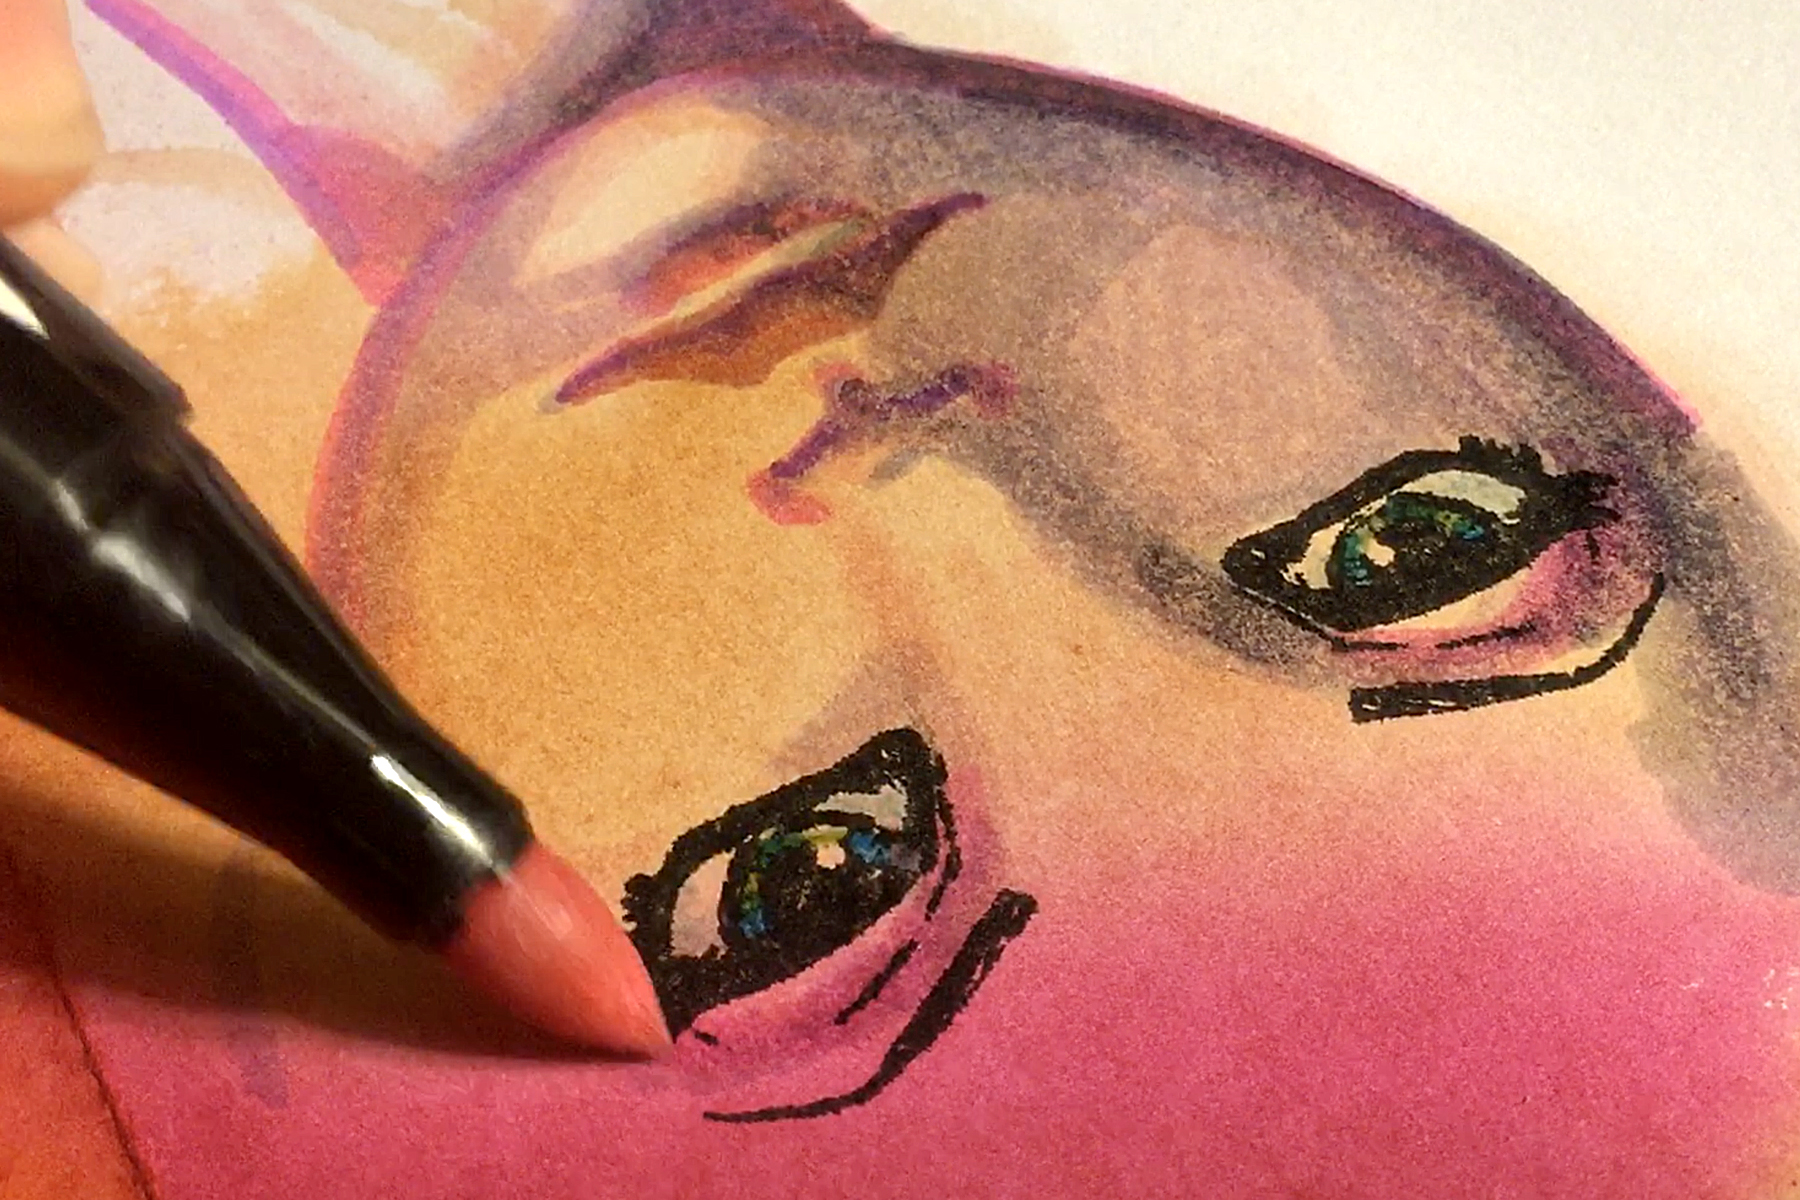
- Step 3 - With the main features in place, I began shading her face using the Smooth Markers packs. When using markers to shade, I like to start with the darkest areas of the face. This depends on where the light is coming from in your composition. I’m not shy when it comes to playing with different colors. Some of my favorite colors to play with are pink, turquoise and yellow.
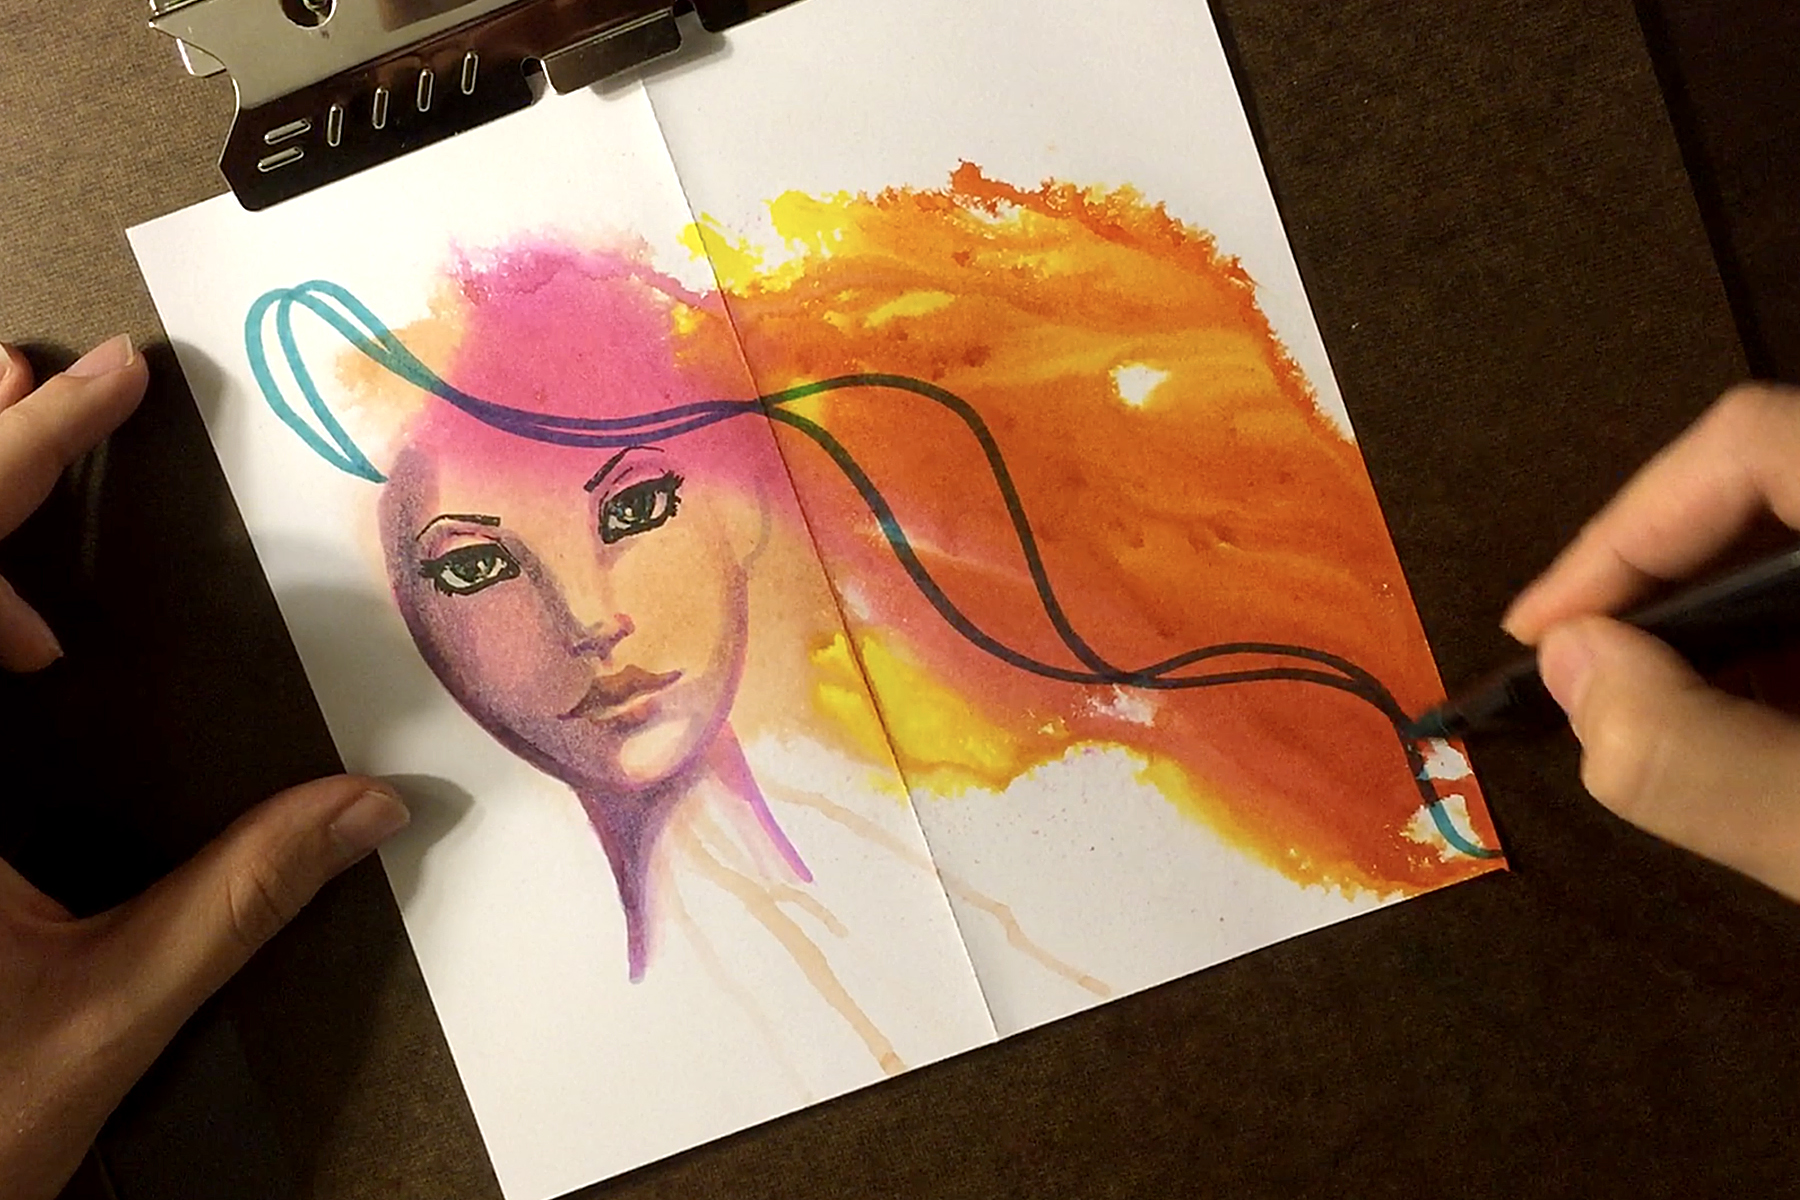
- Step 4 - After the shading on the face is done, I turn my attention to the hair. By adding just a few streaks here and there, you can easily create the illusion of a full head of hair. I try to keep the marker strokes in the general direction of the background inks, wherever they may be flowing. I tend to use a few different colors to keep it fun and interesting.
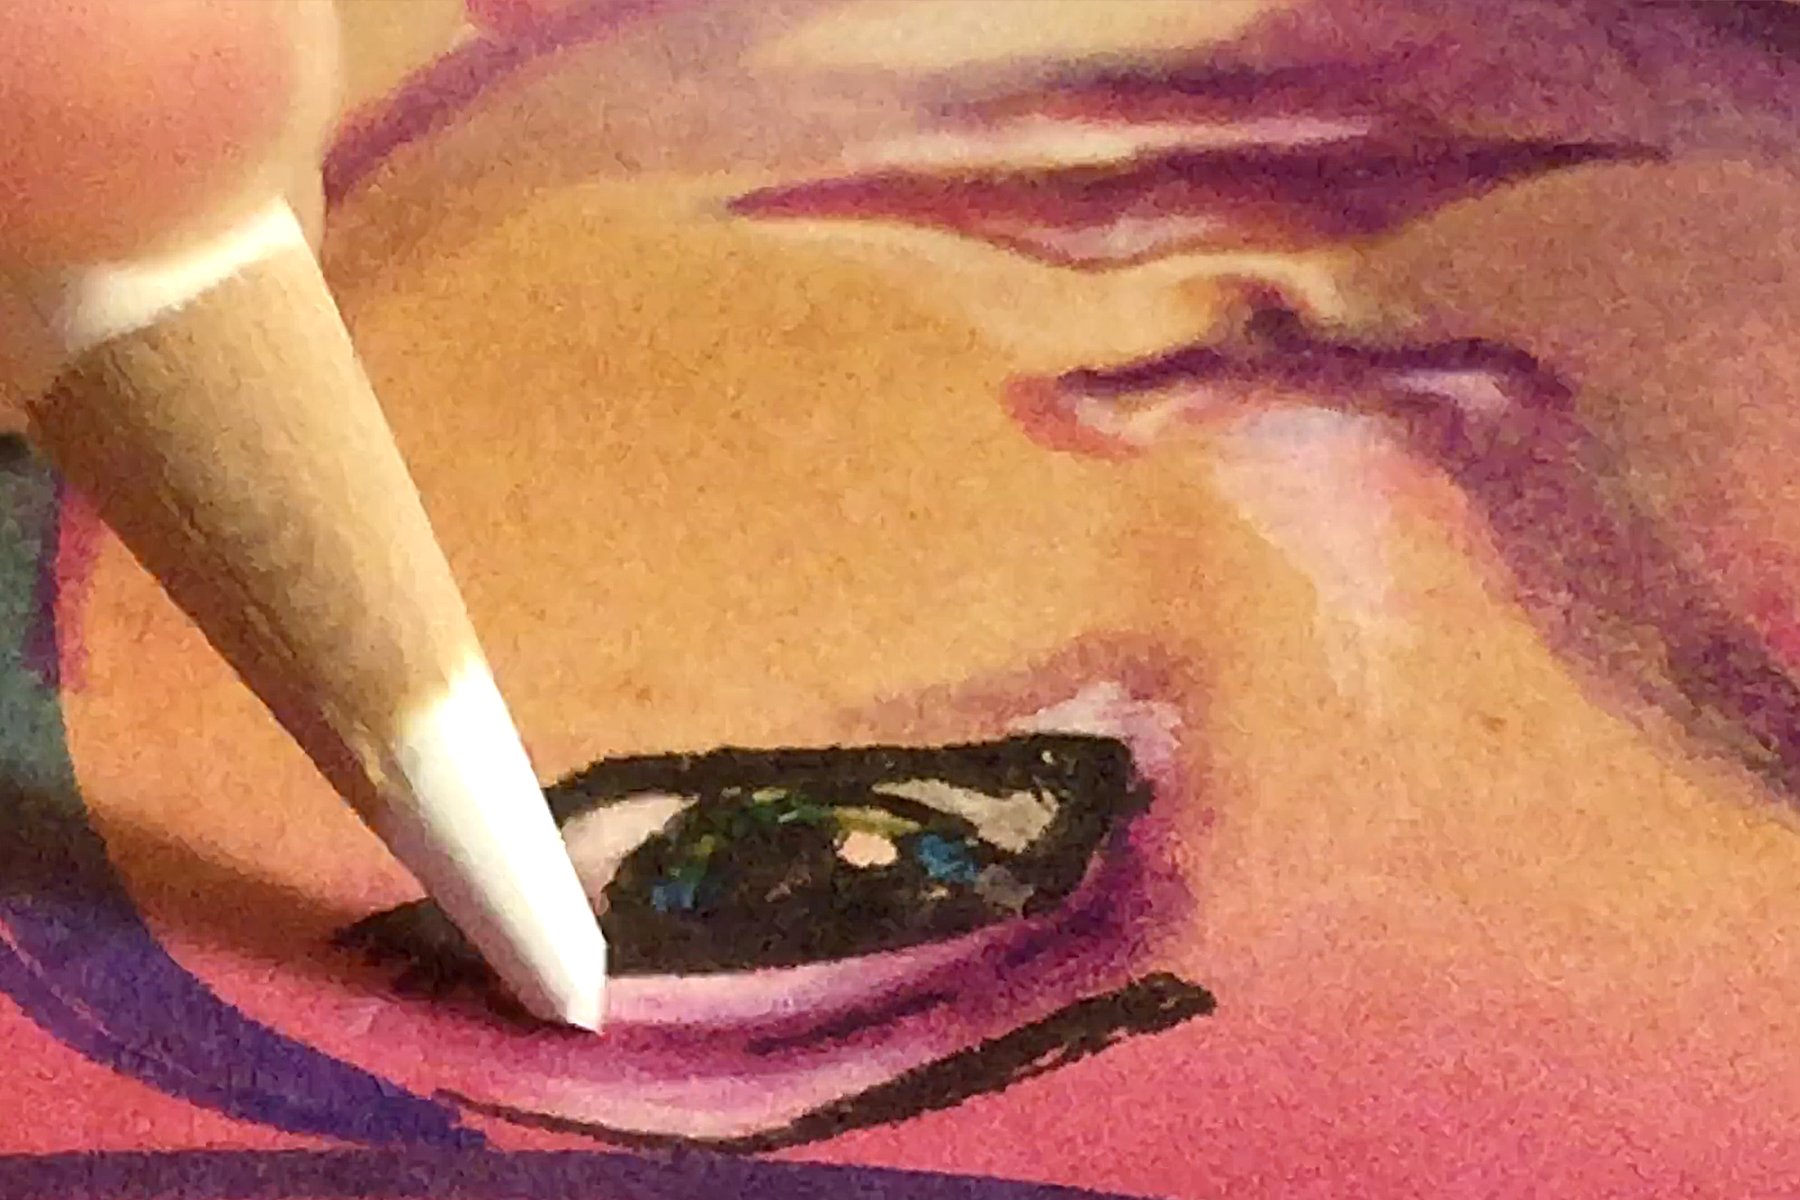
- Step 5 - Once I feel good about the shading and hair, I like to add highlights using a white colored pencil because it lays so nicely over the markers. Sometimes I’ll go in with a white paint pen to add brighter highlights and a touch of sparkle here and there; I even use it to add a few bright strands of hair.
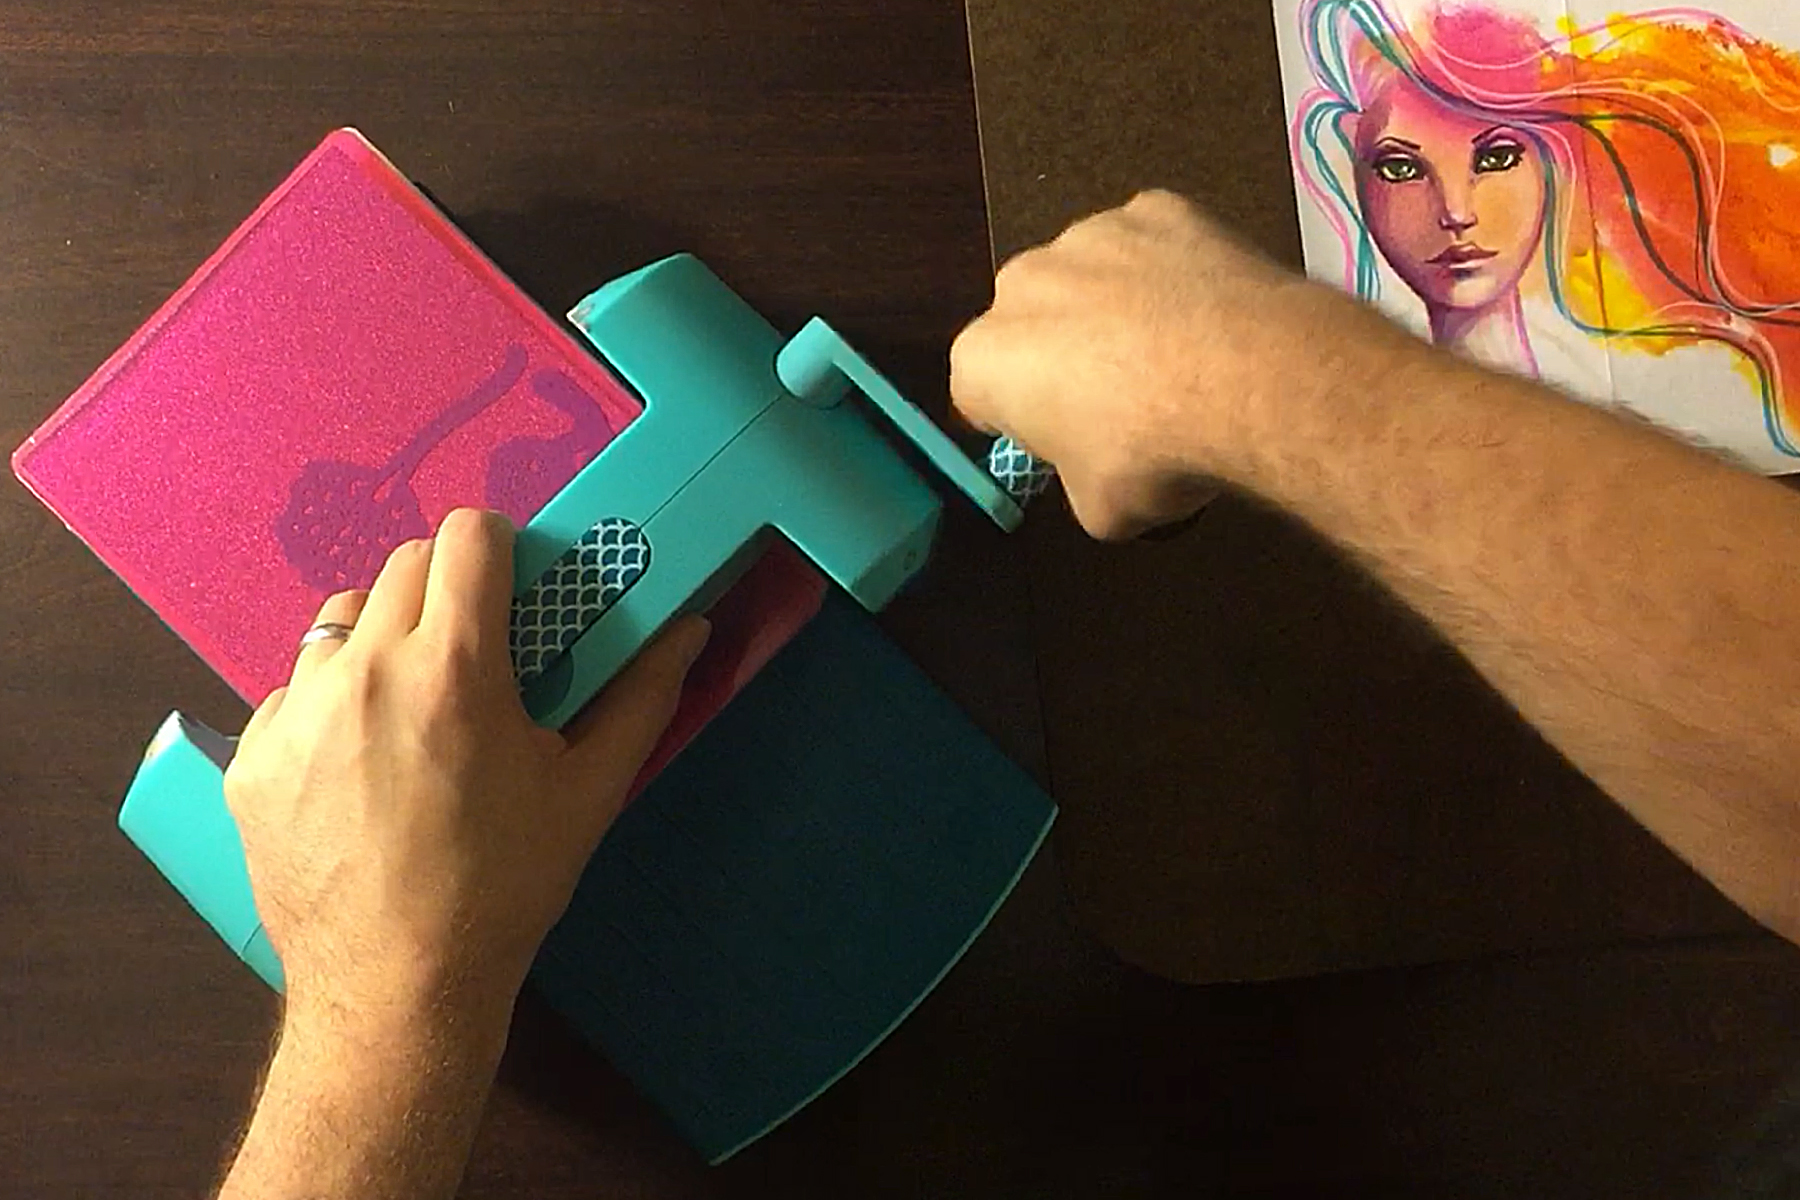
- Step 6 - I love using my Deep Sea Die Cutter! I wanted to create a frilly collar to place along the neckline and the Sea Flower Cutting Template fit the bill.
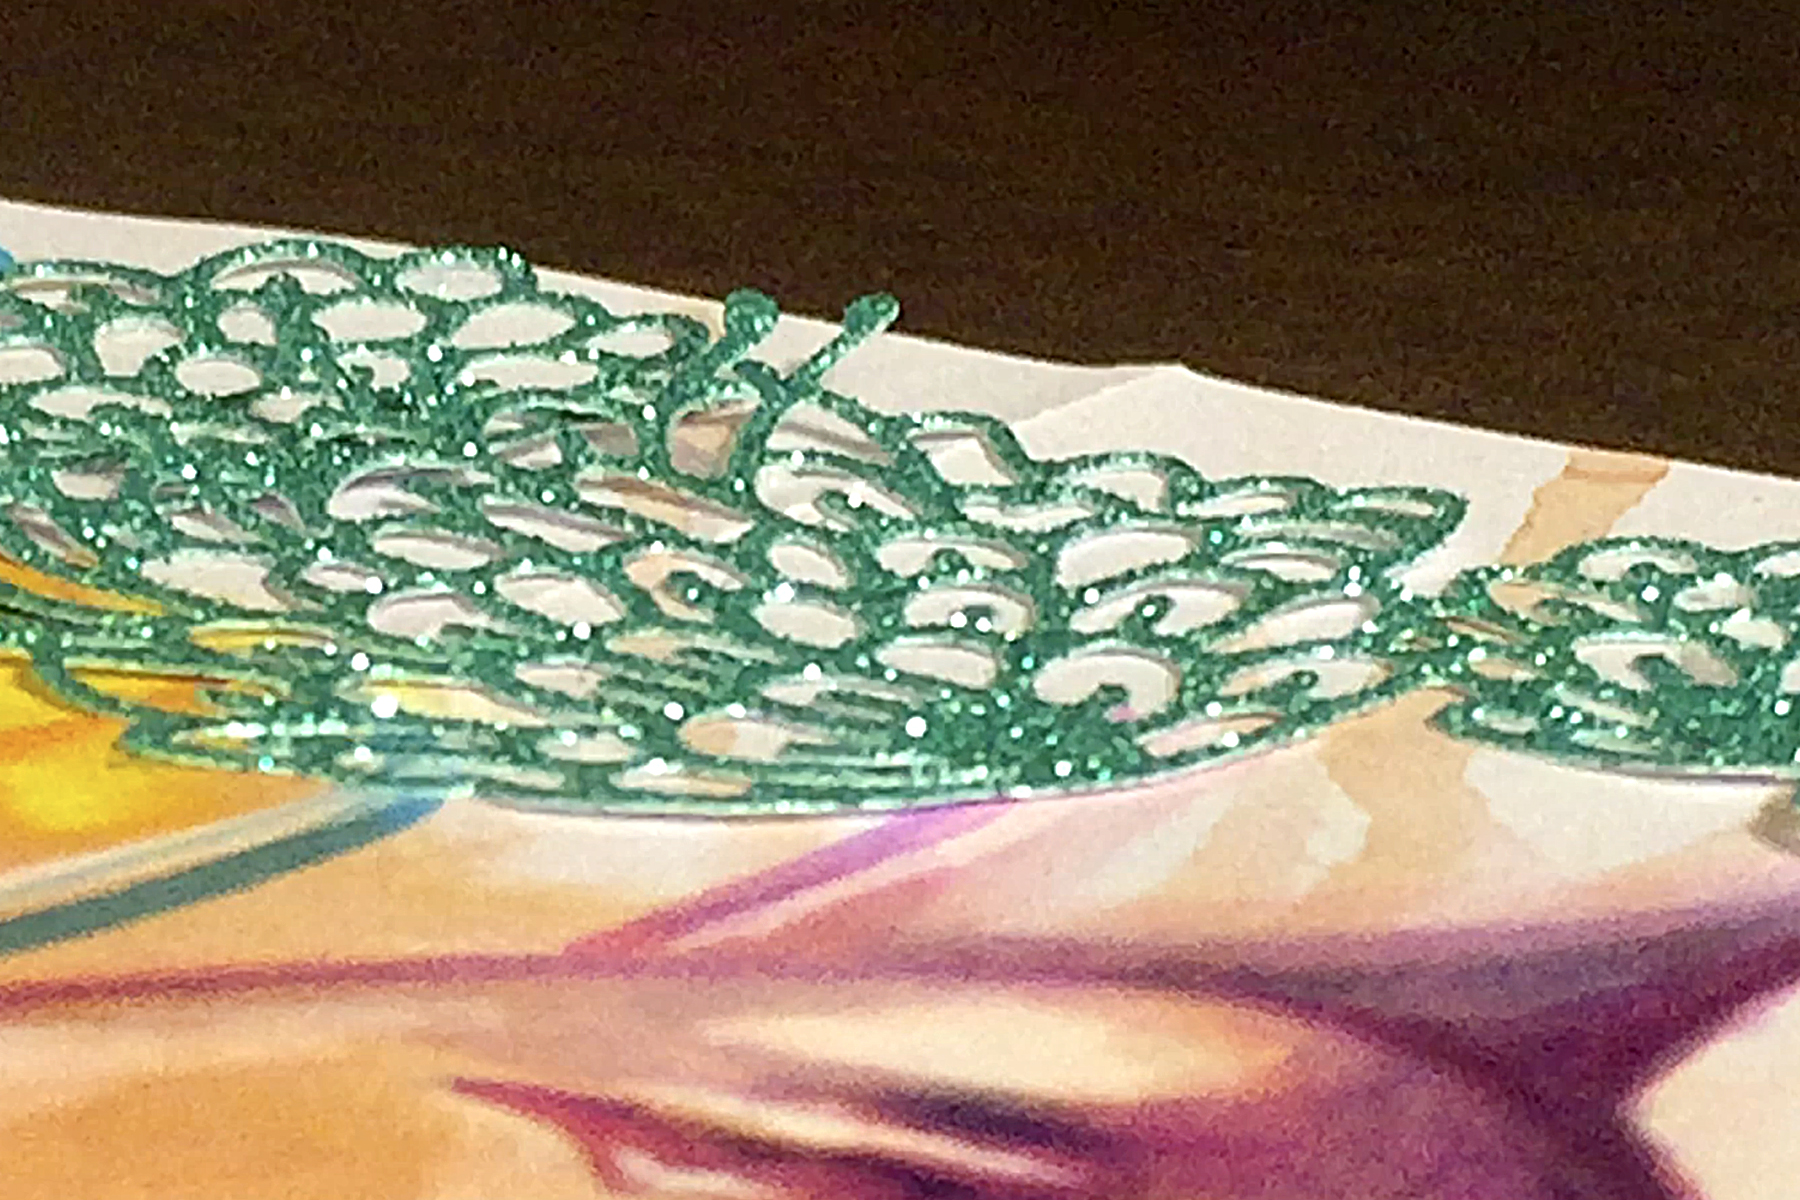
- Step 7 - I try to add a touch of sparkle in my pieces so I used a glittery aqua colored paper for the die cuts to compliment the orange hair. I trimmed off the stems of the die cuts to create a cleaner look. I used a simple tape runner to stick the die to the piece.
Spellbinders supplies:
- JD-008 Tin of Glances
- JD-037 Squid Ink Cave Black
- JD-017 Flower Girl Stencil
- JD-024 Smooth Markers - Feathered Friends
- JD-025 - Smooth Markers - Mermesmerizing
- JD-031 Deep Sea Die Cutting and Embossing Machine
- JDD-003 Sea Flower
- JD-010 Artomology Collection Binder
Other supplies:
ane Davenport Marker Papers; Jane Davenport INKredible Inks - Fairy Floss, Fresh Orange, Tinsel and Lemon Sherbet; Jane Davenport Mister Bottle; Jane Davenport Paint Over Pen “Unicorn”; Prismacolor premier colored pencils; Recollections Brand Chunky Glitter Paper Pad; Elmers Brand Tape Runner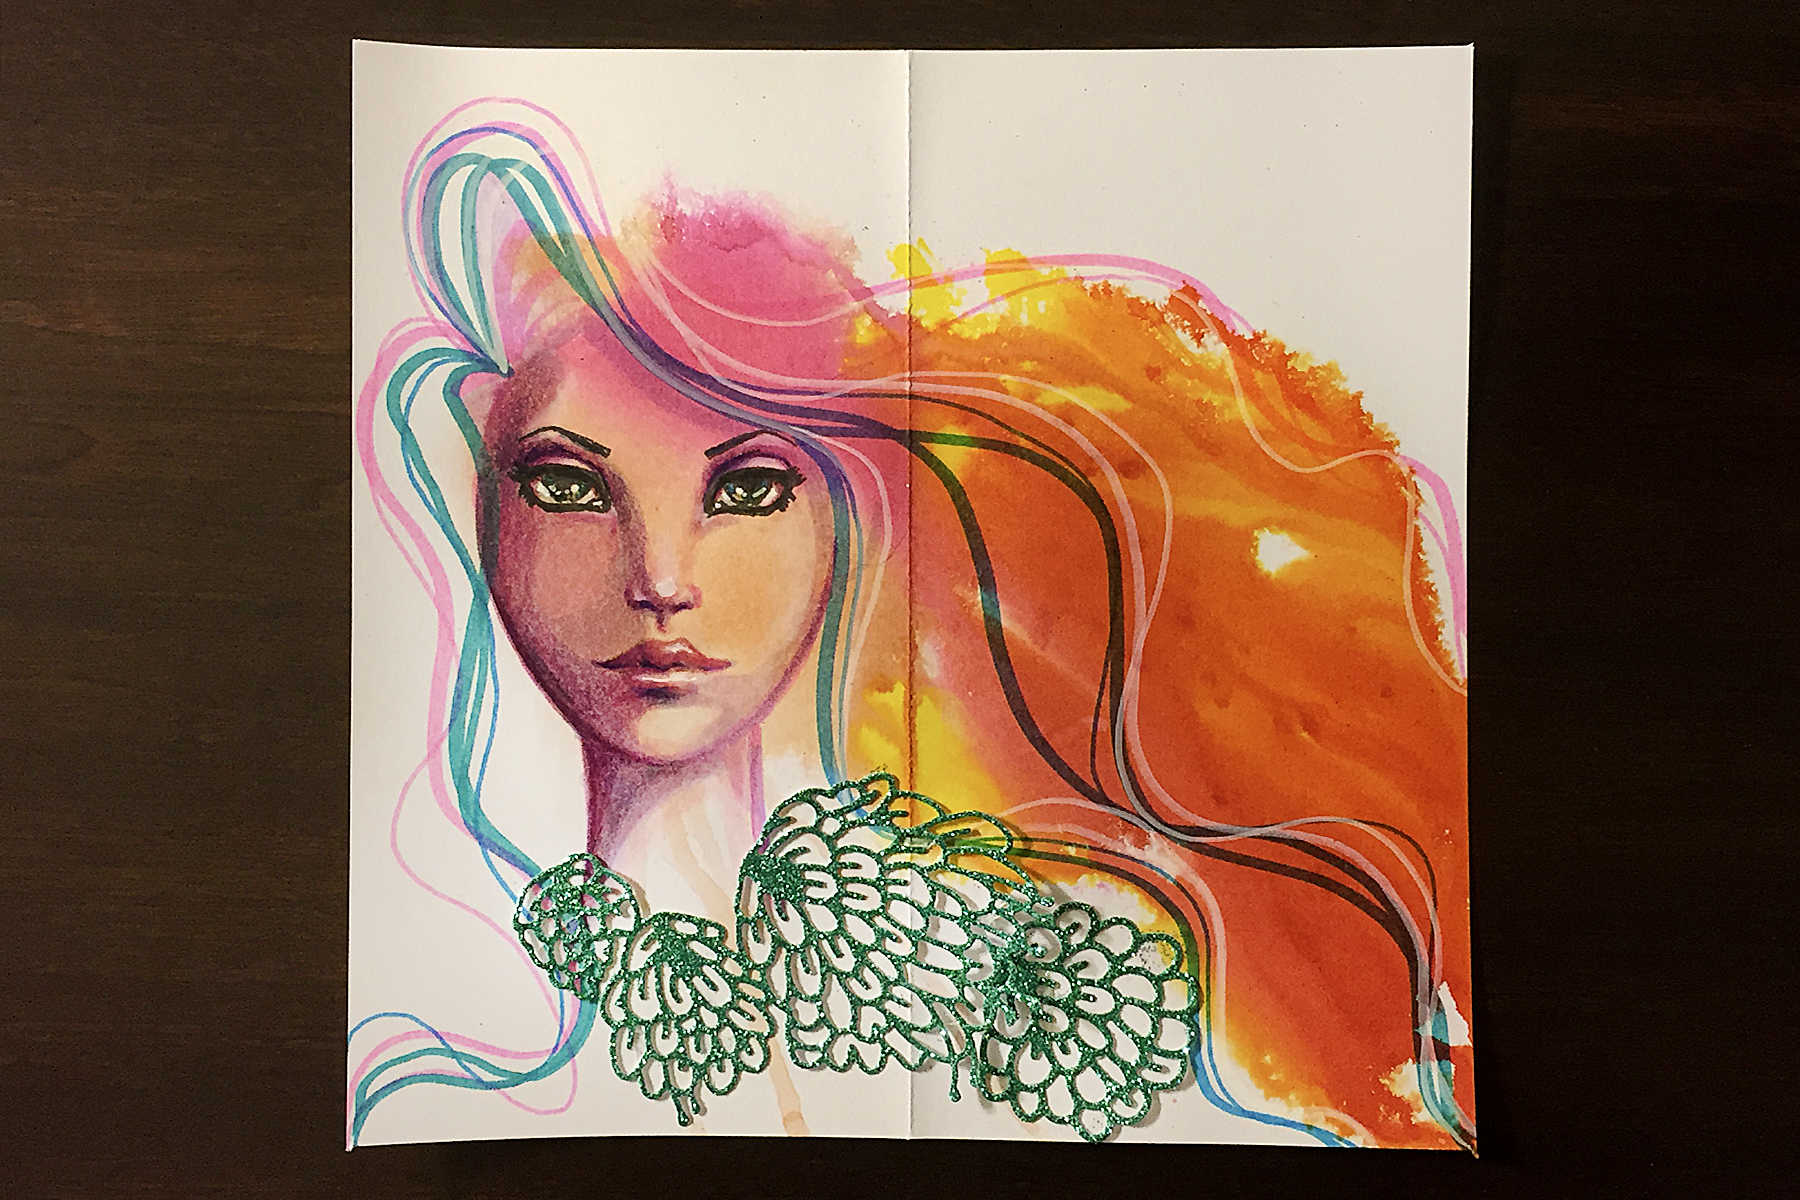























































































1 comment
Gorgeous!