

Posted by Spellbinders Team
on August 22, 2019

Hello everyone, it’s Bibi Cameron here and I’m thrilled to share ideas and inspiration using some of the gorgeous die sets from 3D Holiday Vignettes by Becca Feeken for Spellbinders. For today I used Grand Snow Globe and Santa Claus Layering die set.
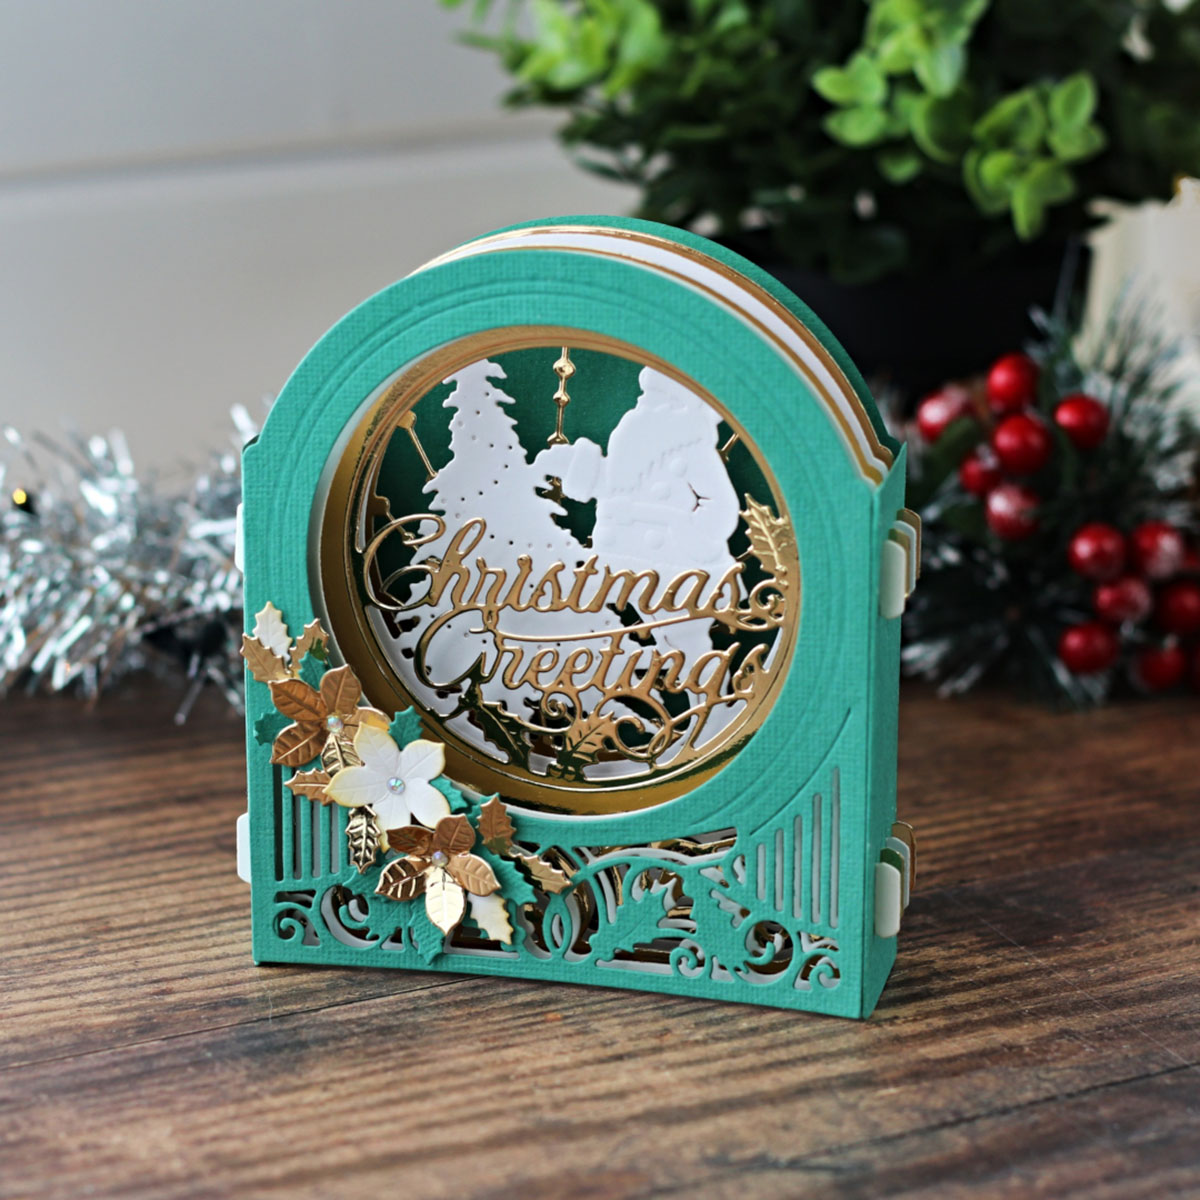

- The card assembled measures 4-1/2” x 5 - 1/4 “ inches
- When folded it measures 5-1/4 “ x 6”inches.
- It fits in a standard 6x6" envelope.

- Large frame die: 5-1/2 ‘ x 4- 1/2. designed to cut all the layers for this project and to use together with other dies in the set.
- Large decorative die to cut intricate detail on the whole panel. This die doesn't cut the outline.
- 3 -1/2”inches circle die. To cut the circular aperture in the center of the card when needed.
- 3” inches intricate circle decorative die with the sentiment: Christmas Greetings. (This die doesn't cut the outline)
- 1” inch poinsettia die.
- Small die to cut 2 x 3/4” inches leaves.
- Rectangular die ( to create the side panels of the card/shadowbox)
- Rectangular die to cut the slits on the side panel of the shadowbox.
Instructions:
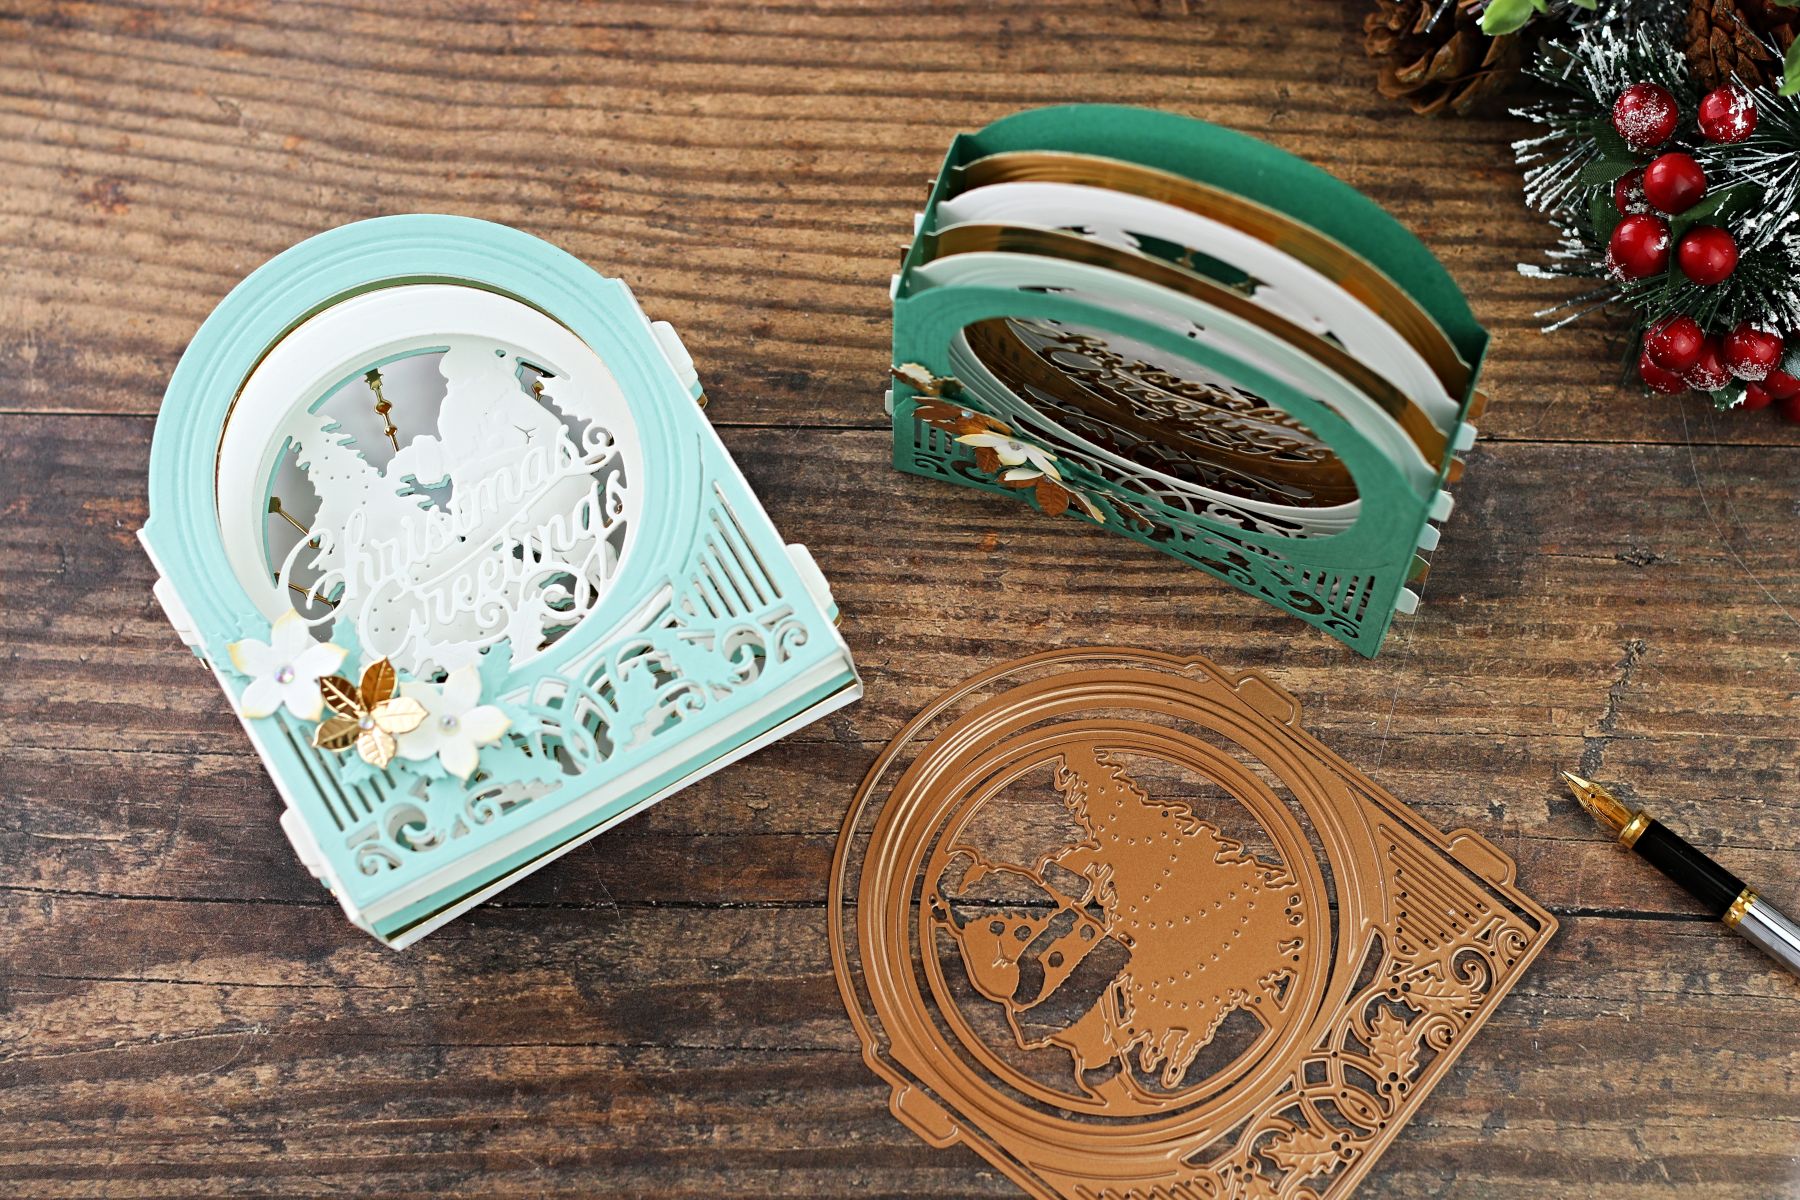
- I die cut six panels out of 3 different cardstock colours ( 2 green - 2 white - 2 gold )
- I used the green panels for the front and back of the card.
- I also die cut the side panels using two dies in the set and green cardstock.
- For the second panel of the card I combined the large outline frame die + the large intricate die + the solid circle die ( white cardstock) .
- For the 3rd , 4th, 5th panels of the card I used the large frame die + the large intricate die + different decorative circle dies on Grand Snow Globe and Santa Claus Layering die set.
- To die cut the backing panel of the card, I only used the larger frame die in die set.
- Score and burnish the side panels flaps.
- Insert the inner panels flaps into the side panels slits.
- Gently pull down the flaps into the slits to lock the panels in place.
- Use scissors to cut the flaps of the front and back panel of the card and adhere the panels to the side panels.
Bonus Projects!
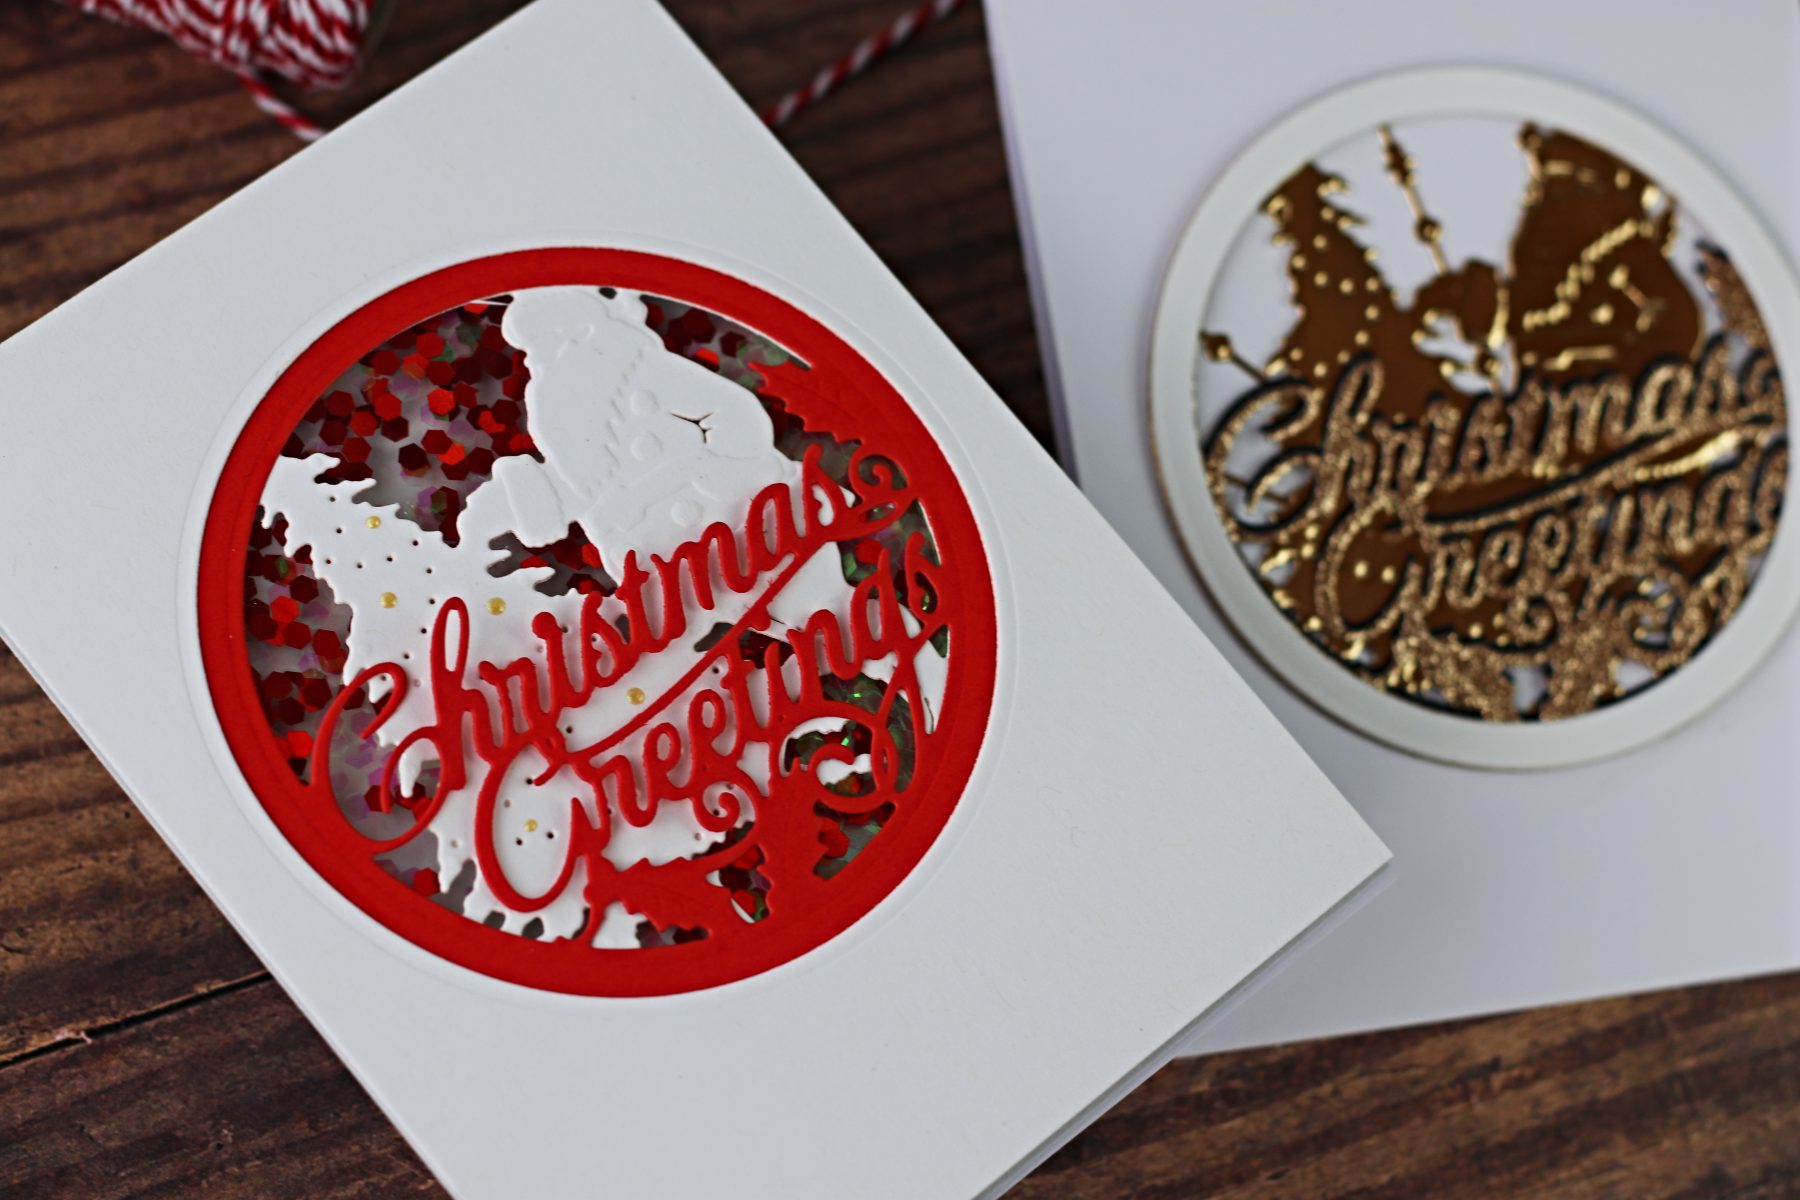
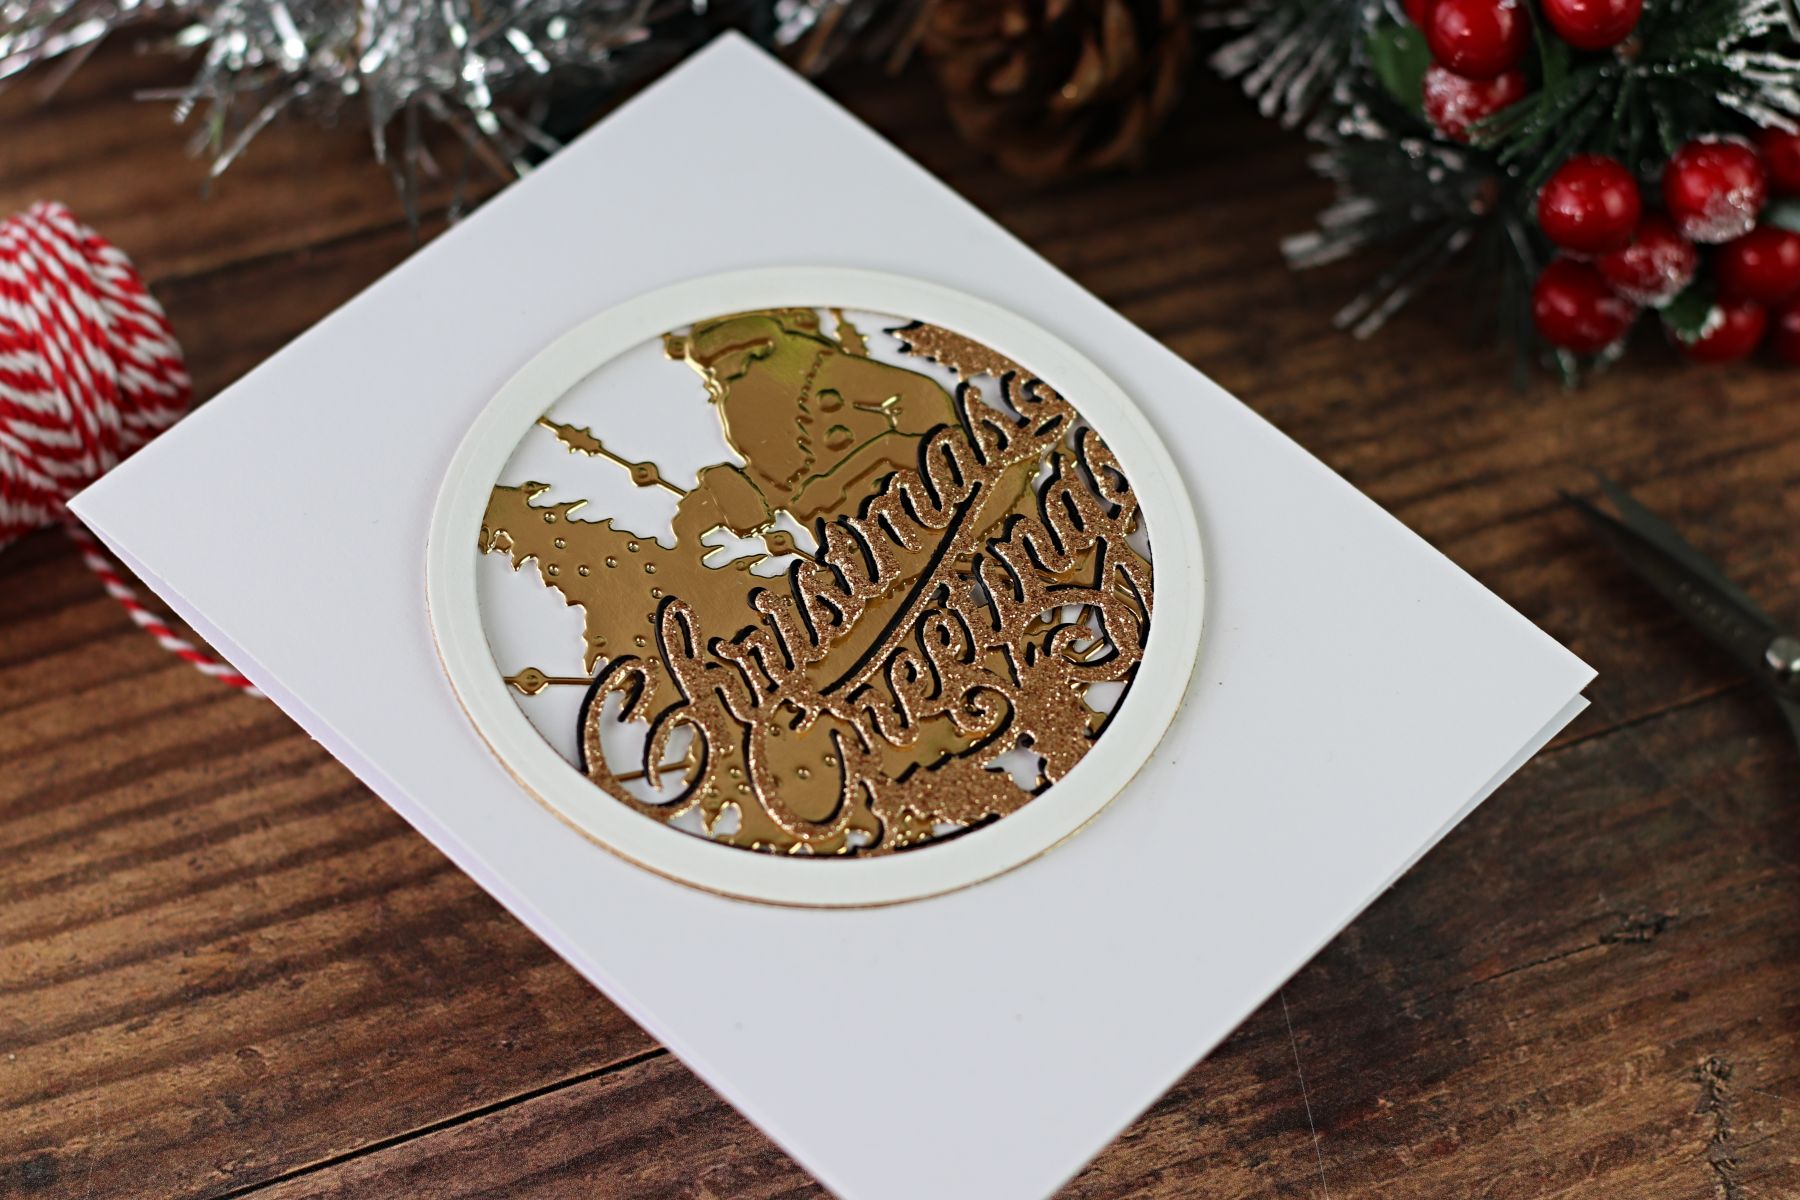
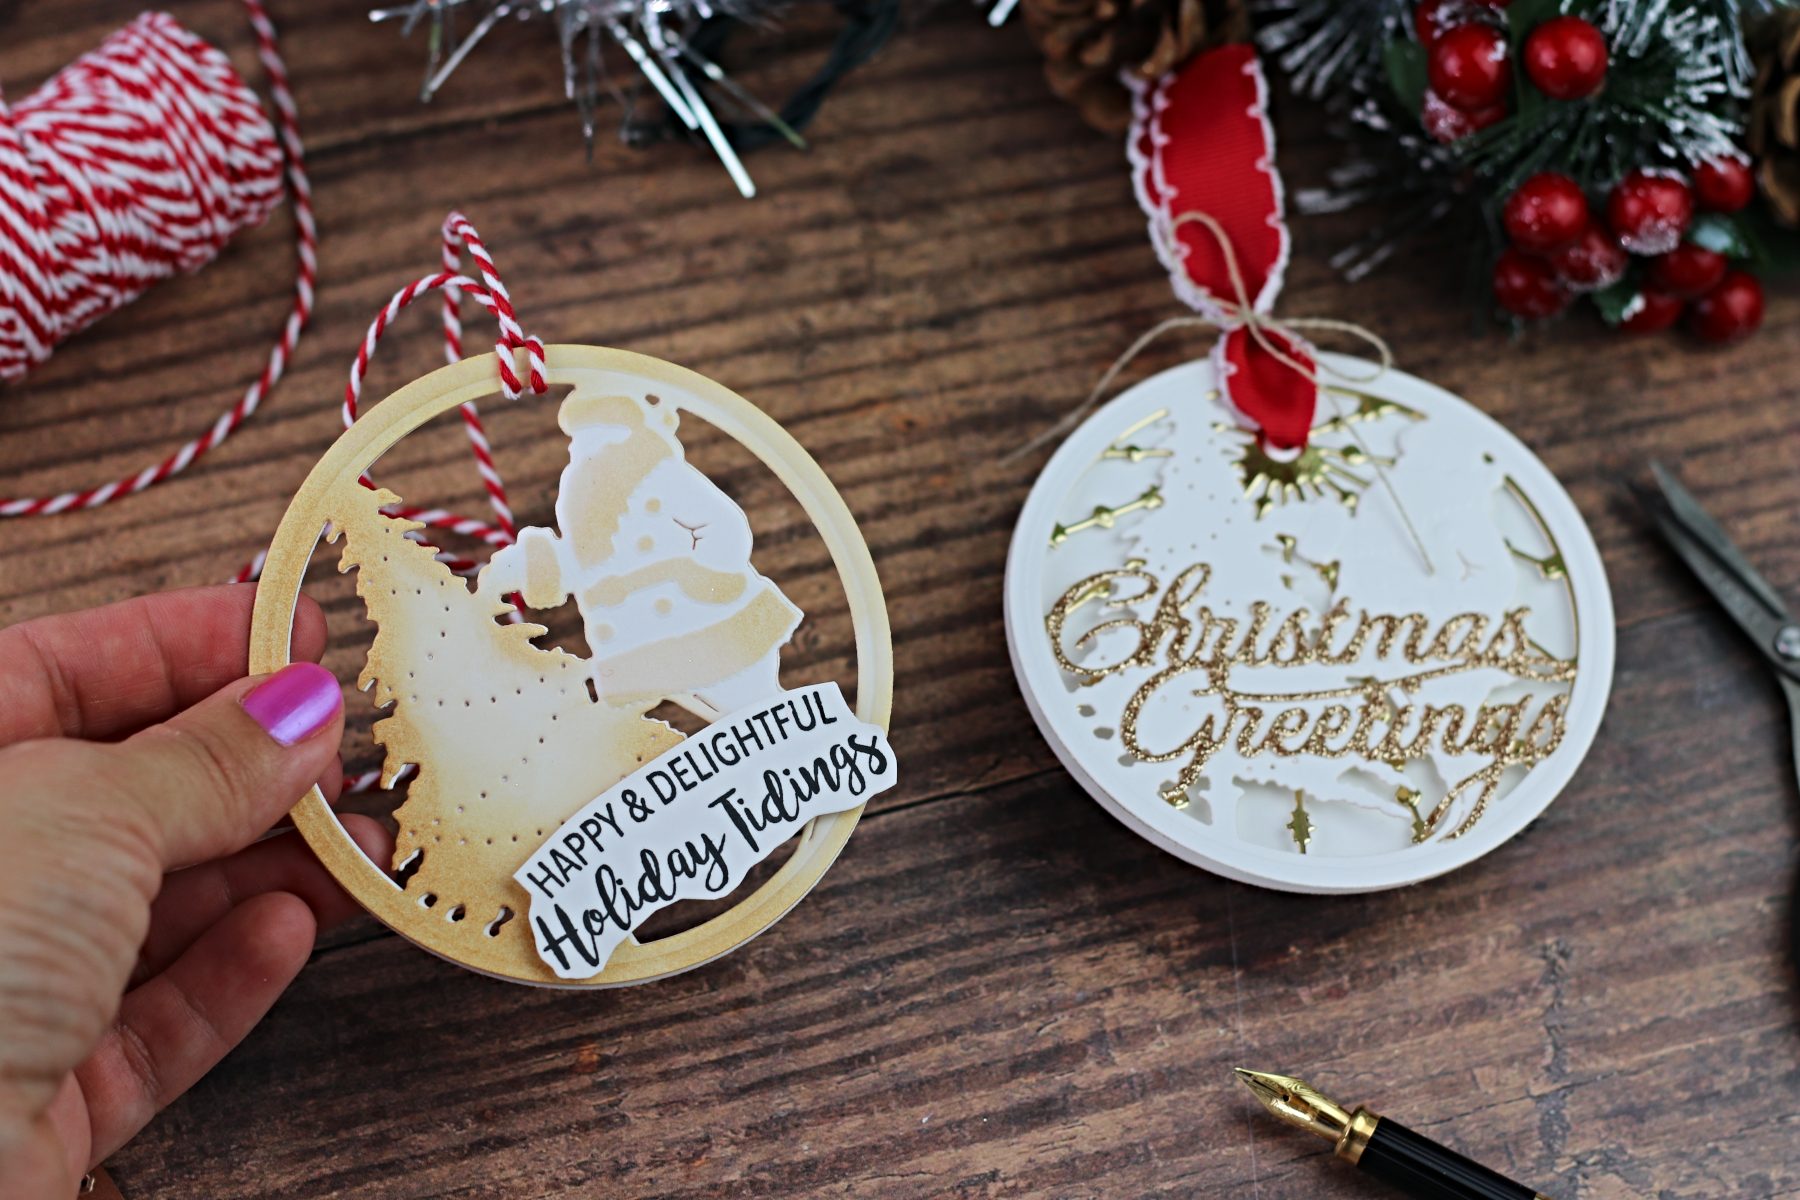
Use dies from Grand Snow Globe and Santa Claus Layering die set to make simple projects such as cards and tags.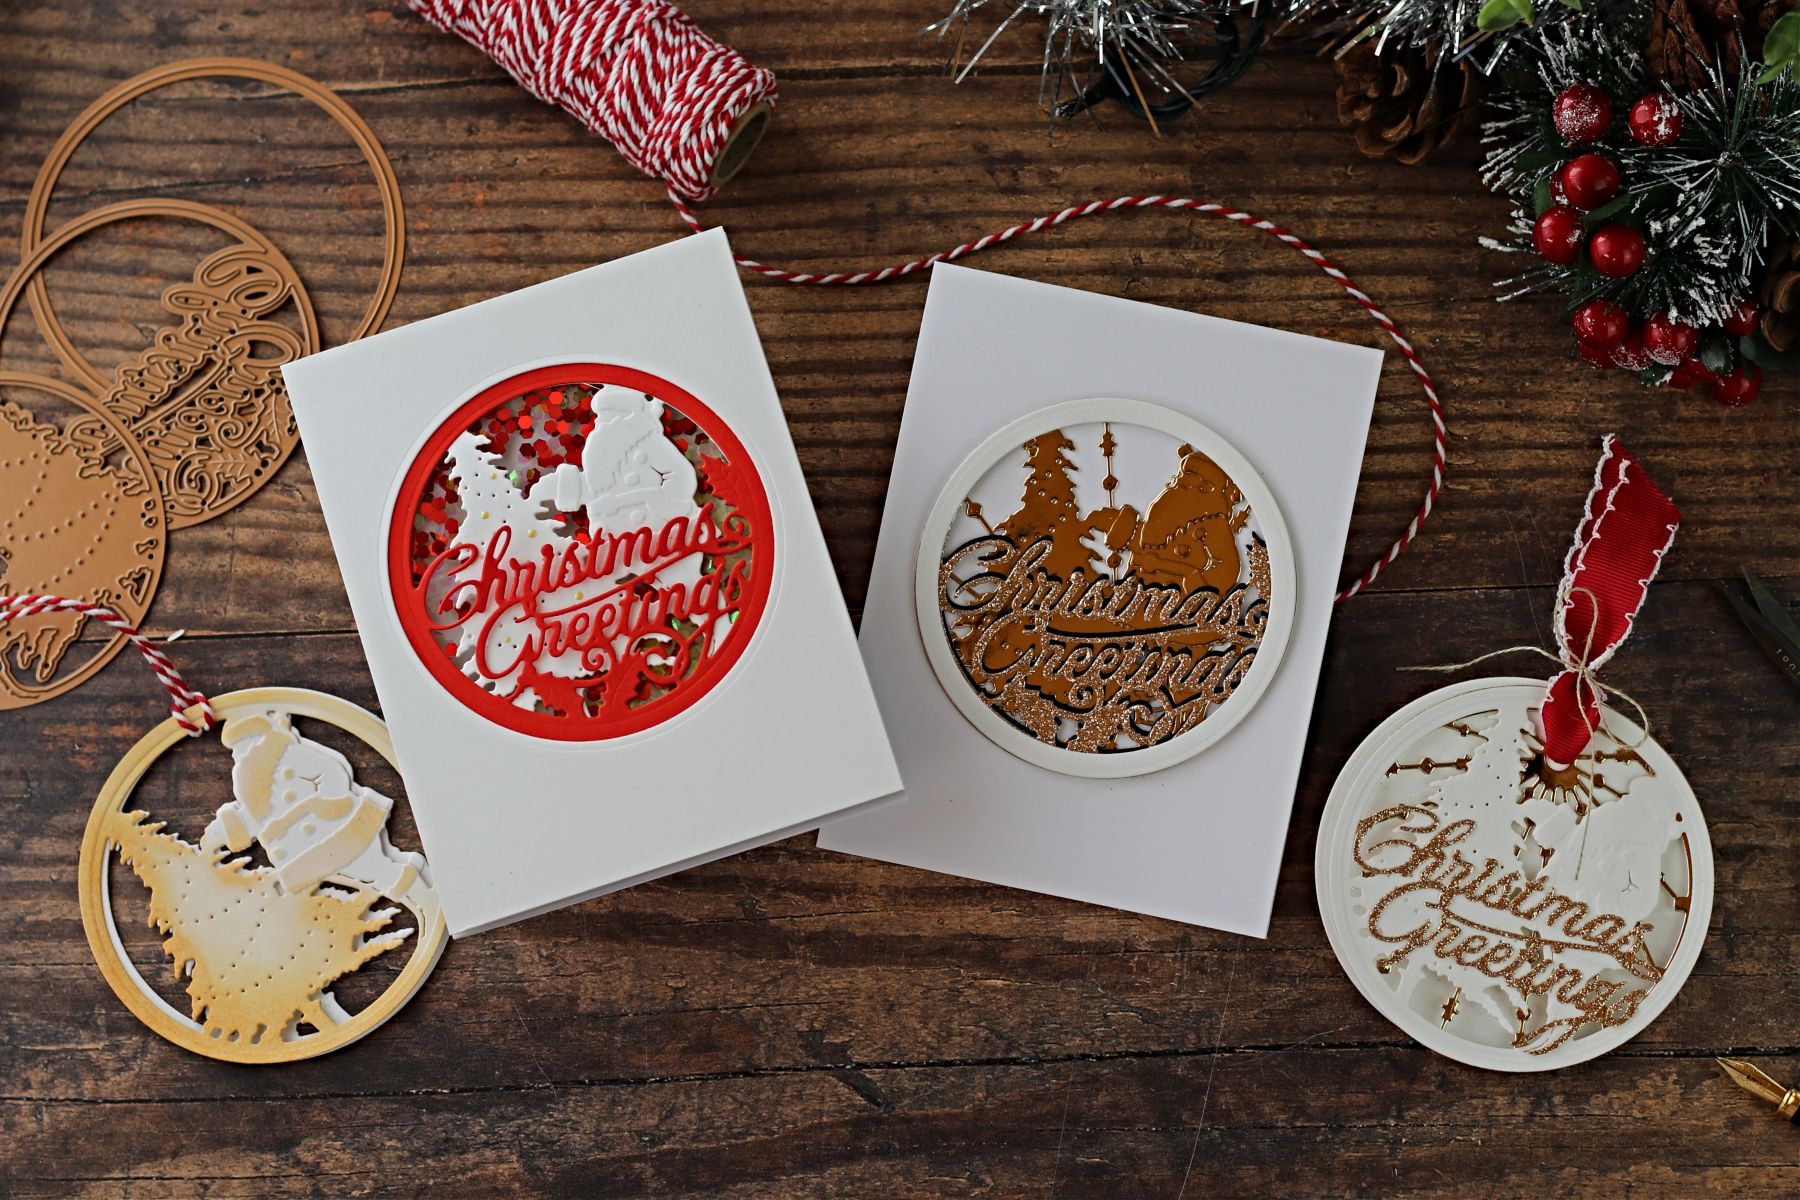























































































4 comments
thank you very much . x
Thank you Becky for your kind words. :)
These are lovely. Such great dies and embellished wonderfully.
Bibi, ALWAYS does a MAGNIFICENT JOB on her videos—watched over on You Tube! LOVE the different/non-traditional colors!!! ;) JUST GORGEOUS!!! ;)<3