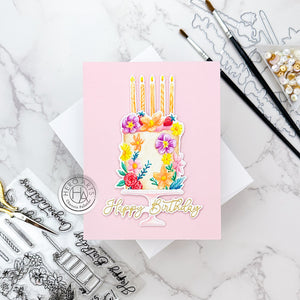
You'd Better "Bee"-lieve it! Chubby Bees are Back!
Hey, everybody!
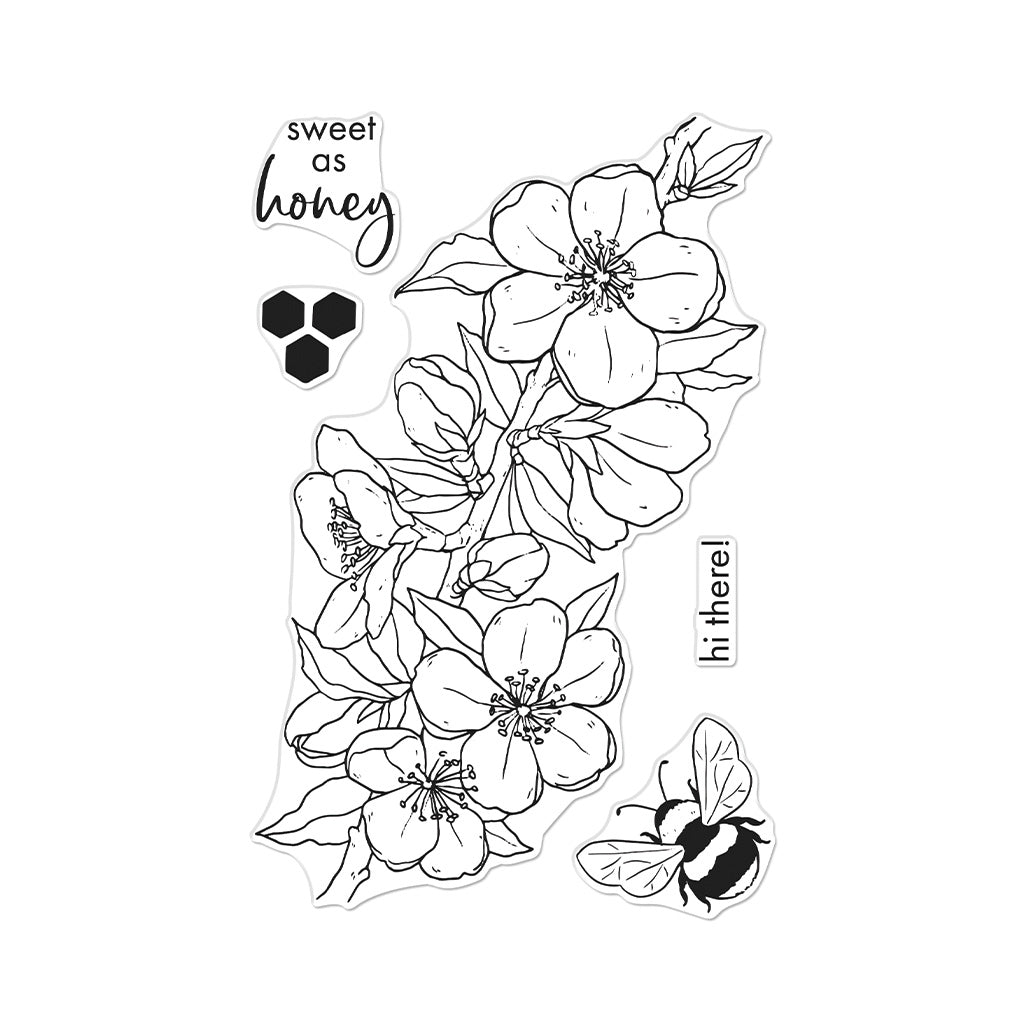
It's Maria here and I am so excited that I get to share some really special products with you today. What makes them so special? Well, once a year we all get to vote for our favorite My Monthly Hero kit from the previous year. Once the votes are tallied the most popular kit gets brought back so that we can all get our hands on it even if it had previously sold out. According to votes cast by Hero customers last fall, the "Best Kit of 2021" was the January 2021 My Monthly Hero Kit. This kit was full of gorgeous flowers, chubby bees, a fantastic honeycomb die and some lovely sentiments in fun fonts. This was absolutely my favorite kit of the year and I found it nearly impossible to put down so I've got six cards to share with you today! If you're looking for these products in the Hero shop they have been re-released as:
- CM599 Sweet As Honey + coordinating Frame Cuts
- CM600 Beelieve + coordinating Frame Cuts
- DF022 Honeycomb Fancy Die

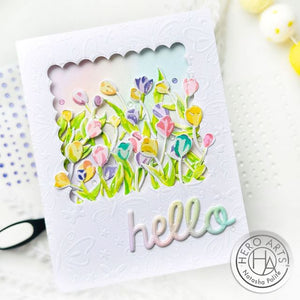
Now, let's get to the cards! For my first card I stamped the floral image across the top of the background in black ink (I stamped the sentiment at the same time). I watercolored the background using Daniel Smith watercolors. Then, I added some gold lacquer (from original kit) to make it look like pollen was floating in the air which was perfect for the sentiment.

I watercolored a ton of chubby bees and cut them out with the coordinating dies (you'll see me using them on the cards in this post). I added two of the bees to my card front using foam tape and I love that it looks like they are lazily floating in a pollinated breeze.

For my next card I started out by heat embossing the large floral image in white onto watercolor cardstock. I used my Daniel Smith watercolors again to watercolor the image and I was even able to find the perfect blue to match the Lapis cardstock. I fussy cut the bottom edge of the floral design and left the top corners intact so that it would fit perfectly at the top of my card base.

I created a white rectangular frame using my Nesting Rectangle Infinity Dies. I centered it on my white splattered, Lapis card base and then added the flowers at the top of the card with foam tape. The layered "Thinking of You" sentiment fit perfectly below with just a bit of overhang on the rectangle frame. To finish the card off I added a few iridescent sequins and called it good.

For my next card I went for a grungy mixed media style look. I started out with a piece of watercolor cardstock that I had watercolor washed with Lemon Drop Reactive Ink. I ink blended the edges with Root Beer and Licorice Reactive Inks and I also dragged my Licorice ink pad around the edges to rough it up a bit more. I used the hexagon stamp from the Beelieve set to stamp in black and to heat emboss with Sand Embossing Powder. I used a fine tip Sharpie to trace some of the hexagons to make them bolder and even filled in a few of them. The final step to finish off the background was to add a ton of splatter in black, Fruit Punch, White Glimmer Metallic Ink and Gold Glimmer Metallic Ink. It's a messy but fun background and I added it on a Pitch Black card base.

I heat embossed my sentiment in gold on Pitch Black cardstock and cut it out with Hexagon Infinity Dies. I added the sentiment and three chubby bees with foam tape for some extra dimension.

The cards I've shown you up to this point were so fun to make but they did take a little time. Something that I love about these sets is that they make it really easy to create quick and easy cards that will still put a smile on someone's face. My next three cards can be replicated fairly quickly if you're looking to make a quick card.
For my next card I started by using Nesting Rectangle Infinity Dies to cut the center out of a Pitch Black card base. I used the same size rectangle die to cut three or four rectangles out of Canary cardstock. I glued the Canary rectangles together and then glued the black rectangle on top of them after heat embossing my sentiment in white. I used Gold Glimmer Metallic Ink to splatter the black card base but left the centerpiece rectangle clean.

I used the Honeycomb Fancy Die in white to frame the bottom of the rectangle. I just glued it on and then trimmed off the excess. Next I took the rectangle center piece and glued it into the rectangle hole that we had cut from the card base. I added a cute little bumble bee and some black enamel dots to finish the card off. Here's a little close up of how the Canary cardstock looks...it's a subtle detail but I think it's a really fun way to add a little something extra to a simple card.

For my next card I lightly ink blended a background using Splash Reactive Ink. Then I sprayed it with White Iridescent Shimmer Spray and splattered it with Splash ink. I cut the ink blended piece down with rectangle dies and stamped my sentiment on it. I added it to a white card base using foam tape and then popped up a single bumble bee on it to finish the card. So easy but so cute!

For my last card I started with a Sand card base and I splattered it with black ink and Gold Glimmer Metallic ink before stamping my sentiment in black. These adorable bees pair perfectly with the Bees and Flowers Fancy Dies. I used the dotted line to die cut a loop de loop of motion into my card base. Then I cut a flower from a gold metal sheet and adhered that below the loop de loop. Finally, I added a buzzy little bee with foam tape and placed him so that he looked as if he were flying away from the flower. This card was quick and easy to make but I love the natural color scheme and that the gold seems to take it up a notch.

Ok, you guys, that is it for today! I hope you enjoyed my cards and if you were lucky enough to get your hands on this kit that you feel inspired to pull it out and have some fun with it. If you missed out on the kit, no worries! You can go ahead and grab the stamps and dies in the Hero Arts shop now that they have been rereleased with the Spring Catalog. Please let me know in the comments below if you have any questions.
Have an amazing day!

|


Leave a comment
Please login with your Hero Arts account in order to comment.
Click HERE to sign up if you don't have an account.
2 Responses
Sharon Gullikson
March 03, 2022
I LOVE THE BEE CARDS!!! The speckles of honey are wonderful, the FLOWERS colored in such a gorgeous way. I am going to look at them all again because I just can’t get enough!!!!
Melissa SunshineHoneyBee
March 01, 2022
My all time fav Hero Arts Mthly Kit. Wonderful creations. Especially like the later 2. I have bee-n using the Kit to make Art Journal pages.
Melissa
“Sunshine”