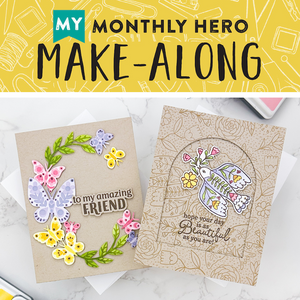
Join Us for a My Monthly Hero Make-Along!

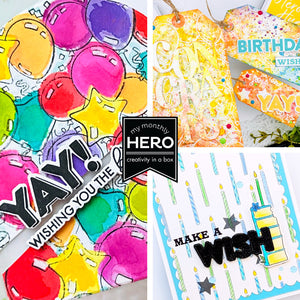
Our next LIVE Make-Along event is this weekend! Join Channin Pelletier to make along with the October 2023 My Monthly Hero kit. Gather your supplies and create a card with Channin from start to finish.
👉🏼 When: Sunday, November 12 at noon PT/3pm ET
👉🏼 Where: Hero Arts Facebook and YouTube
In addition to the October My Monthly Hero Kit, the following supplies will be used:
AF706 Nautical Core Ink
AF705 Stone Wash Core Ink
AF701 Dusty Blue Core Ink
MI003 Ink Blending Brushes
PS400 Dove White Top Folded Cards
PS325 Dove White Cardstock
PS772 Classic Vellum Layering Paper
Silver Cardstock
GW101 Precision Glue
Foam Adhesive
Die-cutting Machine
Low-tack Tape
Scissors
Instructions:
- Ink-blend a gradation on the front of an A2 top-folding Dove White card base in Nautical and Stone Wash inks.
- Die cut an A2 panel (4 1/4” x 5 1/2”) of Dove White cardstock with the pine/sky scene die. Discard the negatives (including the stars) but save the moon.
- Ink-blend the pine/sky diecut panel in Stone Wash and Dusty Blue to create a gradation. Ink-blend a gradation over the moon with Dusty Blue.
- Add foam adhesive to the backside of the pine/sky panel making sure to add a small amount behind all the pointed stars so that the adhesive is visible from the front.
- Die cut some silver cardstock with pine/sky scene die (you just need the pointed stars so you can use a scrap). Inlay the silver stars into the pine/sky panel, the foam adhesive will hold them in place.
- Adhere pine/sky panel to card front and inlay moon with foam adhesive.
- Die cut an A2 panel (4 1/4” x 5 1/2”) of Dove White cardstock and silver cardstock (you only need the ground details negatives so you can use a scrap) with the trees scene die. Remove the negatives from diecuts but save the silver ground negatives.
- Place strips of tape to the backside of the Dove White tree panel behind the ground. Then inlay the silver ground negatives, the tape will hold the negatives in place.
- Adhere tree panel to the pine/sky panel with Precision Glue.
- Die cut the “Merry” and “Christmas” word dies out of silver cardstock and their shadow layers out of vellum. Adhere the silver sentiments to the shadow layers.
- Die cut “christmas” 5 more times out of white cardstock. Adhere the word die cuts together. Trim off the “c” and the “tmas” so you only have “hris” and then adhere behind the silver/vellum stacked sentiment.
- Adhere sentiments to card front with Precision Glue.
If you cannot join us for the live event, no problem! The video will be available to watch on replay on YouTube or Facebook whenever it is convenient for you.
We hope to see you there!


Leave a comment
Please login with your Hero Arts account in order to comment.
Click HERE to sign up if you don't have an account.