Video: How-To with Happy Holidays Foil & Cut
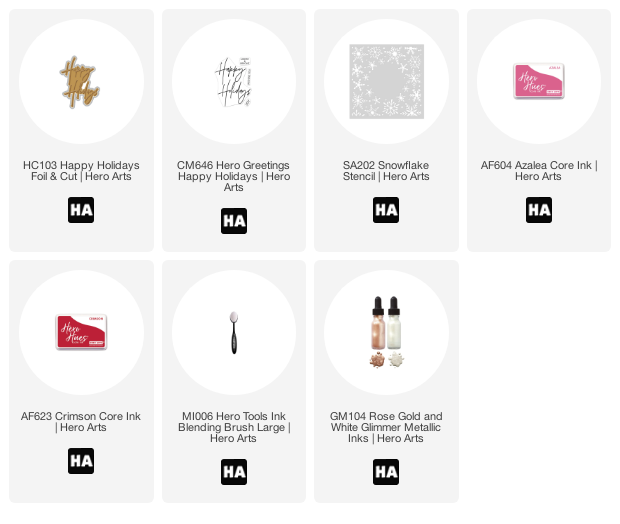
Welcome friends! This is Mindy and I'm here to show you how to line up the stamped sentiment with your hot foiling using the Happy Holidays Foil & Cut set. This plate creates a foiled shadow effect, and while it can stand alone, it was also designed to pair with the Hero Greetings Happy Holidays clear stamp set. The two look amazing together!
You can watch the full tutorial below or HERE on the Hero Arts YouTube channel where I explain everything in detail.
There is one very simple trick to lining up your sentiments with the foil and that is the printed acetate that the stamp comes on.

My card is clean, simple and monochromatic which makes it very easy to mass produce if you are looking for quick holiday cards this year.

I love using reds and pinks and luckily found a pink foil that I could use with my Happy Holidays Foil Plate. Then, after lining up with printed acetate sheet, I stamped the sentiment in Azalea ink.

Did you know foiling resists ink? It sure does which makes it great for ink blending over!
I am using the Snowflake stencil and Azalea and Crimson ink with my blending brushes. If I start to overlap my ink with the foiling, I can just wipe it away.

After filming, I stepped up this card by added flicks of White Glimmer Metallic Ink.
I'm sharing lots of tips in the video so be sure to check it out.
Hope you found the video helpful and happy crafting!


Leave a comment
Please login with your Hero Arts account in order to comment.
Click HERE to sign up if you don't have an account.
3 Responses
Sarah Hunziker
October 19, 2022
Really enjoyed the video of this beautiful card. Loved the foiling and stamping technique.
Sharon Gullikson
October 18, 2022
BEAT—TIFF—FULL!!!!!!
Morton
October 17, 2022
Wow! What a cool technique – can’t wait to try it. Love the retro look. Great video, too. As always, thanks so much!